Quality Case Study: Perfection is Important
The Haas F1 team took a strategic approach to the
challenge of quality inspection and reporting.
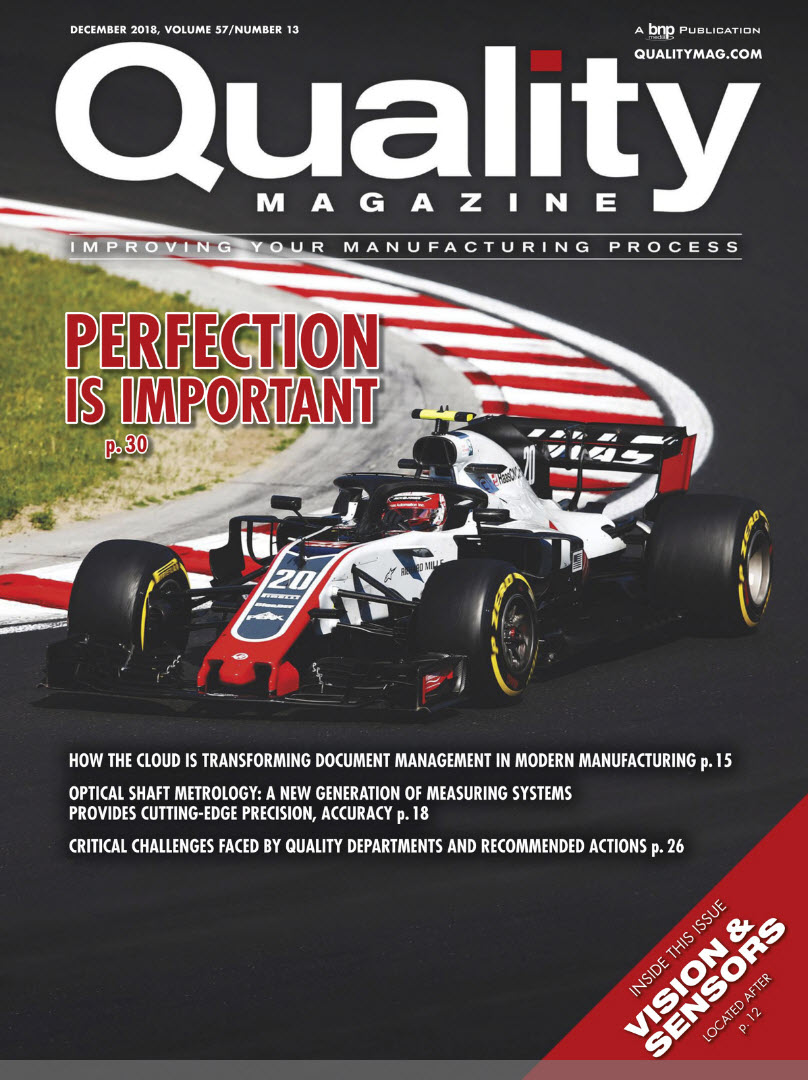
The Haas F1 team is the first American formula one team to hit the circuit since 1986.
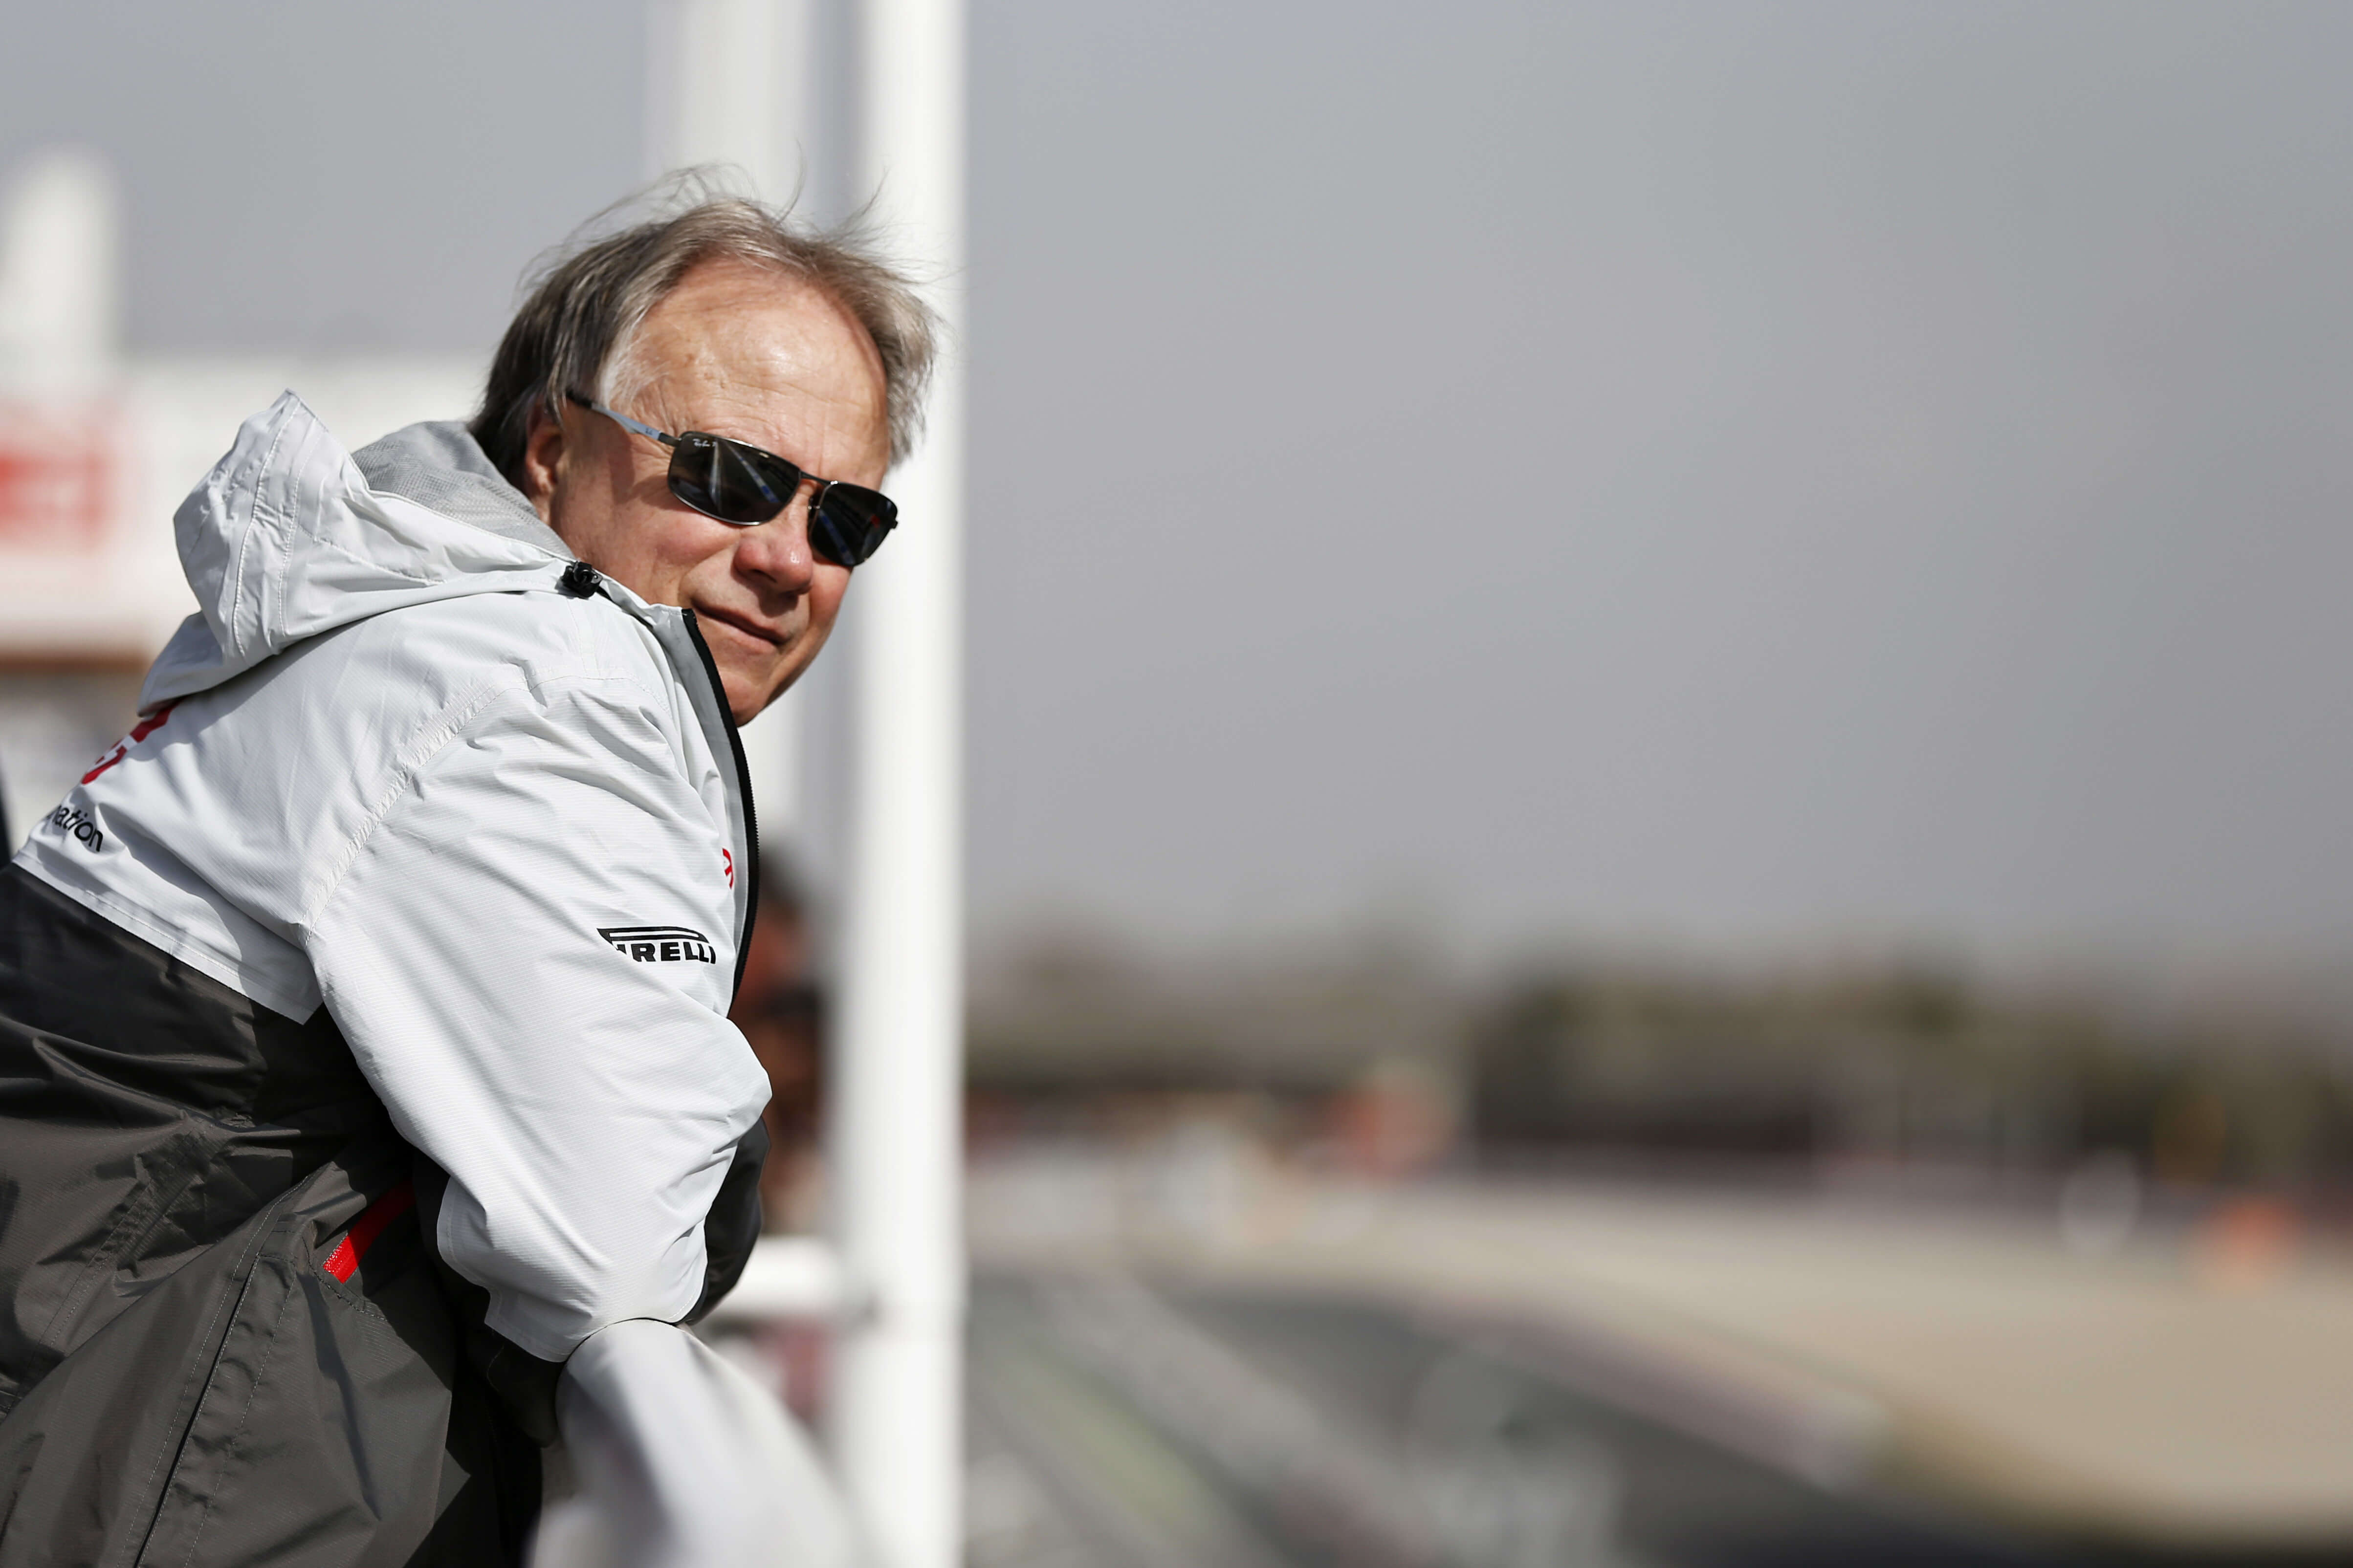
Gene Haas, Founder and Chairman of Haas F1 Team.
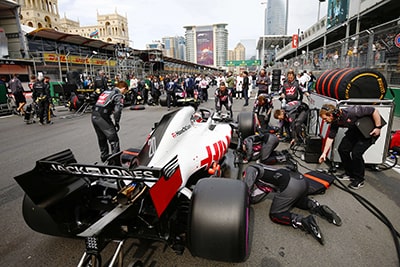
Virtually all components of the car with few exceptions are designed and manufactured by the team, including specialized garage tools and pit equipment, like jacks, wheel sockets, camera mounts, and tire dollies.
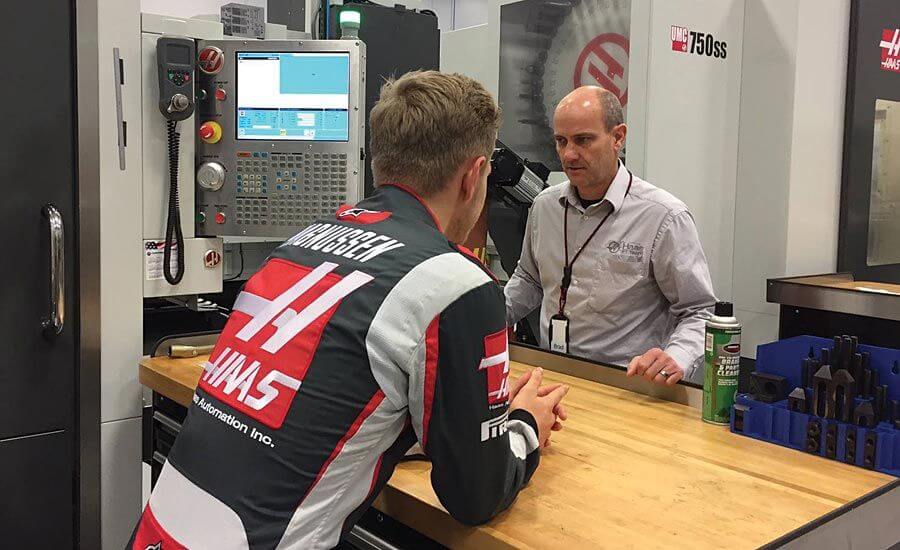
Brad Harris, facing, with driver, Kevin Magnussen at the Haas F1 Team machine shop in Kannapolis, North Carolina.
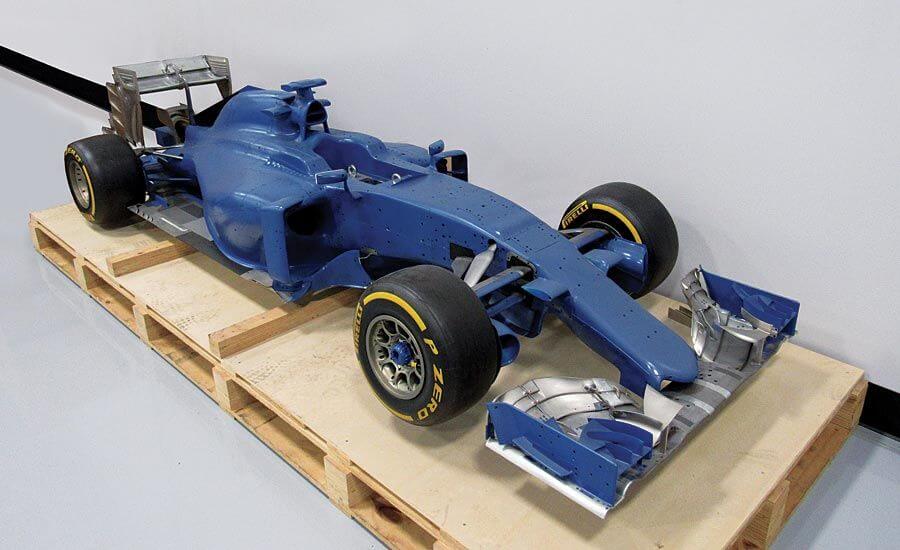
Haas F1 Team wind tunnel model produced at 60% of scale emphasizes the importance of precision as any deviation from nominal will be amplified at full scale.
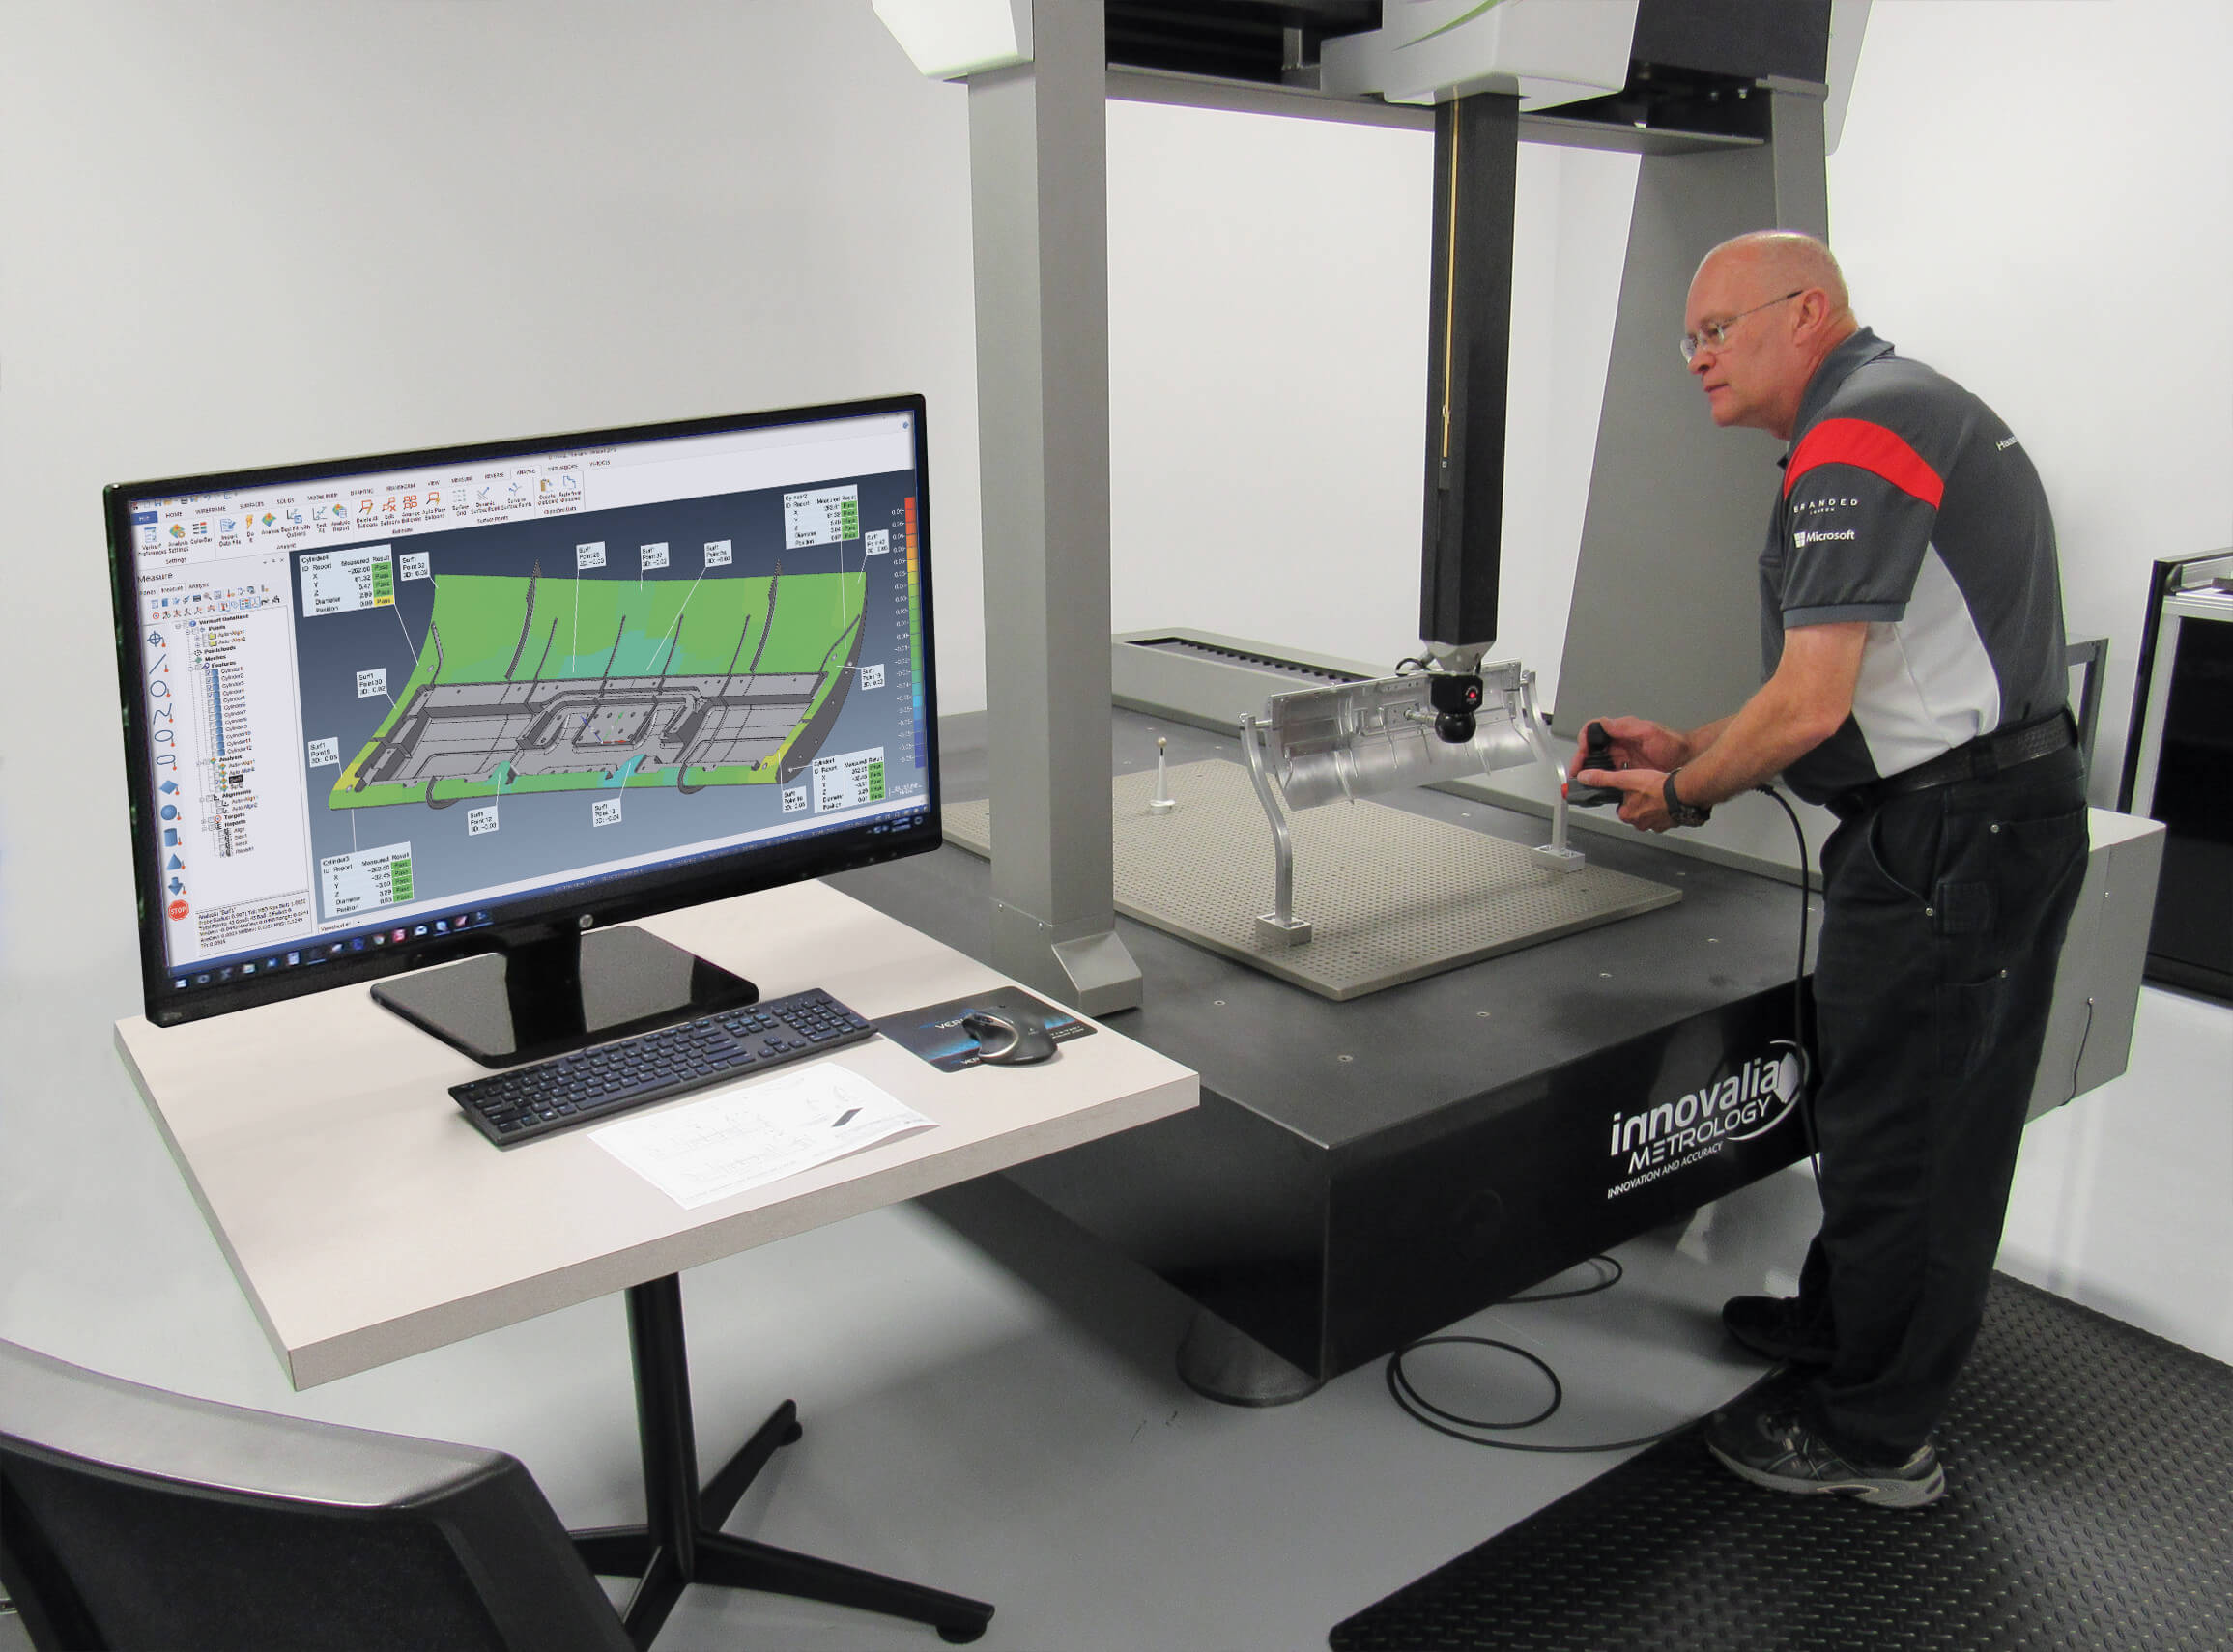
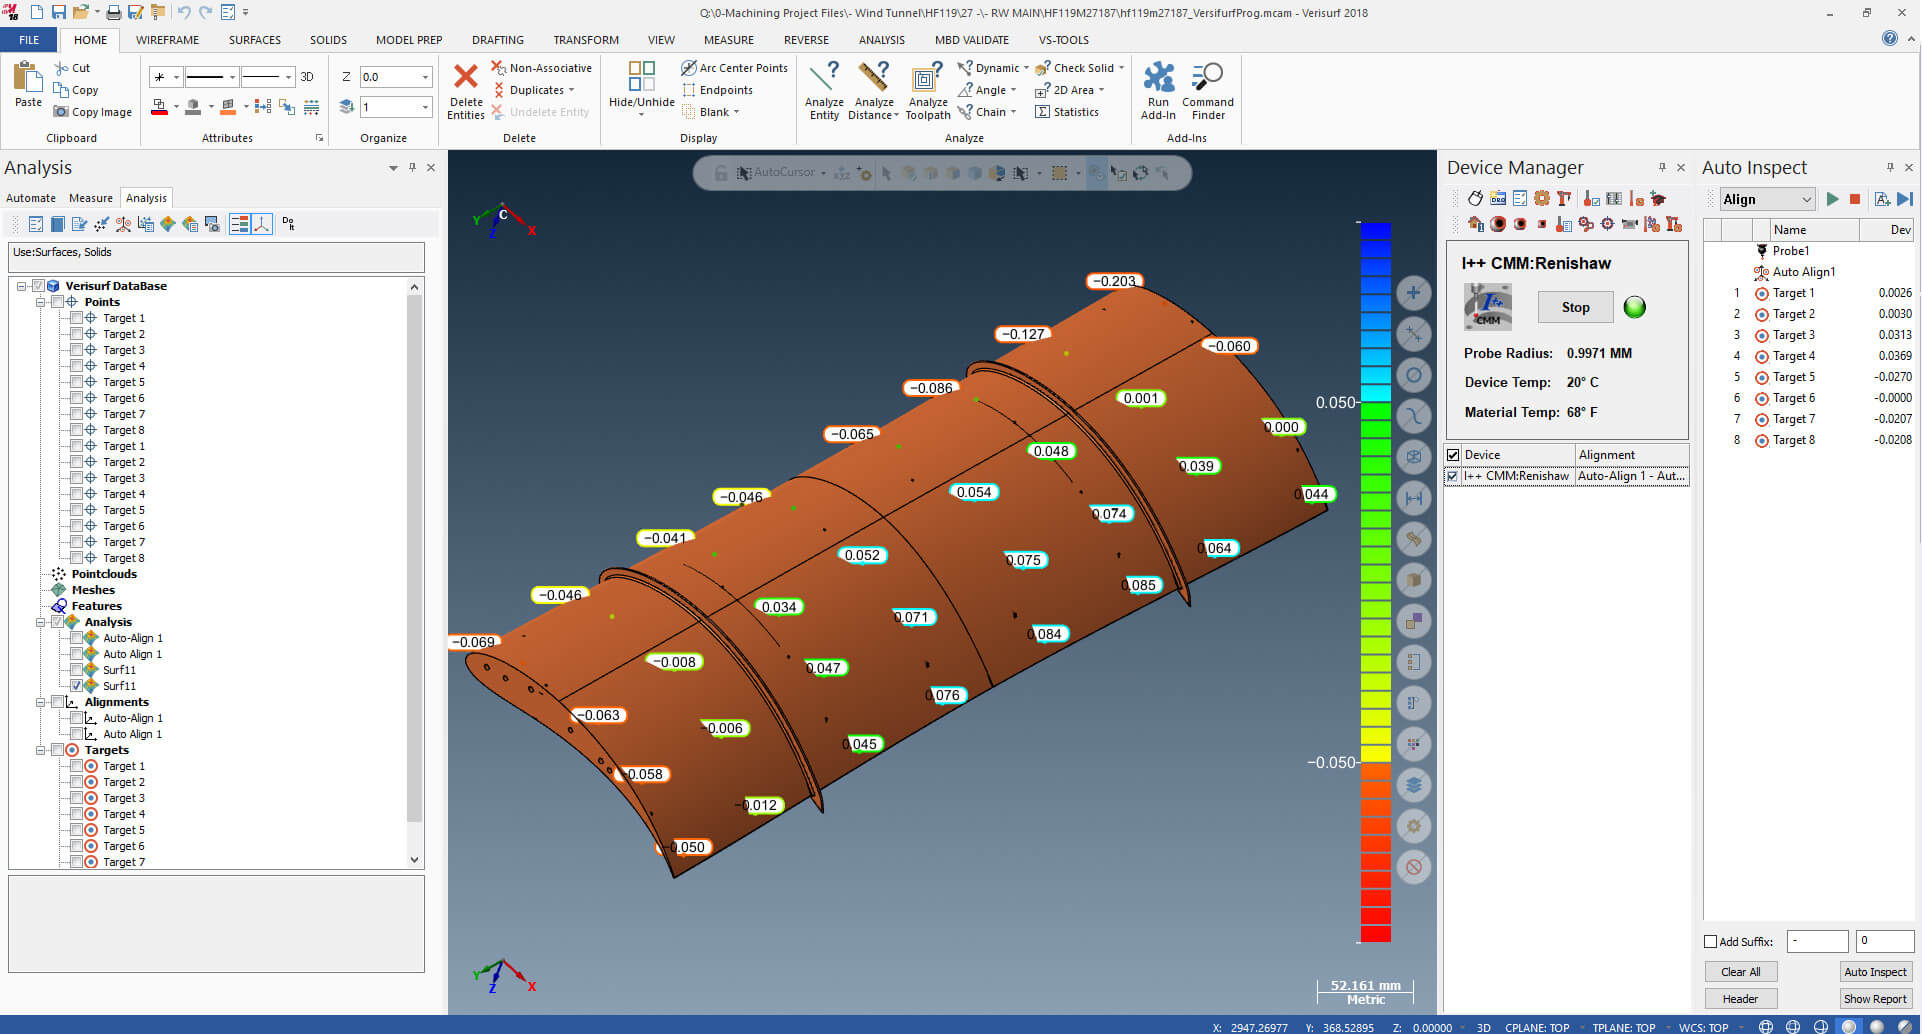
Finished wing part is inspected against the nominal 3D CAD design using Verisurf Software, running a Spark Gage programmable CMM. Verisurf can interface with this otherwise closed CMM device through Verisurf Universal CMM Software. The software allows Verisurf to drive measuring hardware devices that do not comply with the I++ open protocol. This applies to both new and legacy CMMs, regardless of controllers or outdated software.
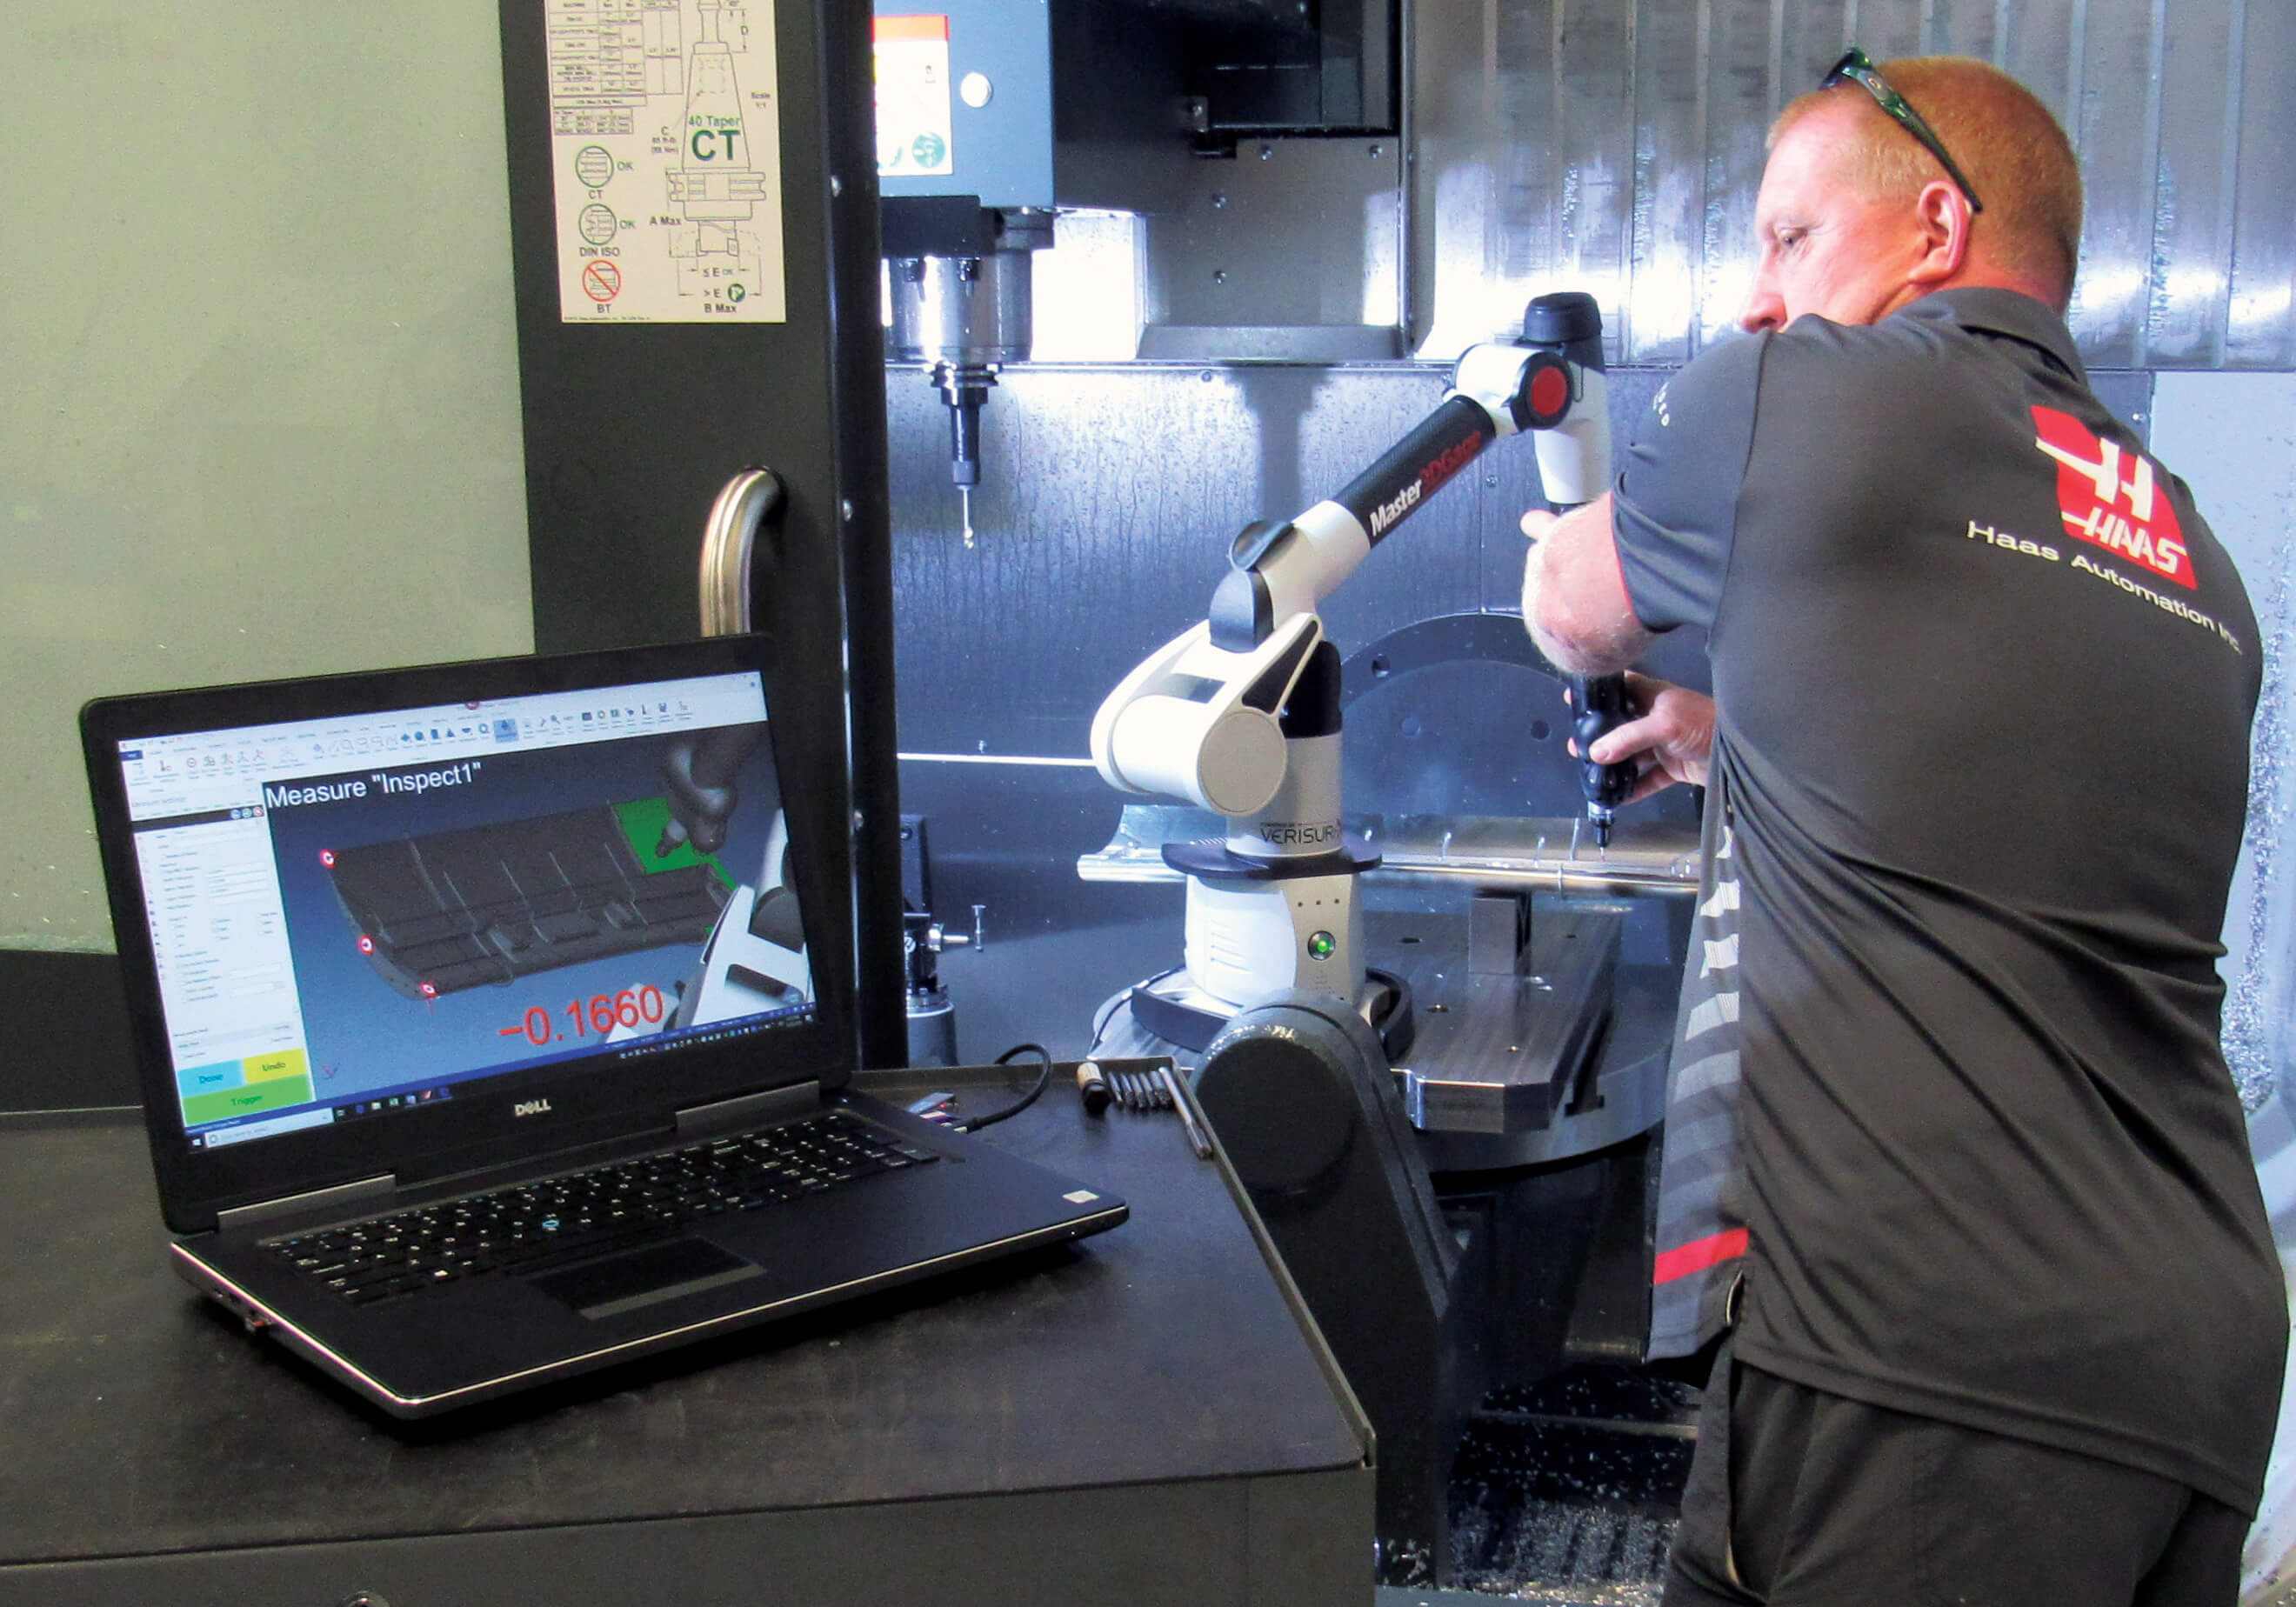
Haas F1 Team inspects 100% of all parts produced. Inspecting parts in process using a Master3DGage, portable CMM saves time by eliminating the need to re-fixture parts or move them around the shop.
Verisurf Software is built on top of the Mastercam CAD platform and can open and edit intelligent 3D CAD models. As designed GD&T datums can be edited and additional annotations added to support inspection routines.
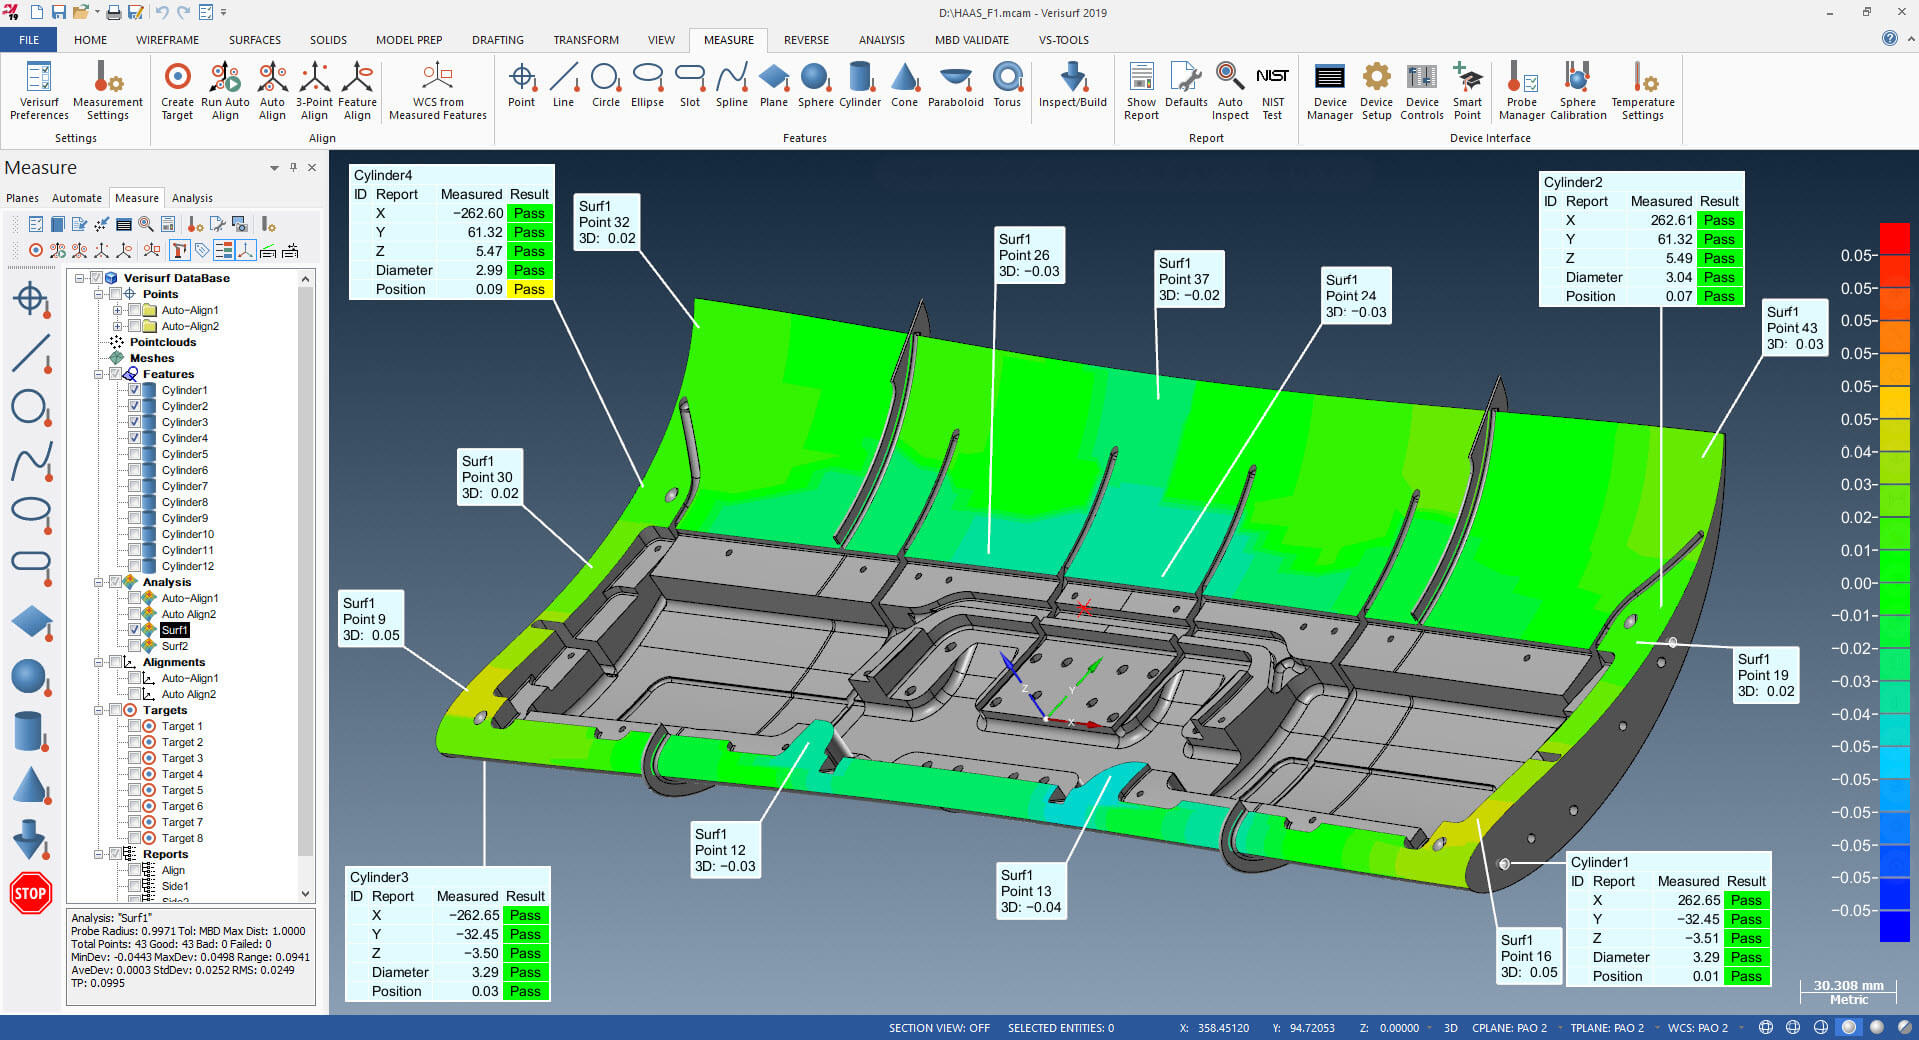
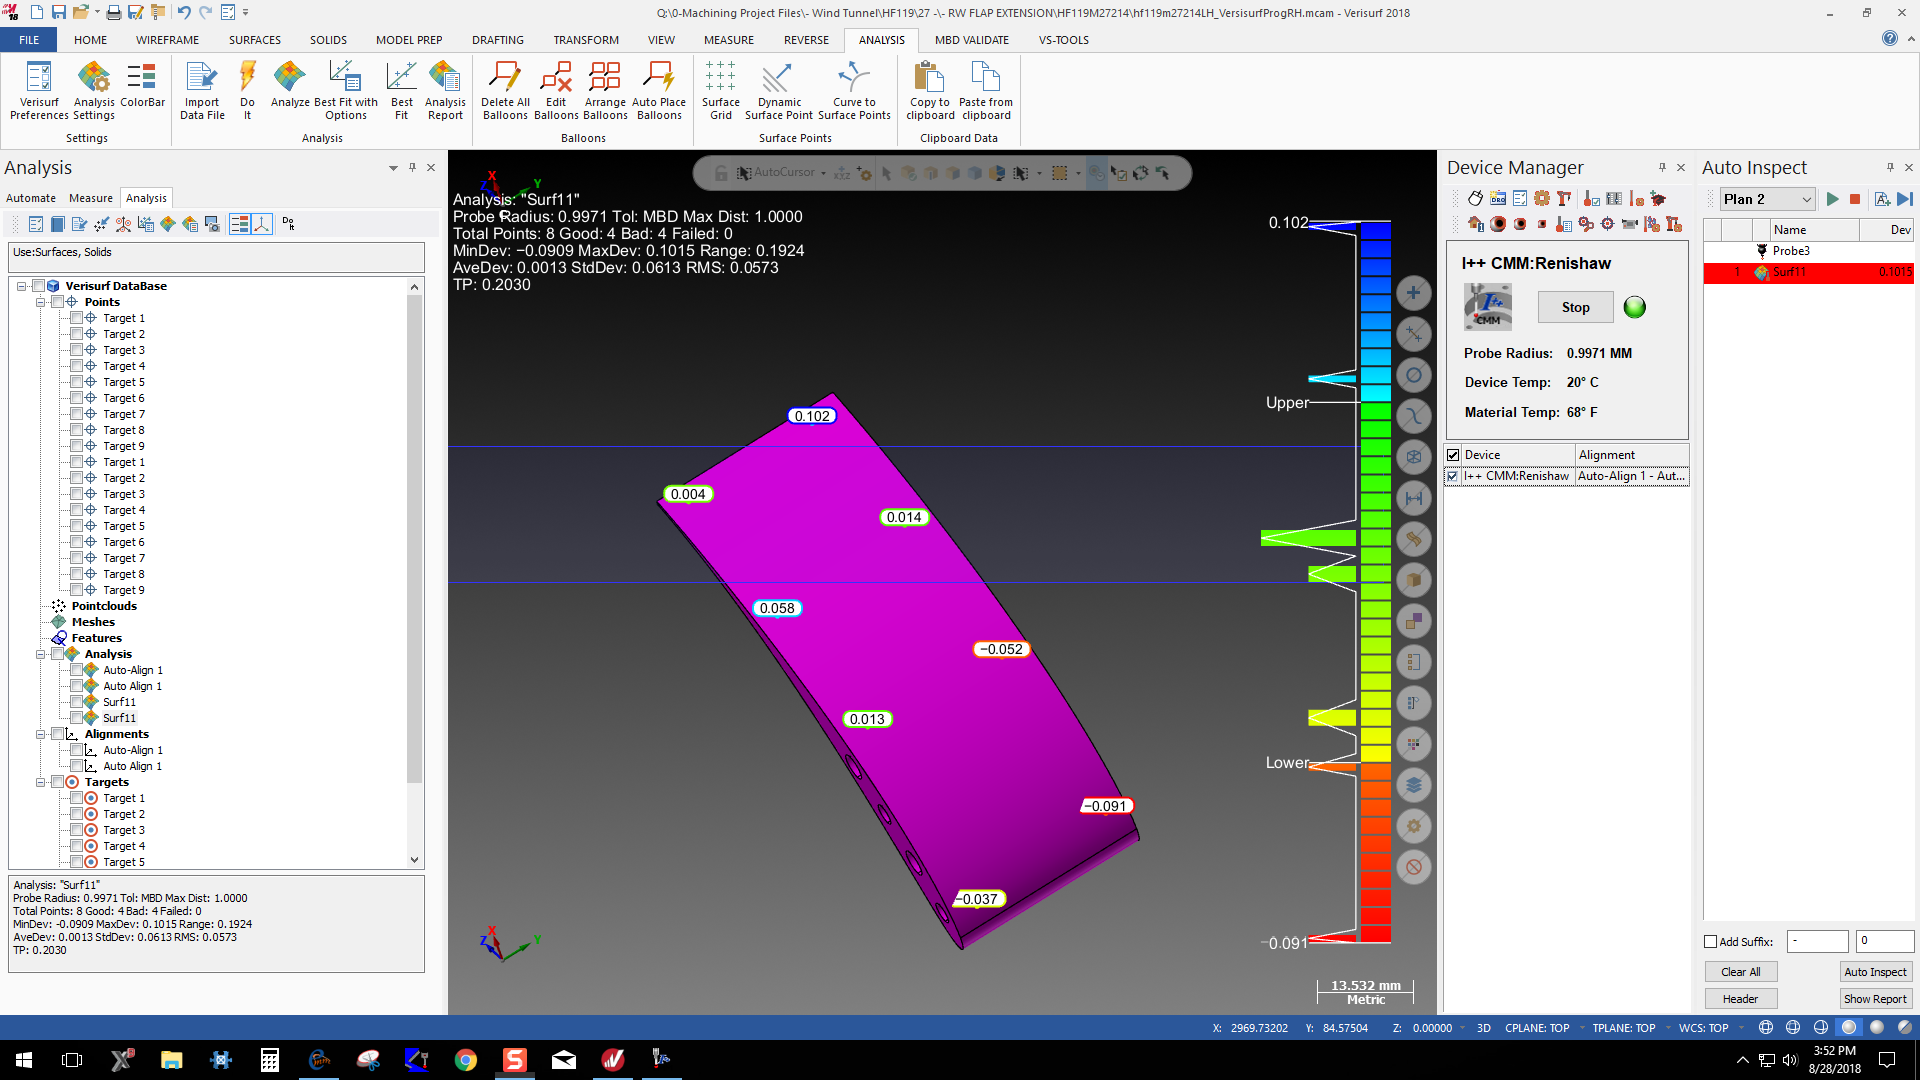
Hass F1 Team quality inspectors can touch probe or scan parts to collect the necessary data for inspection. Verisurf Software illustrated the quality of the part in real-time with on-screen color deviation mapping.
Haas F1 Team has been a longtime user of Mastercam software, operators are able to activate the Verisurf Software, for quality inspection and reporting, directly from the Mastercam toolbar, making the move from manufacturing to quality inspection seamless.
Haas F1 Team develops, builds and races as a team. Before every race the team inspects the track, everyone’s head must be in the race, not just the driver’s.
With its racing debut in 2016, Haas F1 Team is the first American Formula One team to hit the circuit since 1986. Founded by Gene Haas, the team is based in Kannapolis, North Carolina. Haas is the founder of Haas Automation, the largest CNC machine tool builder in North America, and he is the chairman of Haas F1 Team.
“Haas F1 Team gives new meaning to the term rapid development, especially when you consider the fact that the effort is truly global. Machined parts, mold layups and assemblies are done in the U.S., engine development and wind tunnel testing come out of Italy, and team logistics are handled in England,” Haas said. “Car development in Formula One takes place at hyper-speed compared to most industry timelines. Parts need to be made in days, not weeks, and they need to be right the first time. At the end of the day, each race is really a metaphor for the development process to get there – speed, precision, quality and no room for error.”
Within the rules of Formula One, there are certain components you are allowed to buy, but for the most part, cars are developed, manufactured and assembled by the team. This includes all the aerodynamic elements, machined parts, molded carbon fiber parts, and even garage tools and pit equipment. That’s right, these cars are so complicated and compact you can’t even work on them without specialized equipment. Haas F1 Team designs and manufactures special tools and fixtures, including car jacks, wheel sockets, camera mounts, tire dollies and much more.
Brad Harris was tasked with starting Haas F1 Team’s machine shop in Kannapolis. The team is responsible for turning out precision machined parts, including finished parts, mold tools and patterns for carbon fiber layups, and wind tunnel models for aero-testing. “Quality is our highest priority. The fact that a part needs to be completed yesterday is a given, but it MUST be right the first time, no do-overs,” Harris said. “In the case of wind tunnel models, we typically produce them at 60% of scale, which further emphasizes the importance of precision as any deviation from nominal is amplified at full scale.”
Most part requests arrive as 3D CAD models or PDF drawings with call-outs. It is the responsibility of the shop to manufacture the part in the time allotted and provide quality reporting on every part shipped. In addition to verification of design intent, reporting must include other data such as heat-treating certification, material certs and more – all traceable and visible online, tied to the team’s ERP system. The variables in the way plans are received, quality reporting requirements and a global supply chain present a daunting quality assurance challenge.
Haas F1 Team took a strategic approach to the challenge of quality inspection and reporting. Short term they needed to inspect, verify and report that every part leaving the shop matched the nominal design specs received, regardless of incoming design format. Long term they wanted to implement a solution the rest of the global team and key partners could tap into as well. This enterprise approach to quality encouraged objective needs-based thinking and facilitated a strategic outcome. Following internal shop discussions, feedback from team members around the world and a review of existing inspection hardware assets, the following observations were made:
HAAS F1 TEAM
QUALITY SOLUTION REQUIREMENTS
- Inspection software must be model-based on a CAD platform, including 3D modeling
- In general, the solution must be OPEN in its ability to expand and work with other applications – no closed, proprietary protocols
- Software must support new and legacy measuring devices regardless of age, controller type or proprietary software in use
- Solution must have the flexibility and embedded tools to handle the range of inspection data, from manual contact probing to non-contact point clouds
- Software must import and export all CAD files and models seamlessly
- Solution must work with CAD files, annotated PDF files, paper drawings or comparative parts
- Software must be able to edit and add intelligent GD&T annotations as part of creating an inspection plan
- It must be a scalable measurement solution to support future processes, including reverse engineering, tool building and assembly guidance
- International sales and technical support is important
- The solution must be easy to learn and easy to use to support team-wide adoption
SOLUTION
“Haas F1 Team decided on Verisurf Software, as they effectively checked-off each of the requirement boxes we had set,” Harris said. “Basically, we presented our needs list, and received not only a recommendation but a demonstration on how the solution supports both future requirements and existing commitments.”
Prior to installing Verisurf, Haas F1 Team had long been standardized on the Mastercam platform for CAD/CAM, and Solid Modeling through its SOLIDWORKS integration. Portable and fixed programmable CMMs, each running different software, were used for inspection – all supporting a suite of seven Haas UMC-750, 5-Axis Vertical Machining Centers.
MASTERCAM SOFTWARE
One of the first objectives for the team at Verisurf was to streamline the quality assurance process, integrating the software with tools and data already available. The fact that Verisurf Software is built on top of the Mastercam platform provided a direct and immediate benefit to Haas F1 Team. Once Verisurf was set up, it became accessible directly from the dropdown menu within Mastercam, providing quick access and a familiar user interface.
Mastercam Software has been in place at Haas F1 Team since day one and is the benchmark by which all software solutions are measured. With Verisurf installed, it provides an integrated CAD/CAM/CAI (Computer Aided Inspection) solution with a consistent interface, proven performance, and reliability. Mastercam’s commitment to customer and industry training and education ensures a continuous stream of qualified users proficient on the platform as well.
“As with all our technology partners, we look to Mastercam to help us produce quality parts, efficiently, and to help us gain a competitive edge that is so important in the sport. An integrated quality connection with Verisurf is just one example of this,” Harris said.
VERISURF SOFTWARE
Verisurf Software, being model-based and built on top of the Mastercam platform, allows it to open virtually any CAD file received by the Haas F1 Team, edit or add GD&T tolerances as necessary, develop an inspection plan, then complete a first article inspection, usually in minutes. The open device compatibility of Verisurf software lets the operator choose the right hardware device and format (touch probing or scanning) for the inspection job at hand. But where Verisurf really earns its stripes is in support of the Hass F1 Team proprietary CNC CMM.
VERISURF UNIVERSAL CMM
The primary inspection workhorse at the Haas F1 Team machine shop in Kannapolis is an Innovalia Metrology, Spark Gage, 161010, (1,000mm V, 1,000mm Y, 1,600mm X). “It’s a good CMM, and extremely accurate, but burdened with a proprietary CMM controller and proprietary software, which is difficult to use and not open to doing the type of things we want to accomplish across the enterprise,” Harris said. “Verisurf Universal CMM software bridged the gap with the Spark Gage, without the need to change out the proprietary software or operating system, which would have been very costly, and nearly impossible without Innovalia factory support.” Universal CMM is a software-only solution that enables seamless communication between Verisurf software and the Spark Gage CMM.
In addition to communicating with the CMM and probing system controllers, Universal CMM utilizes certain existing error map files and applies the information for error correction during operation. Universal CMM allows Haas F1 Team to use Verisurf software to interactively build, edit, preview, and submit automated inspection plans to the Spark Gage CMM while maintaining the consistent, easy-to-use Verisurf, Windows® based, user interface and its many productivity features.
“Using Verisurf software as a common platform across our Haas F1 Team enterprise improves quality and consistency, but also reduces training, support and file management,” Harris said.
REPORTING FLEXIBILITY
Verisurf software allows information to be pulled from CAD files and inspection data to quickly create first article and production reports that can be output in a variety of business presentation formats. Verisurf also provides an integrated solution to facilitate situations when the design authority is provided via paper or annotated PDF drawings. This integration also supports the Haas F1 Team’s need for quality reporting of attributes beyond geometry, such as heat-treating certifications, material certs and more, all accessible through the Team’s ERP system. “Haas F1 Team has a culture of quality because we have to,” Harris said. “Perfection is important, and everything we make is highly technical and close tolerance. When it comes to quality inspection and reporting, we want it effective, practical and easy, in that order.”
For more information visit:
www.HaasF1Team.com
##
Verisurf Software, Inc.
Verisurf Software, Inc. is an advanced three-dimensional measurement solutions company committed to delivering advanced computer-aided inspection and reverse engineering solutions. Verisurf software helps manufacturers of all sizes and industries produce higher quality products in less time and at a lower cost with automated, Model-Based Inspection processes. For more information, visit the Verisurf website at https://verisurf.com.

