3D Scanning & Reverse Engineering Suite
Create manufacturable, 3D, solid CAD models starting from any physical part in record time. A unique product designed exclusively for pointcloud to solid model workflows.
SCHEDULE A DEMOVIDEO OVERVIEWWHAT MAKES US DIFFERENT
Verisurf 3D Scanning & Reverse Engineering Suite
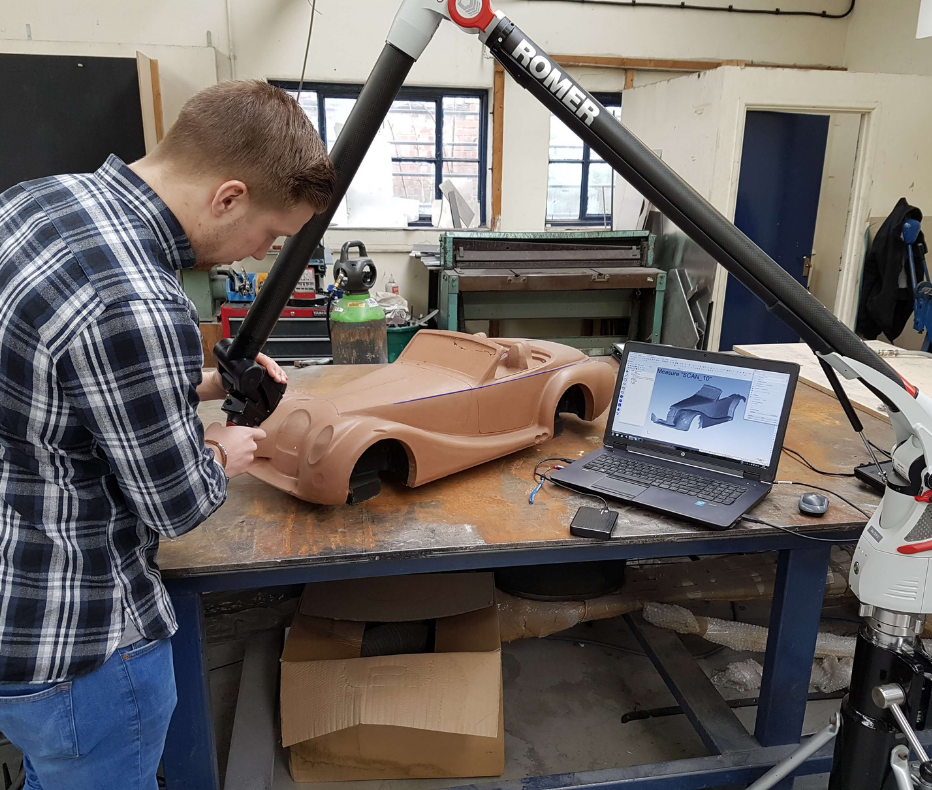
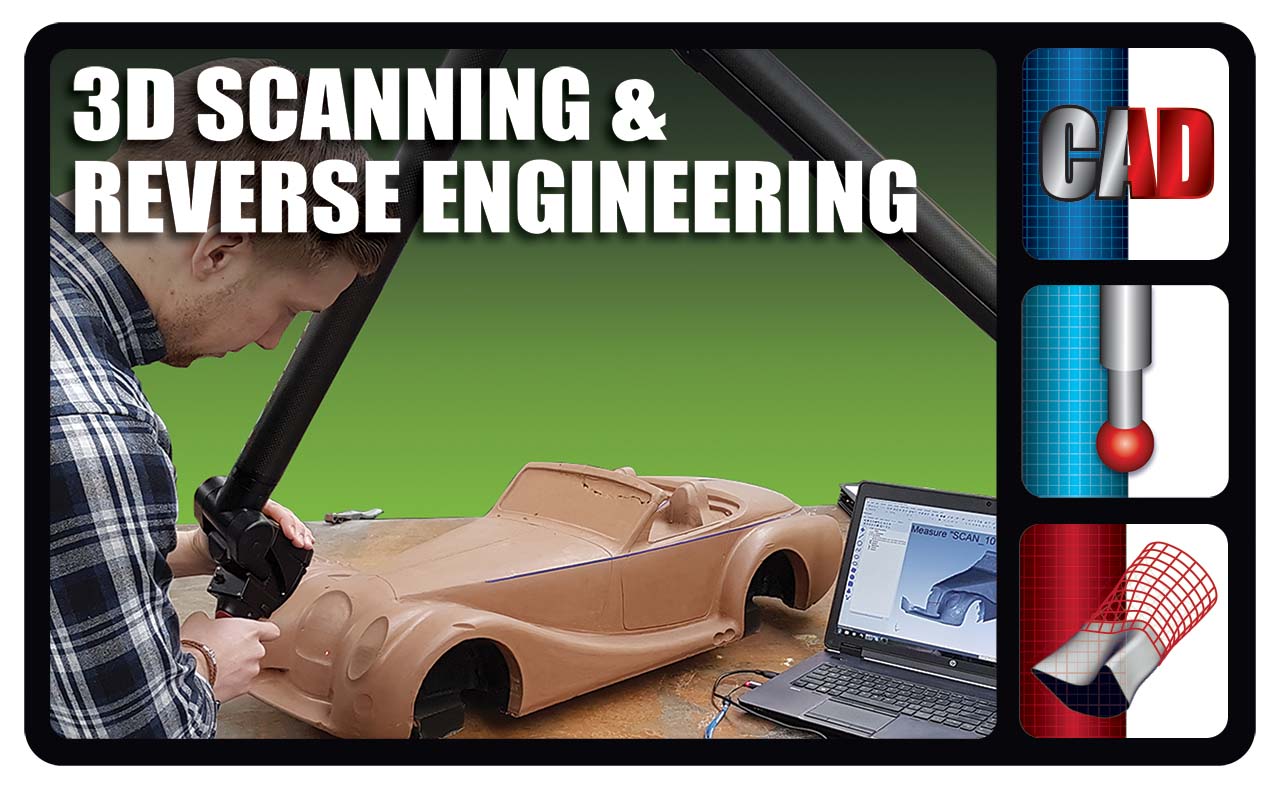
The Verisurf 3D Scanning and Reverse Engineering Suite includes CAD, MEASURE, and REVERSE modules and is uniquely suited for any reverse engineering project. The suite features an extensive set of tools for collecting, editing, meshing, and surfacing pointcloud and mesh data. Verisurf is fully compatible with Mastercam enabling you to scan, measure, mesh, and model your part and then export to STL for additive manufacturing or CNC program and machine it in one user interface.
Engineering outcomes enabled by Verisurf Reverse solutions include:
- Producing and optimizing STL files for 3D printing
- Generating CAD surfaces for CNC machining
- Developing solid CAD models for manufacturing
- Creating surface model representations for industrial design
- Building solid models for Product Lifecycle Management
EXPLORE BENEFITS & FEATURES
How we help you scan parts to create manufacturable surfaces and solid models.
Connect & Capture Geometry
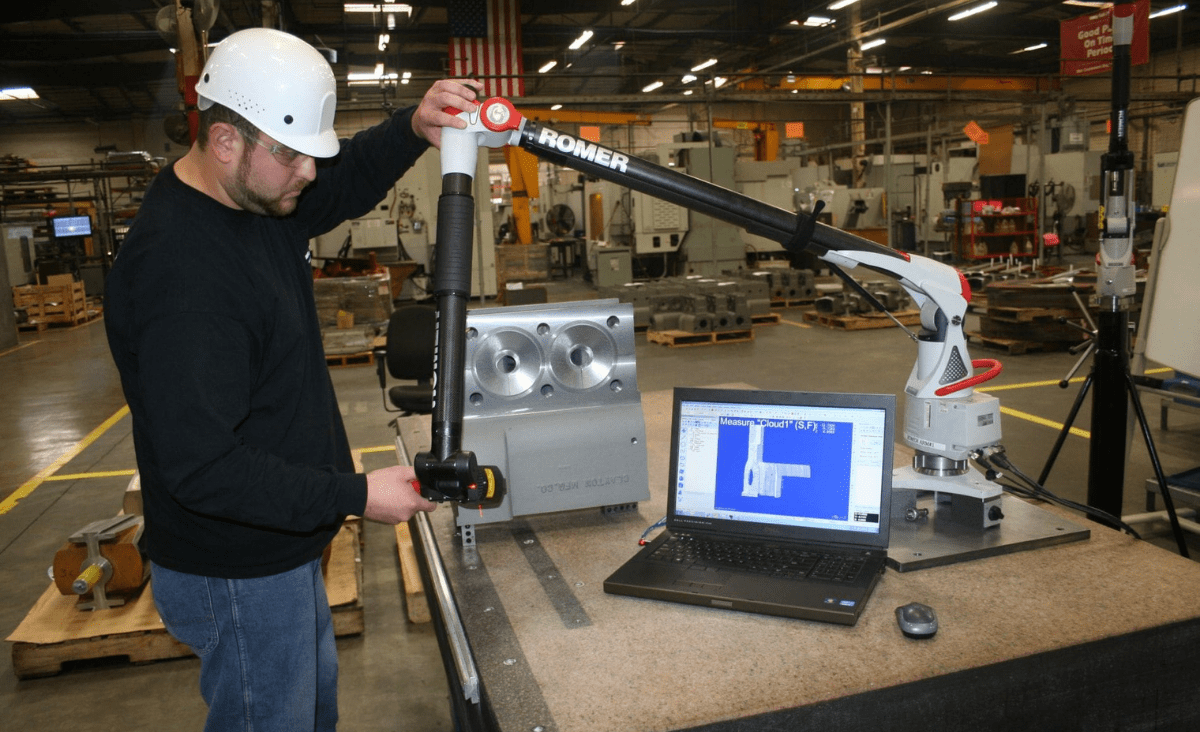
- Connect, operate, calibrate, adjust hardware settings, etc. via direct interface.
- Observe, orient, examine live data capture onscreen, looking for voids and adjusting as required.
- Make accommodations or adjustments for material color or reflectivity.
- Set clipping masks to ignore unwanted data, set organization parameters with many options to help manage large, complex datasets.
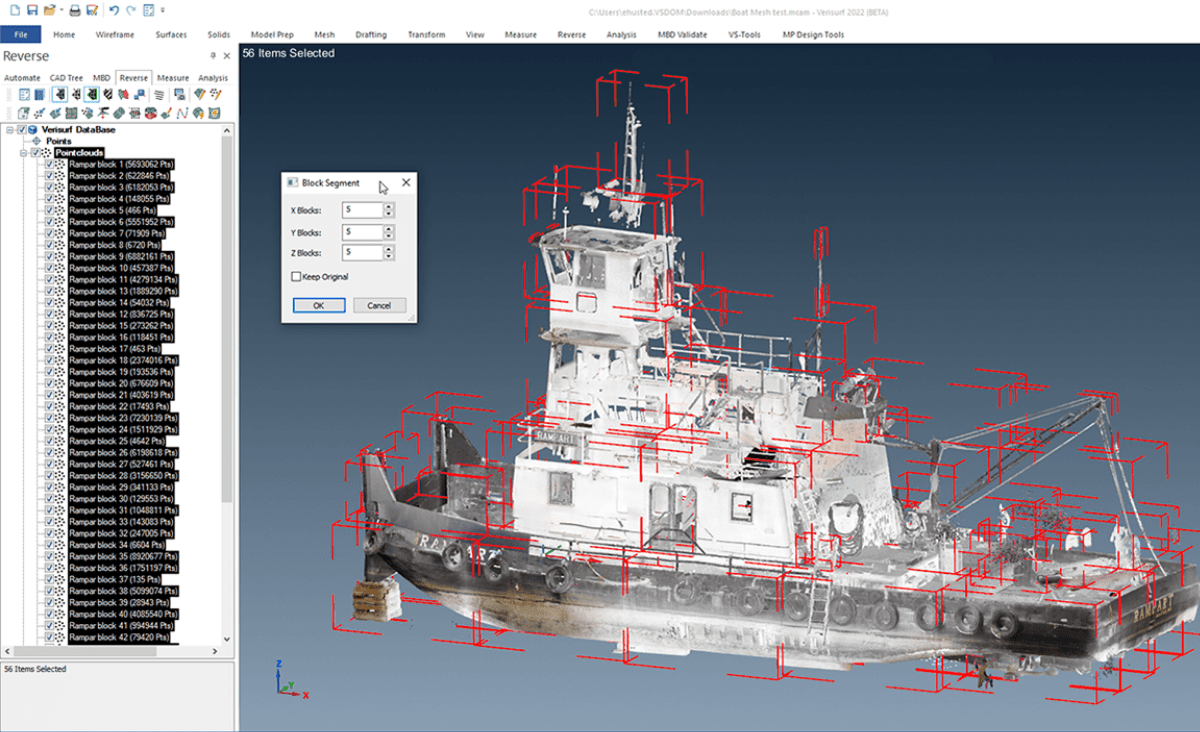
Edit Massive Scan Data Sets
- Crop, filter/decimate, delete , copy, remove outliers, transform via a multitude of assist tools.
- Extract and fit primitive features to NIST-confirmed algorithms.
- Smooth and normalize with mathematical, geometric, include/exclude tools.
- Align points-to-points, points-to-mesh, points-to-CAD and all combinations thereof with many tools for simplifying and speeding the process.
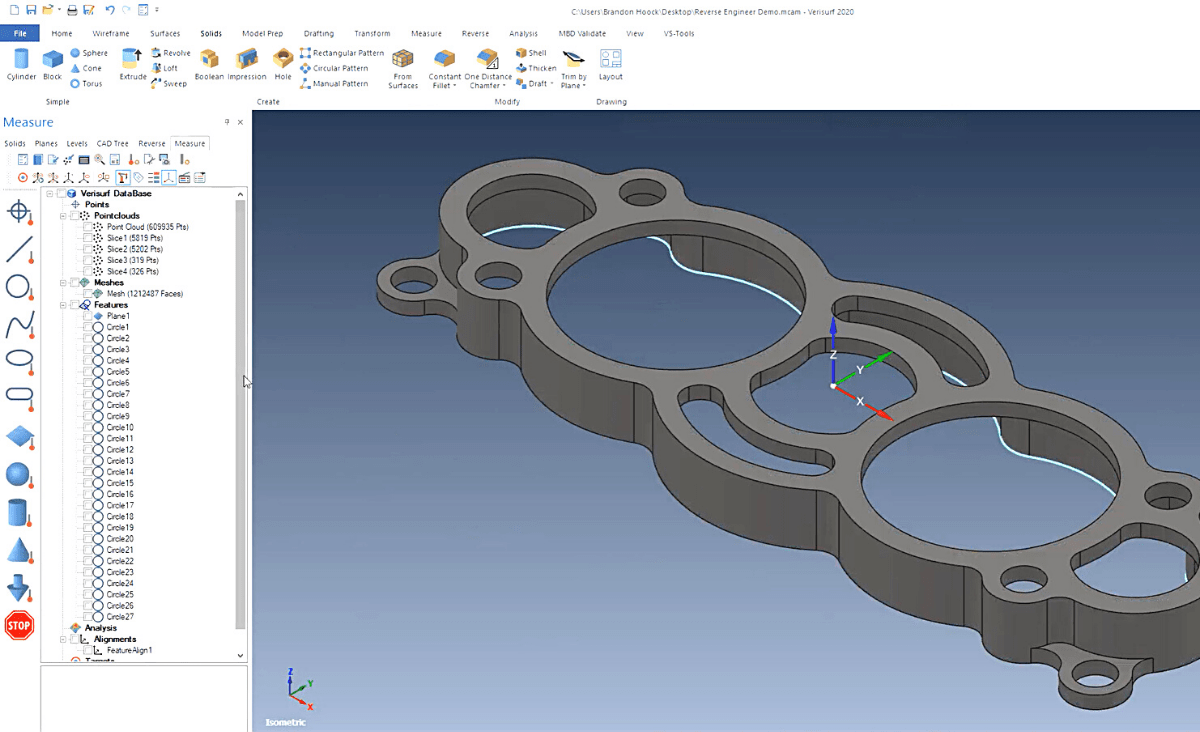
3D Surfacing & Solid Modeling
- Point and mesh conversion to NURBS surfaces and wireframe/curve entities with tools to live-tweak (e.g., push-pull) entities.
- Transform captured and constructed data with live, intuitive CAD and working coordinate system (WCS) tools.
- Advanced solids creation and editing from scanned points, constructed features, and meshes.
- Solids extrude, fillet, chamfer, re-size, boolean edits, normalize, and capture design intent or as-built.
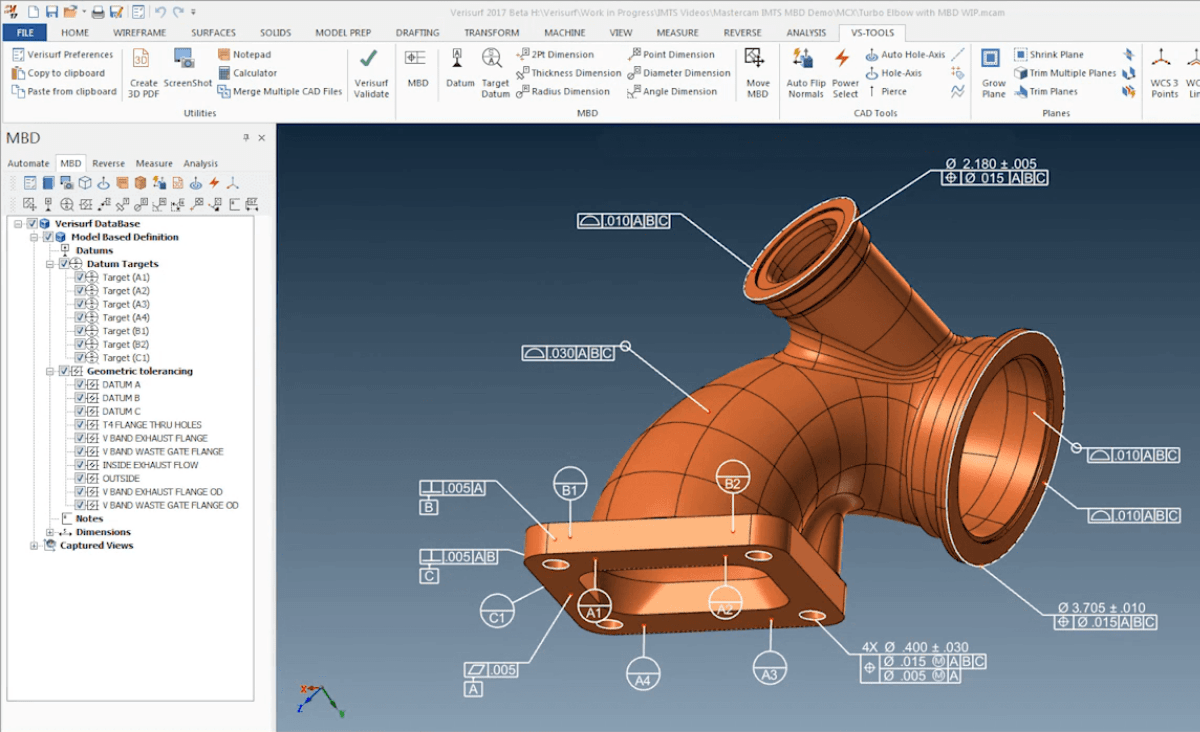
Intelligent GD&T for Manufacturing
- Apply and utilize geometric dimensioning & tolerancing for newly created CAD entities.
- Employ GD&T for a fully model-based definition (MBD) centric enterprise.
- Set relationship constraints to support Manufacturing and Quality Assurance.
- Engage best-practices for production tolerances and process control for in-house and suppliers.
SOFTWARE OPTIONS
Available options for 3D Scanning and Reverse Engineering.
Available as Offline Suite
Many devices have their own probing and scanning software. In this case you can save money working offline. Easily import probed points, splines, scanned point clouds or meshes collected from any device and reverse engineer them into solid models with the Verisurf Offline Reverse Engineering Suite.
Scanning Technology Overview
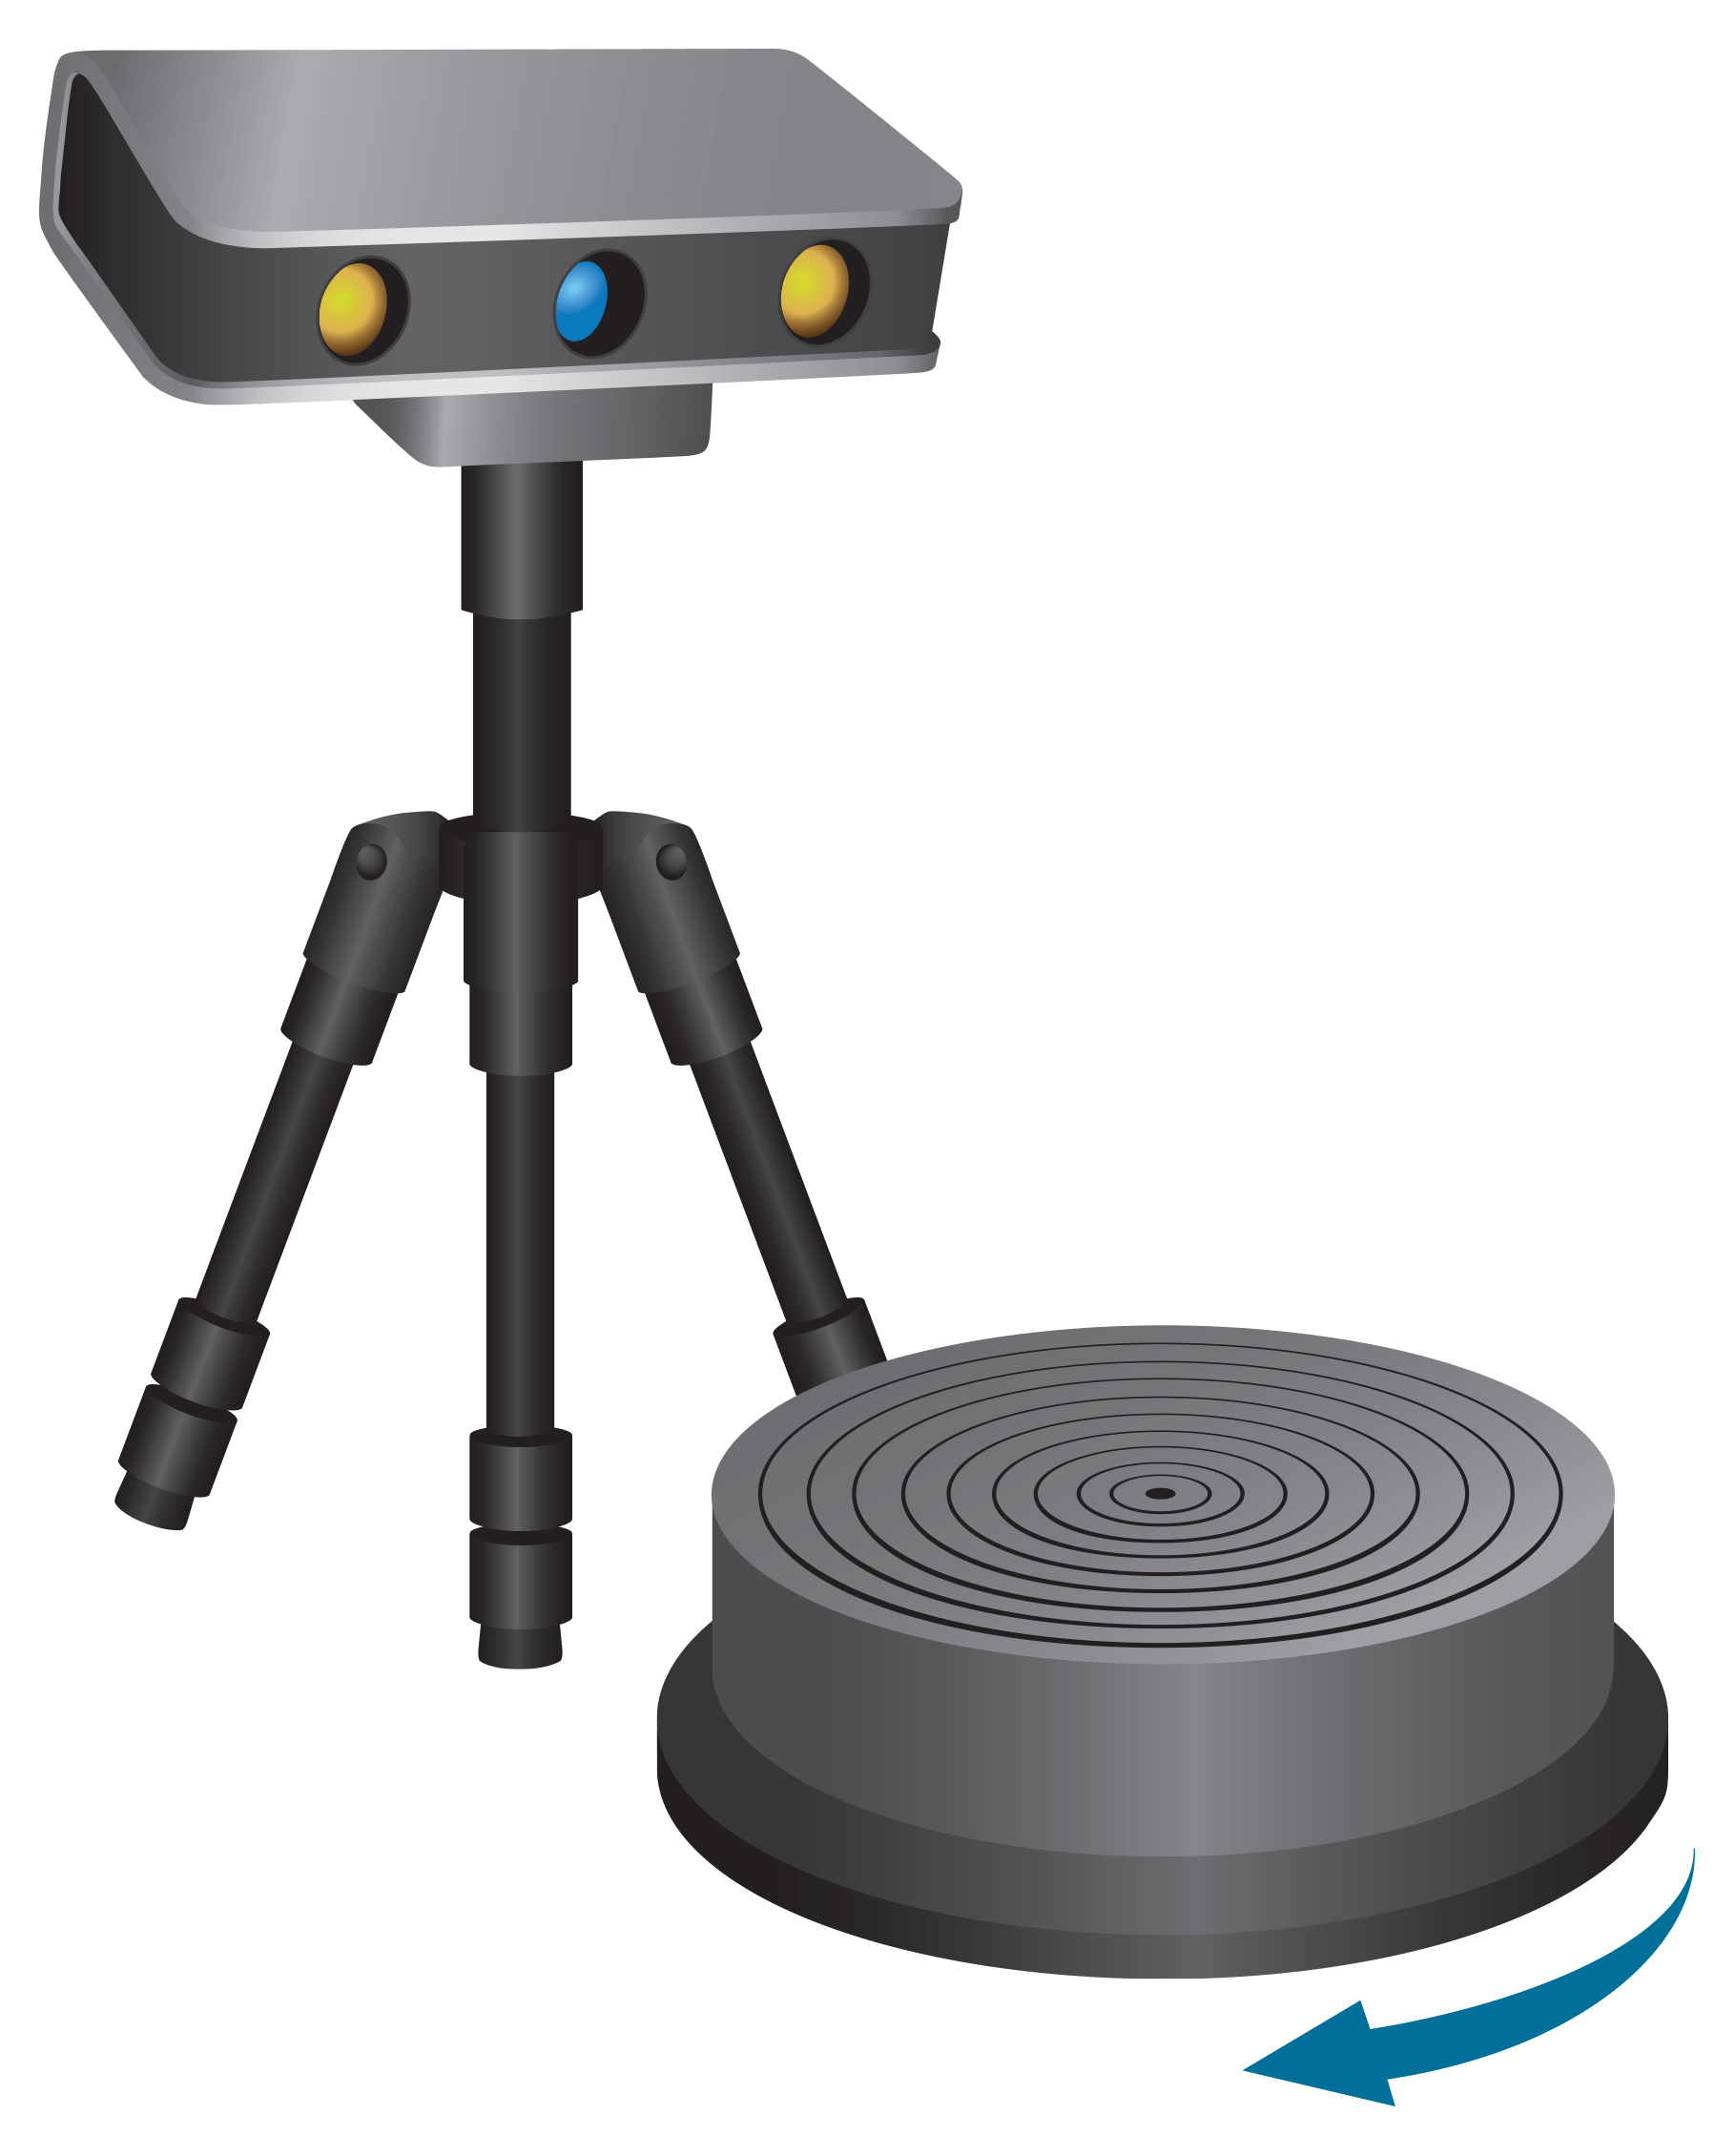
Stationary Structured Light – 3D scanning technology projects structured light patterns on a surface and uses integrated camera(s) to translate the data it returns into a 3D mesh of the item. The sensor typically remains stationary while scanning and it may be accompanied by a turntable to rotate the part to capture 360 degrees of the shape. Advantages include speed, resolution, and the ability to capture complex profiles. Verisurf excels at filtering, meshing, and surfacing the dense, 3D scan data sets produced by structured light scanners.
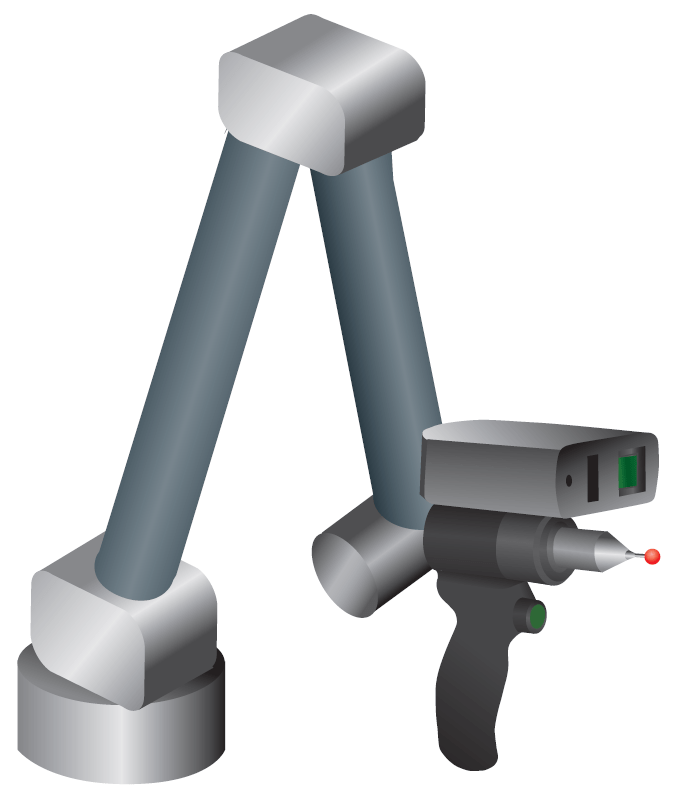
3D Laser Line – Scanners measure the intersection of a laser light beam projected and reflected from a surface to and captured by its integrated camera to generate 3D data. Portable CMM arm-mounted versions provide portability and high articulation during data capture while programmable CMM and robot mounted types provide repeatability and automation. They have the added benefit of switching to a rigid, contact probe that compliments the scanner by being able to measure features that cannot be seen with the scanner, therefore the combination is a very effective paring. Verisurf easily registers multiple, individual scan passes to existing CAD geometry (or to each other) prior to surfacing and creation of a 3D CAD model.
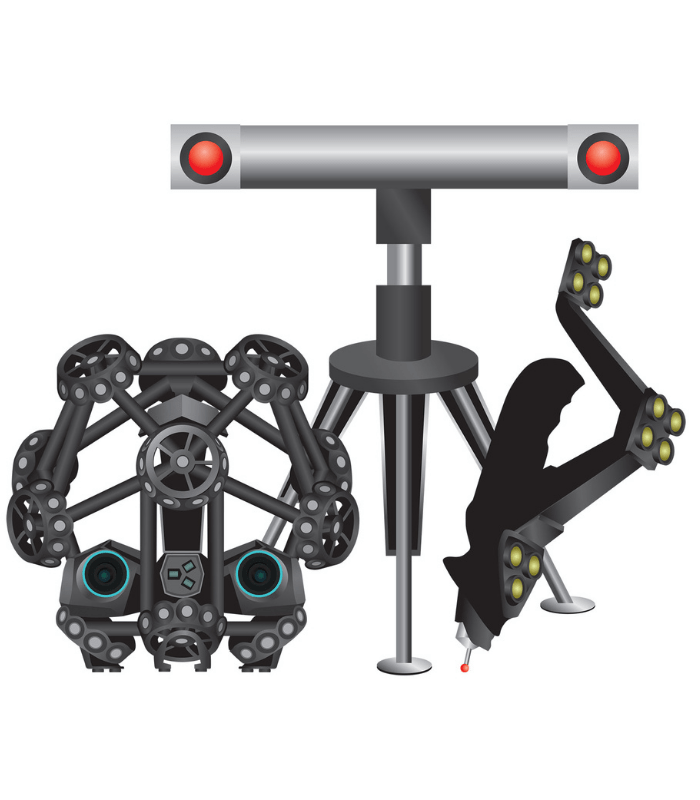
Optical Tracker – Technologies use optical sensors to track targets rigidly mounted to a handheld laser line scanner or a contact probe. Although the optical tracking sensor needs to maintain a line-of-sight with the handheld scanner these systems provide mobility, support larger working volumes, and feature excellent resolution.
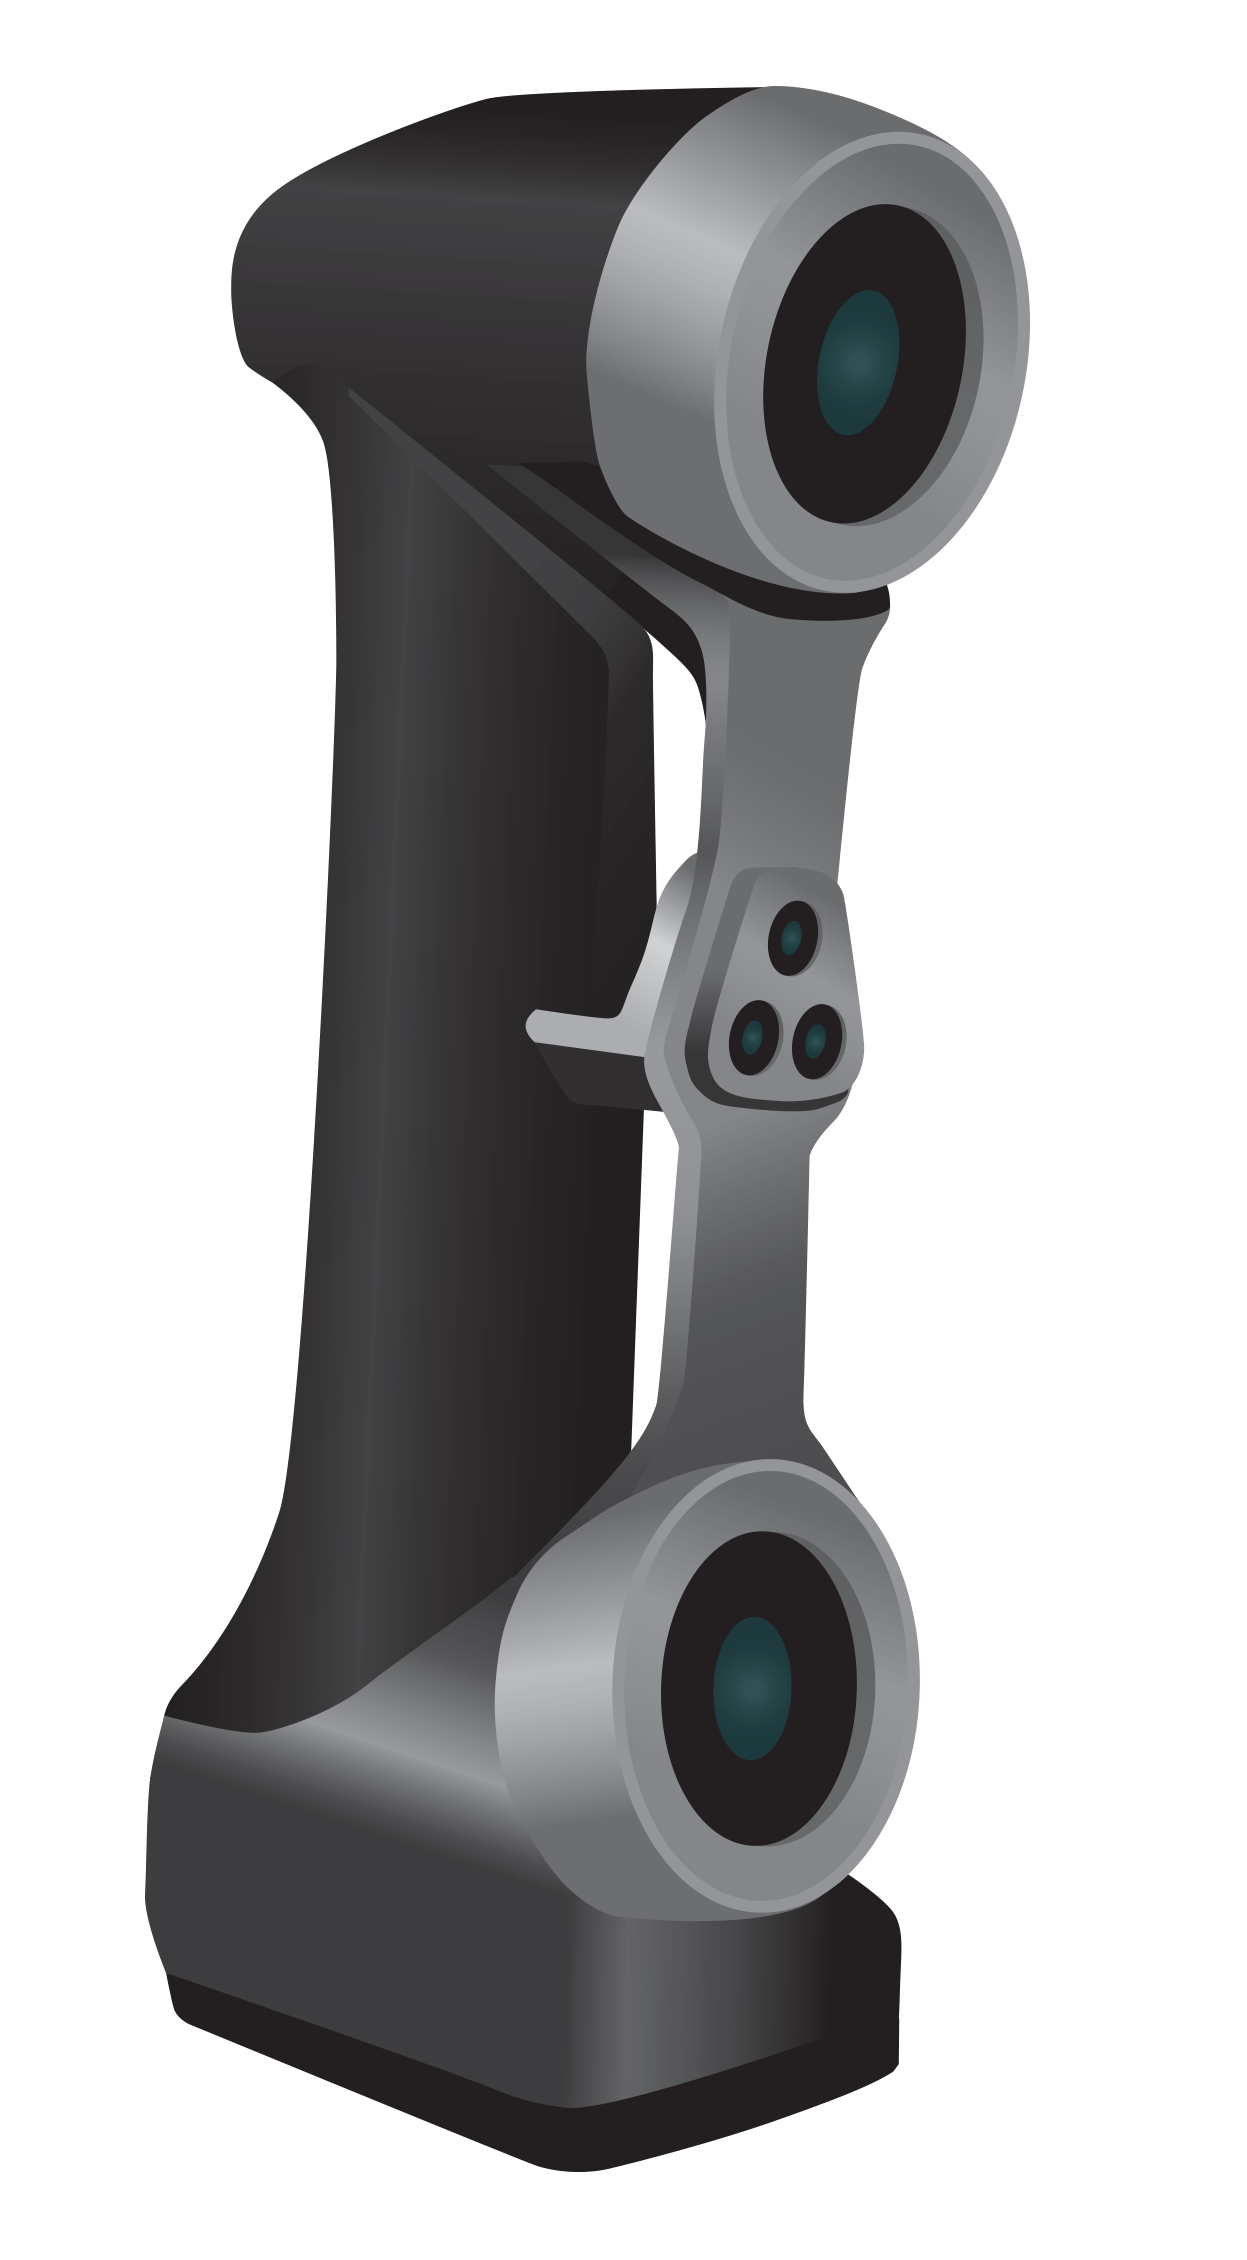
Hand Held – Scanners are manually moved around the object and have less size constraints. These scanners utilize different scan technologies including laser lines, structured light or combinations of both. Many require alignment stickers to maintain scan data alignment, which while being a small inconvenience, it has the benefit of allowing the part to move while being scanned, and that can be very beneficial for some applications. Others can align to scanned geometry or be used in combination with optical trackers. All these scanners come with their own scanning software so we recommend saving some money with a Verisurf Offline Suite.
What about color? Scanners with color cameras can capture high-quality color information if required for visual clarity, 3D printing, or documentation. Verisurf easily manages color point cloud data and derivative color meshing so users can reap the added benefits of color data.

