A training video series applying Verisurf software and Master3DGage portable CMM to digitize and scan high-performance engine cylinder heads to reverse engineer and create highly accurate 3D models for manufacturing.
Port Reverse Engineering with the Master3DGage
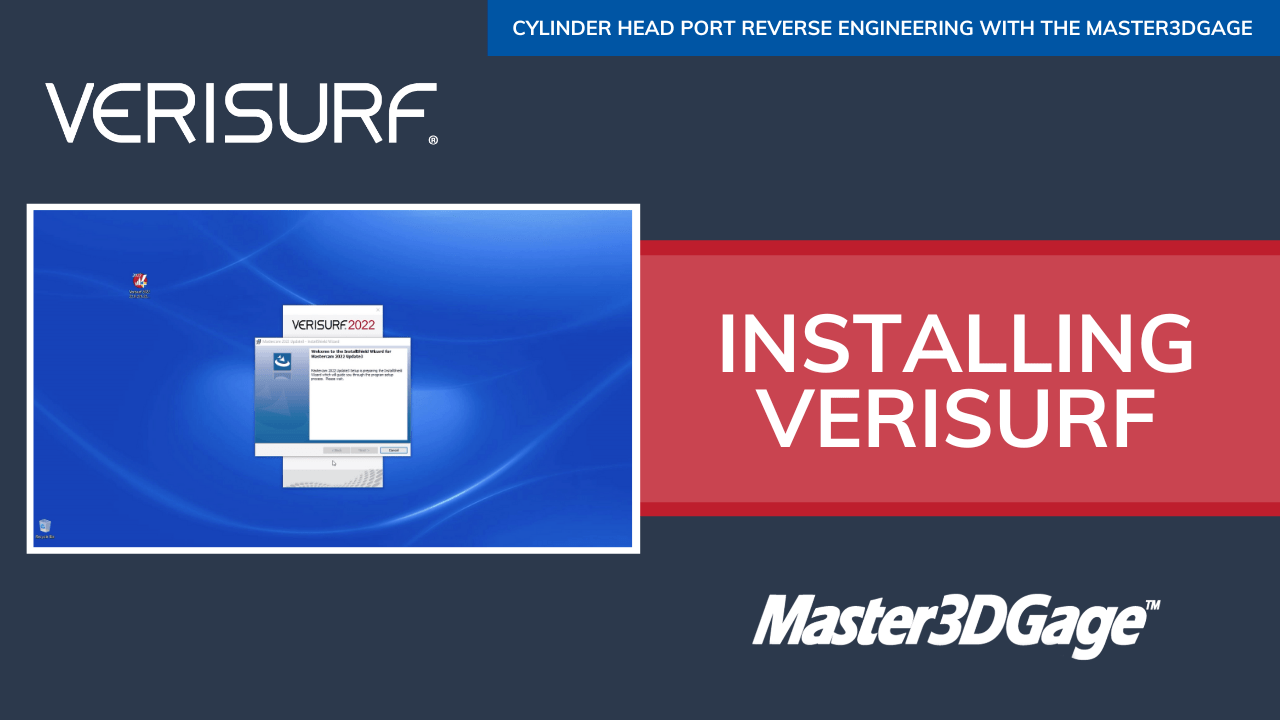
- Download the software installer
- Install the core software
- Select your measuring device and install the Verisurf Device Interface (VDI) application (if required)
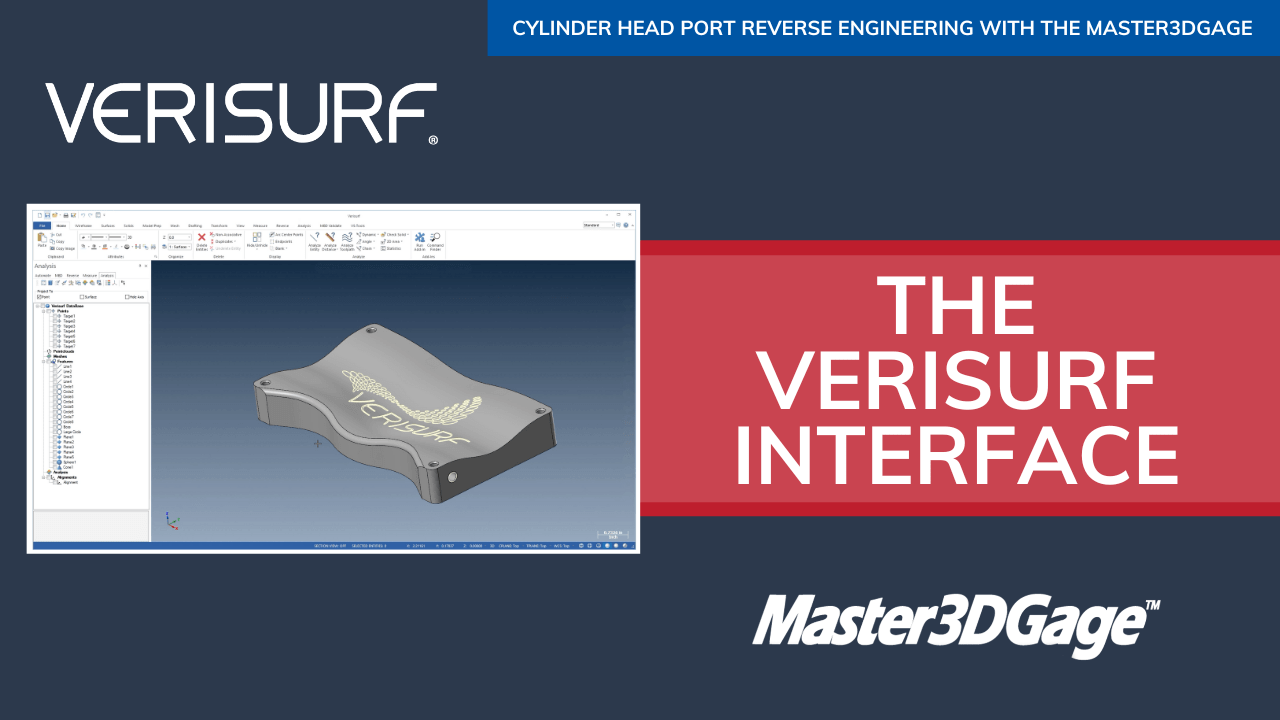
- Navigation and controls of the graphical user interface and measurements tree – practice with sample file
- Ribbon bar, graphics window toolbars, menus and views
- Points, clouds, features and the Operations Managers
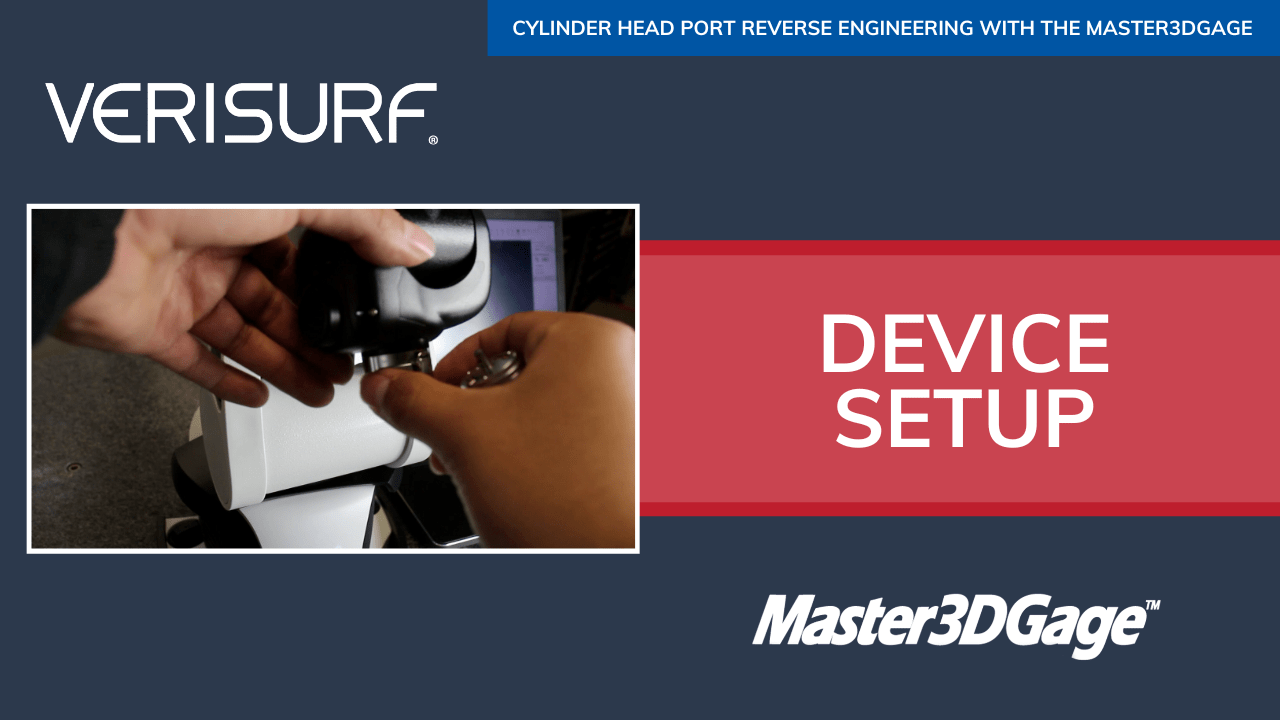
- Remove arm, probes and cables from travel and storage case
- Proper setup and mounting of the arm and components
- Secure arm, start the Verisurf device interface
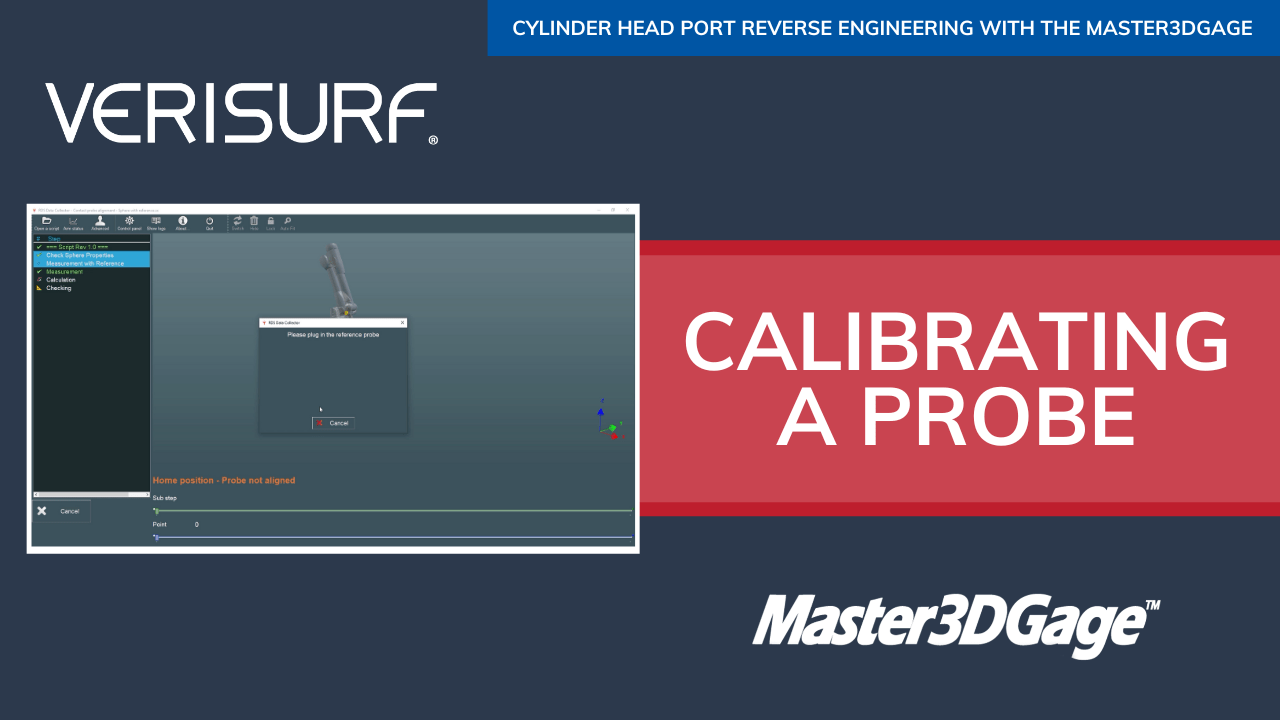
- For first time use, define and align the Port Probe
- Run the user-prompted, quick calibration sequence
- Verify probe calibration results. Device is ready to measure
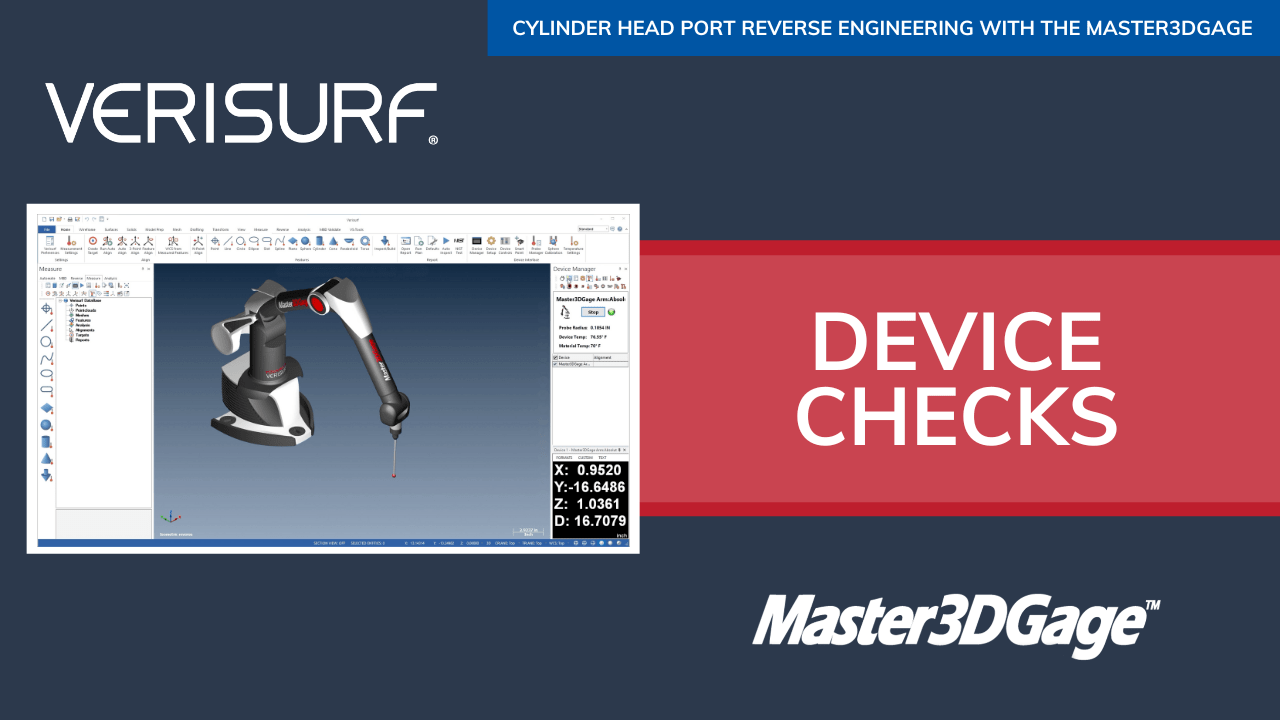
- Quick and easy checks to ensure device and probe accuracy and stability
- Nest probe in a stable location, observe DRO
- Record data on the verification if wanted
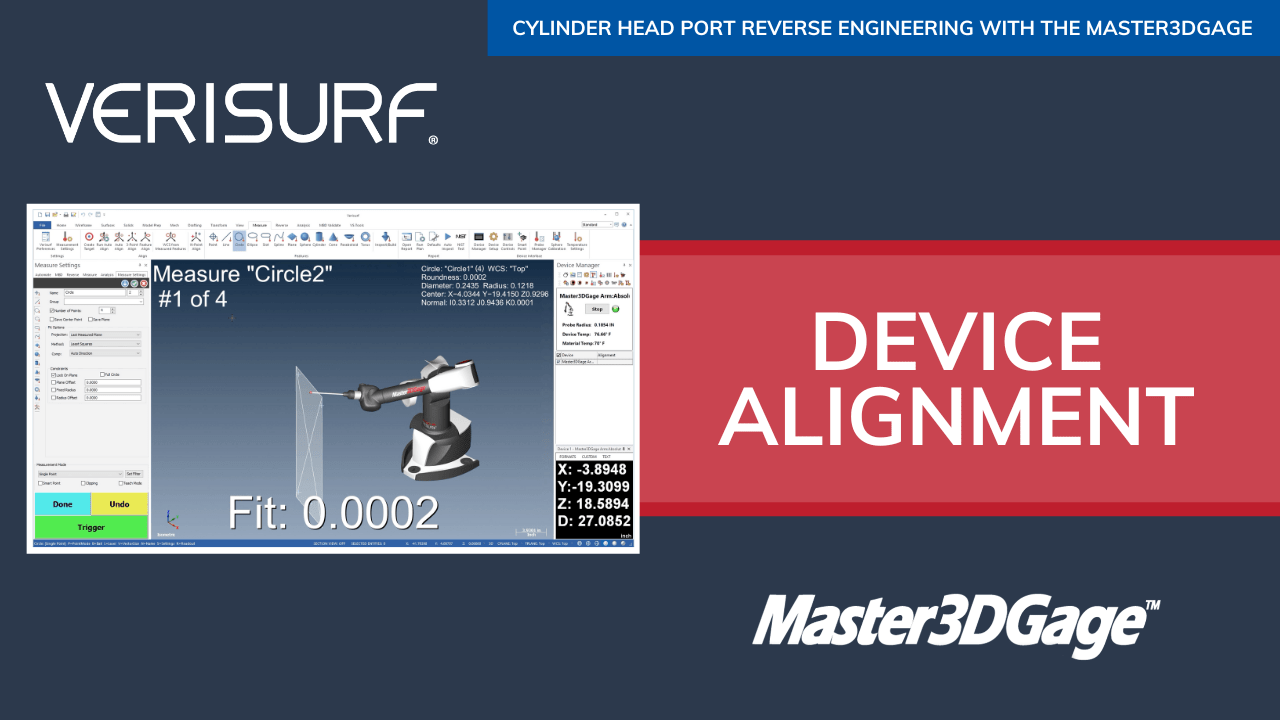
- Simple and fast alignment between cylinder head, Master3DGage, and software coordinate system
- Measured alignment establishes reference system and assures accuracy between ports and features
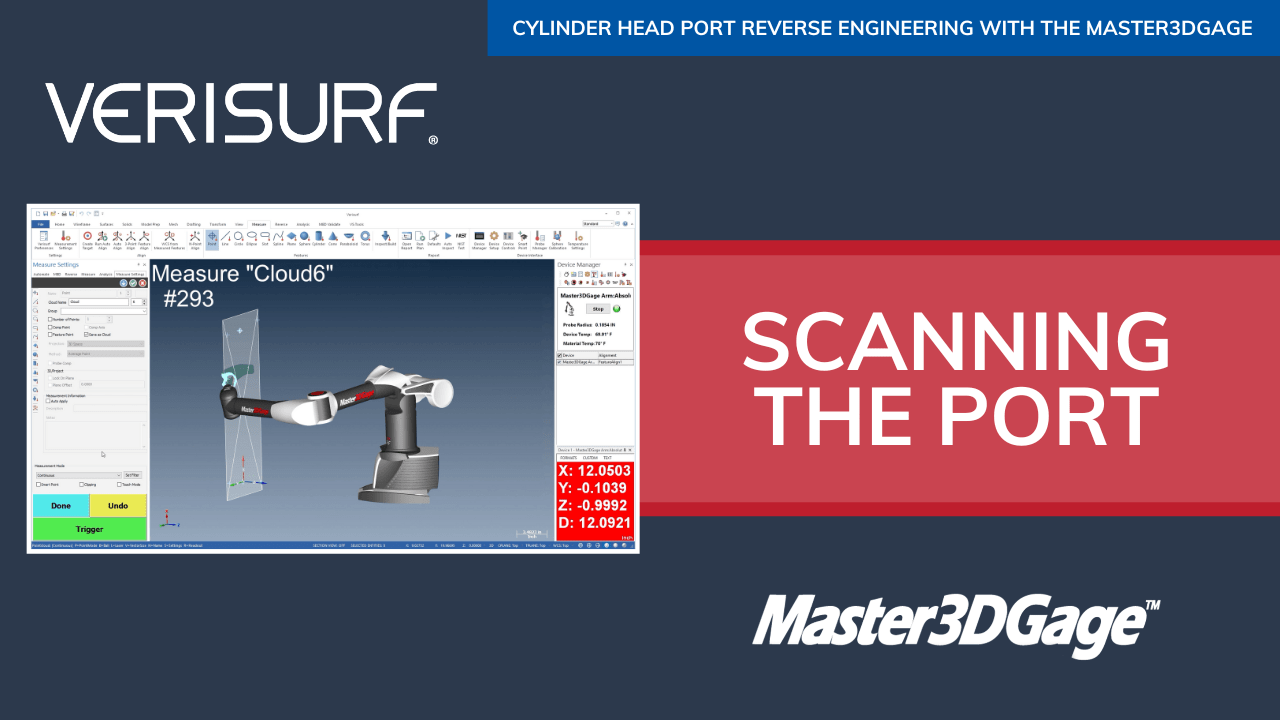
- Using the port probe to “scrub” the inner surfaces
- Control, visualize, re-check, and fill voids to complete the port scan
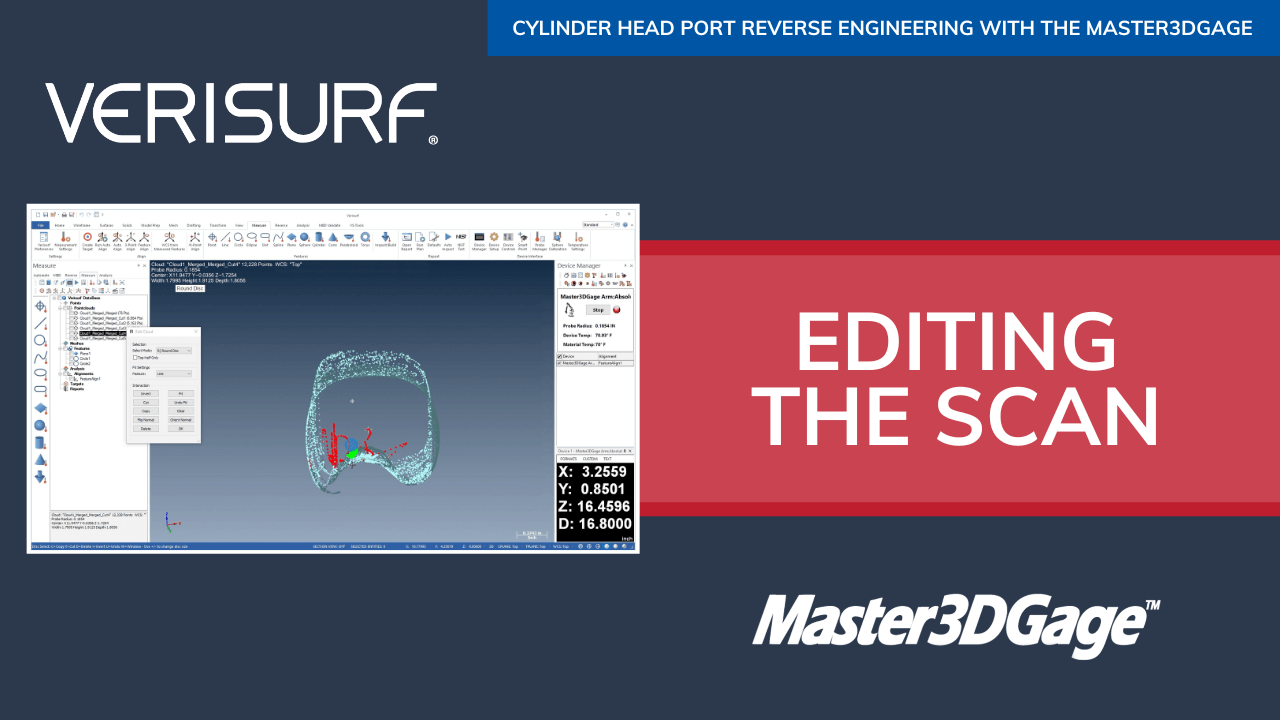
- Clean up the scan by removing outliers and errant points
- Use the intuitive, extensive toolset of cloud edit tools to locate and remove bad points
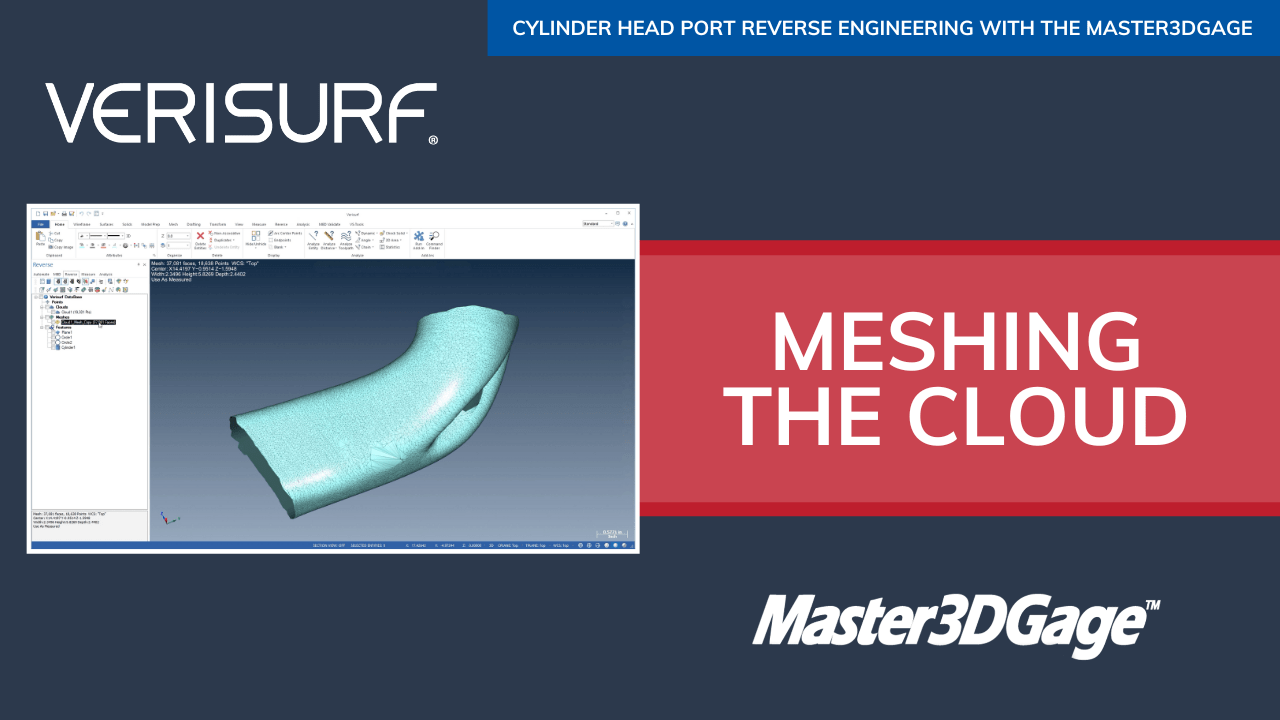
- Create polygonal mesh with just a few clicks
- Offset mesh by the probe radius
- Optimize, refine & trim mesh
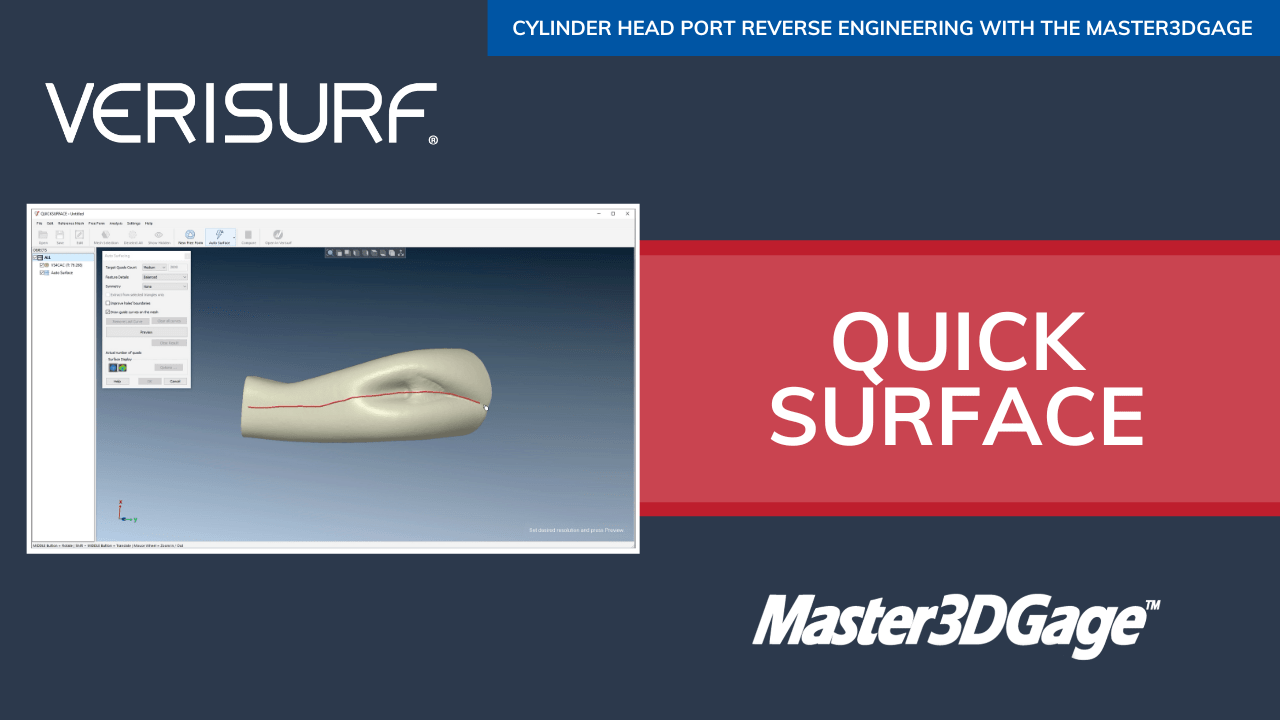
- Create quality surfaces with the Quick Surface option
- Advanced features for refining and making design adjustments to the mesh and resulting surface model
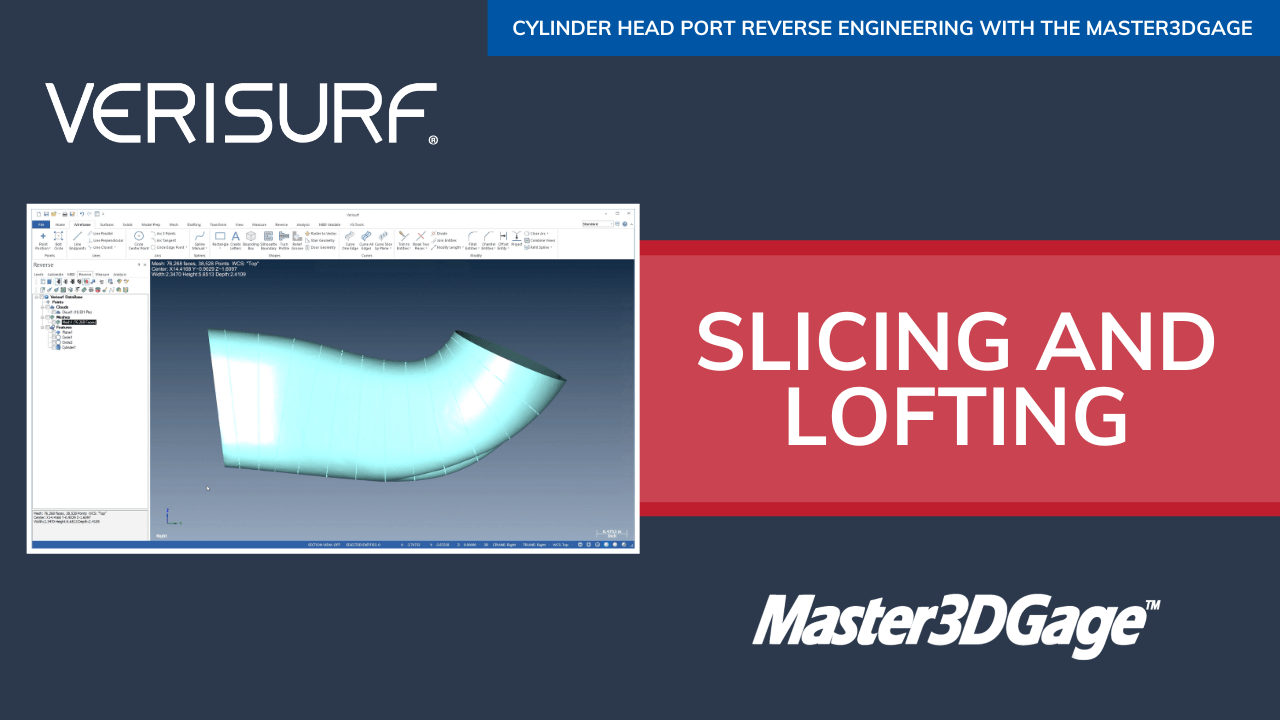
- Alternative surfacing method, mesh slice and loft curves
- Creates a single surface
- Does not require Quick Surface option. Uses more manual CAD functions
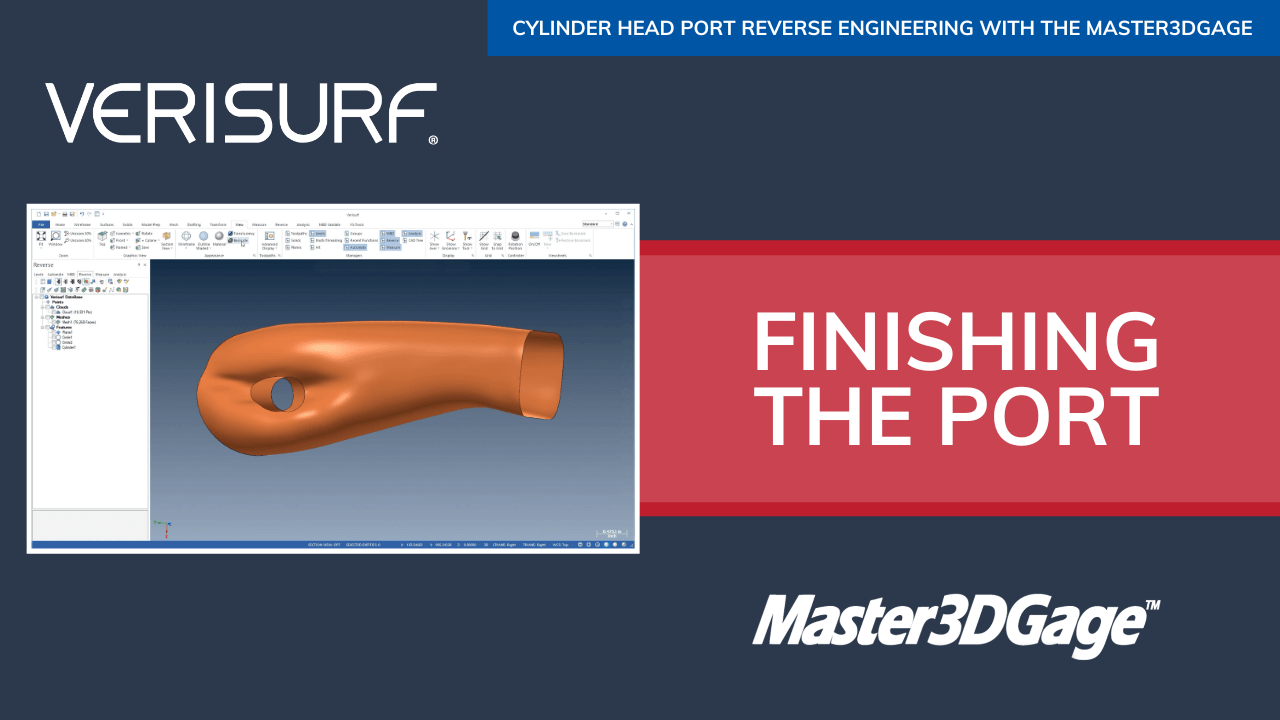
- Final steps, incorporate valve guide, create duplicate ports
- Trim measured valve guide cylinder to port surface
- Copy-transform and mirror the additional 3 ports
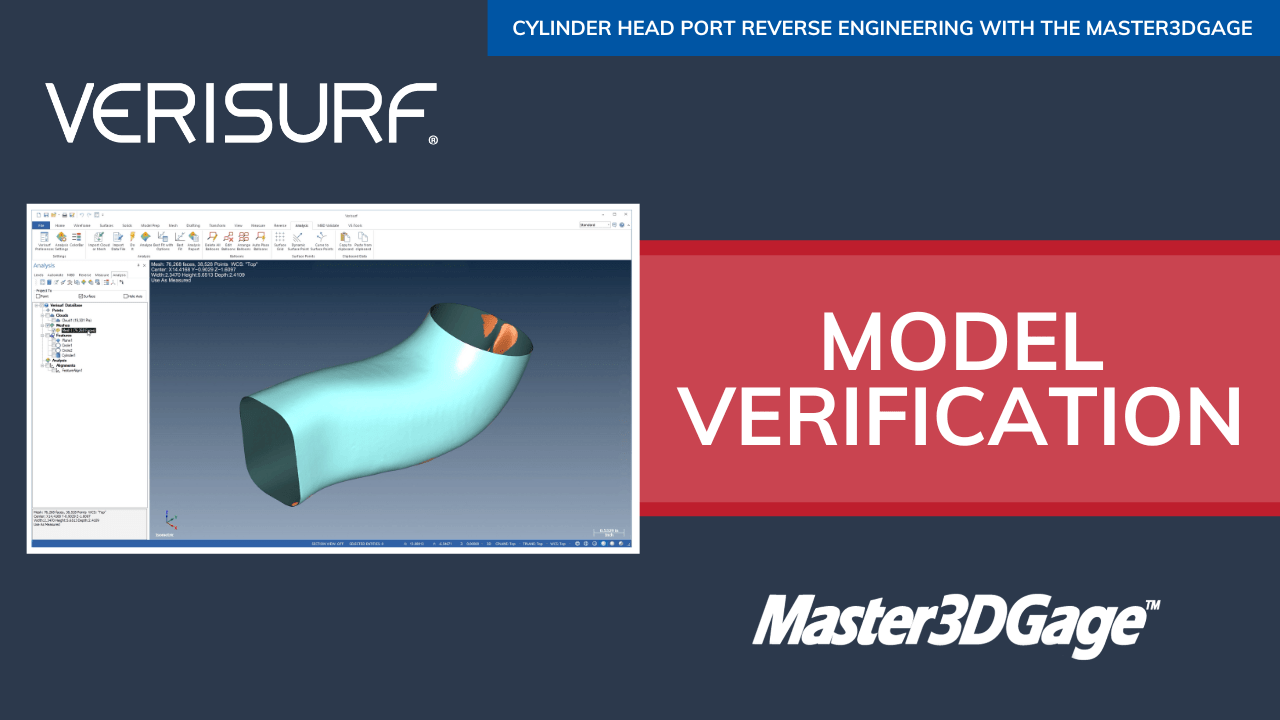
- Compare original dataset to the newly created CAD
- Analyze both mesh and point cloud to surfaces
- Use the many tools available to fully understand and refine the process

