CMM Master™
KEY BENEFITS
The CMM Master provides process control by delivering optimal price and performance to your application. The system brings highly repeatable, thermally insensitive, versatile, and programmable inspection to the shop floor.
The solution is uniquely designed to be the most cost-effective, automated inspection system that is close to the production line or assigned to dedicated work cells.
Our approach adds a unique Cubic Volumetric Mapping (CVM) process utilizing 24 parameter calculations to error map and significantly improve accuracy over the standard, comparator-based Equator. It eliminates the costly step of the typical “mastering” process that involves a separate CMM to baseline your part.
Features
Specifications
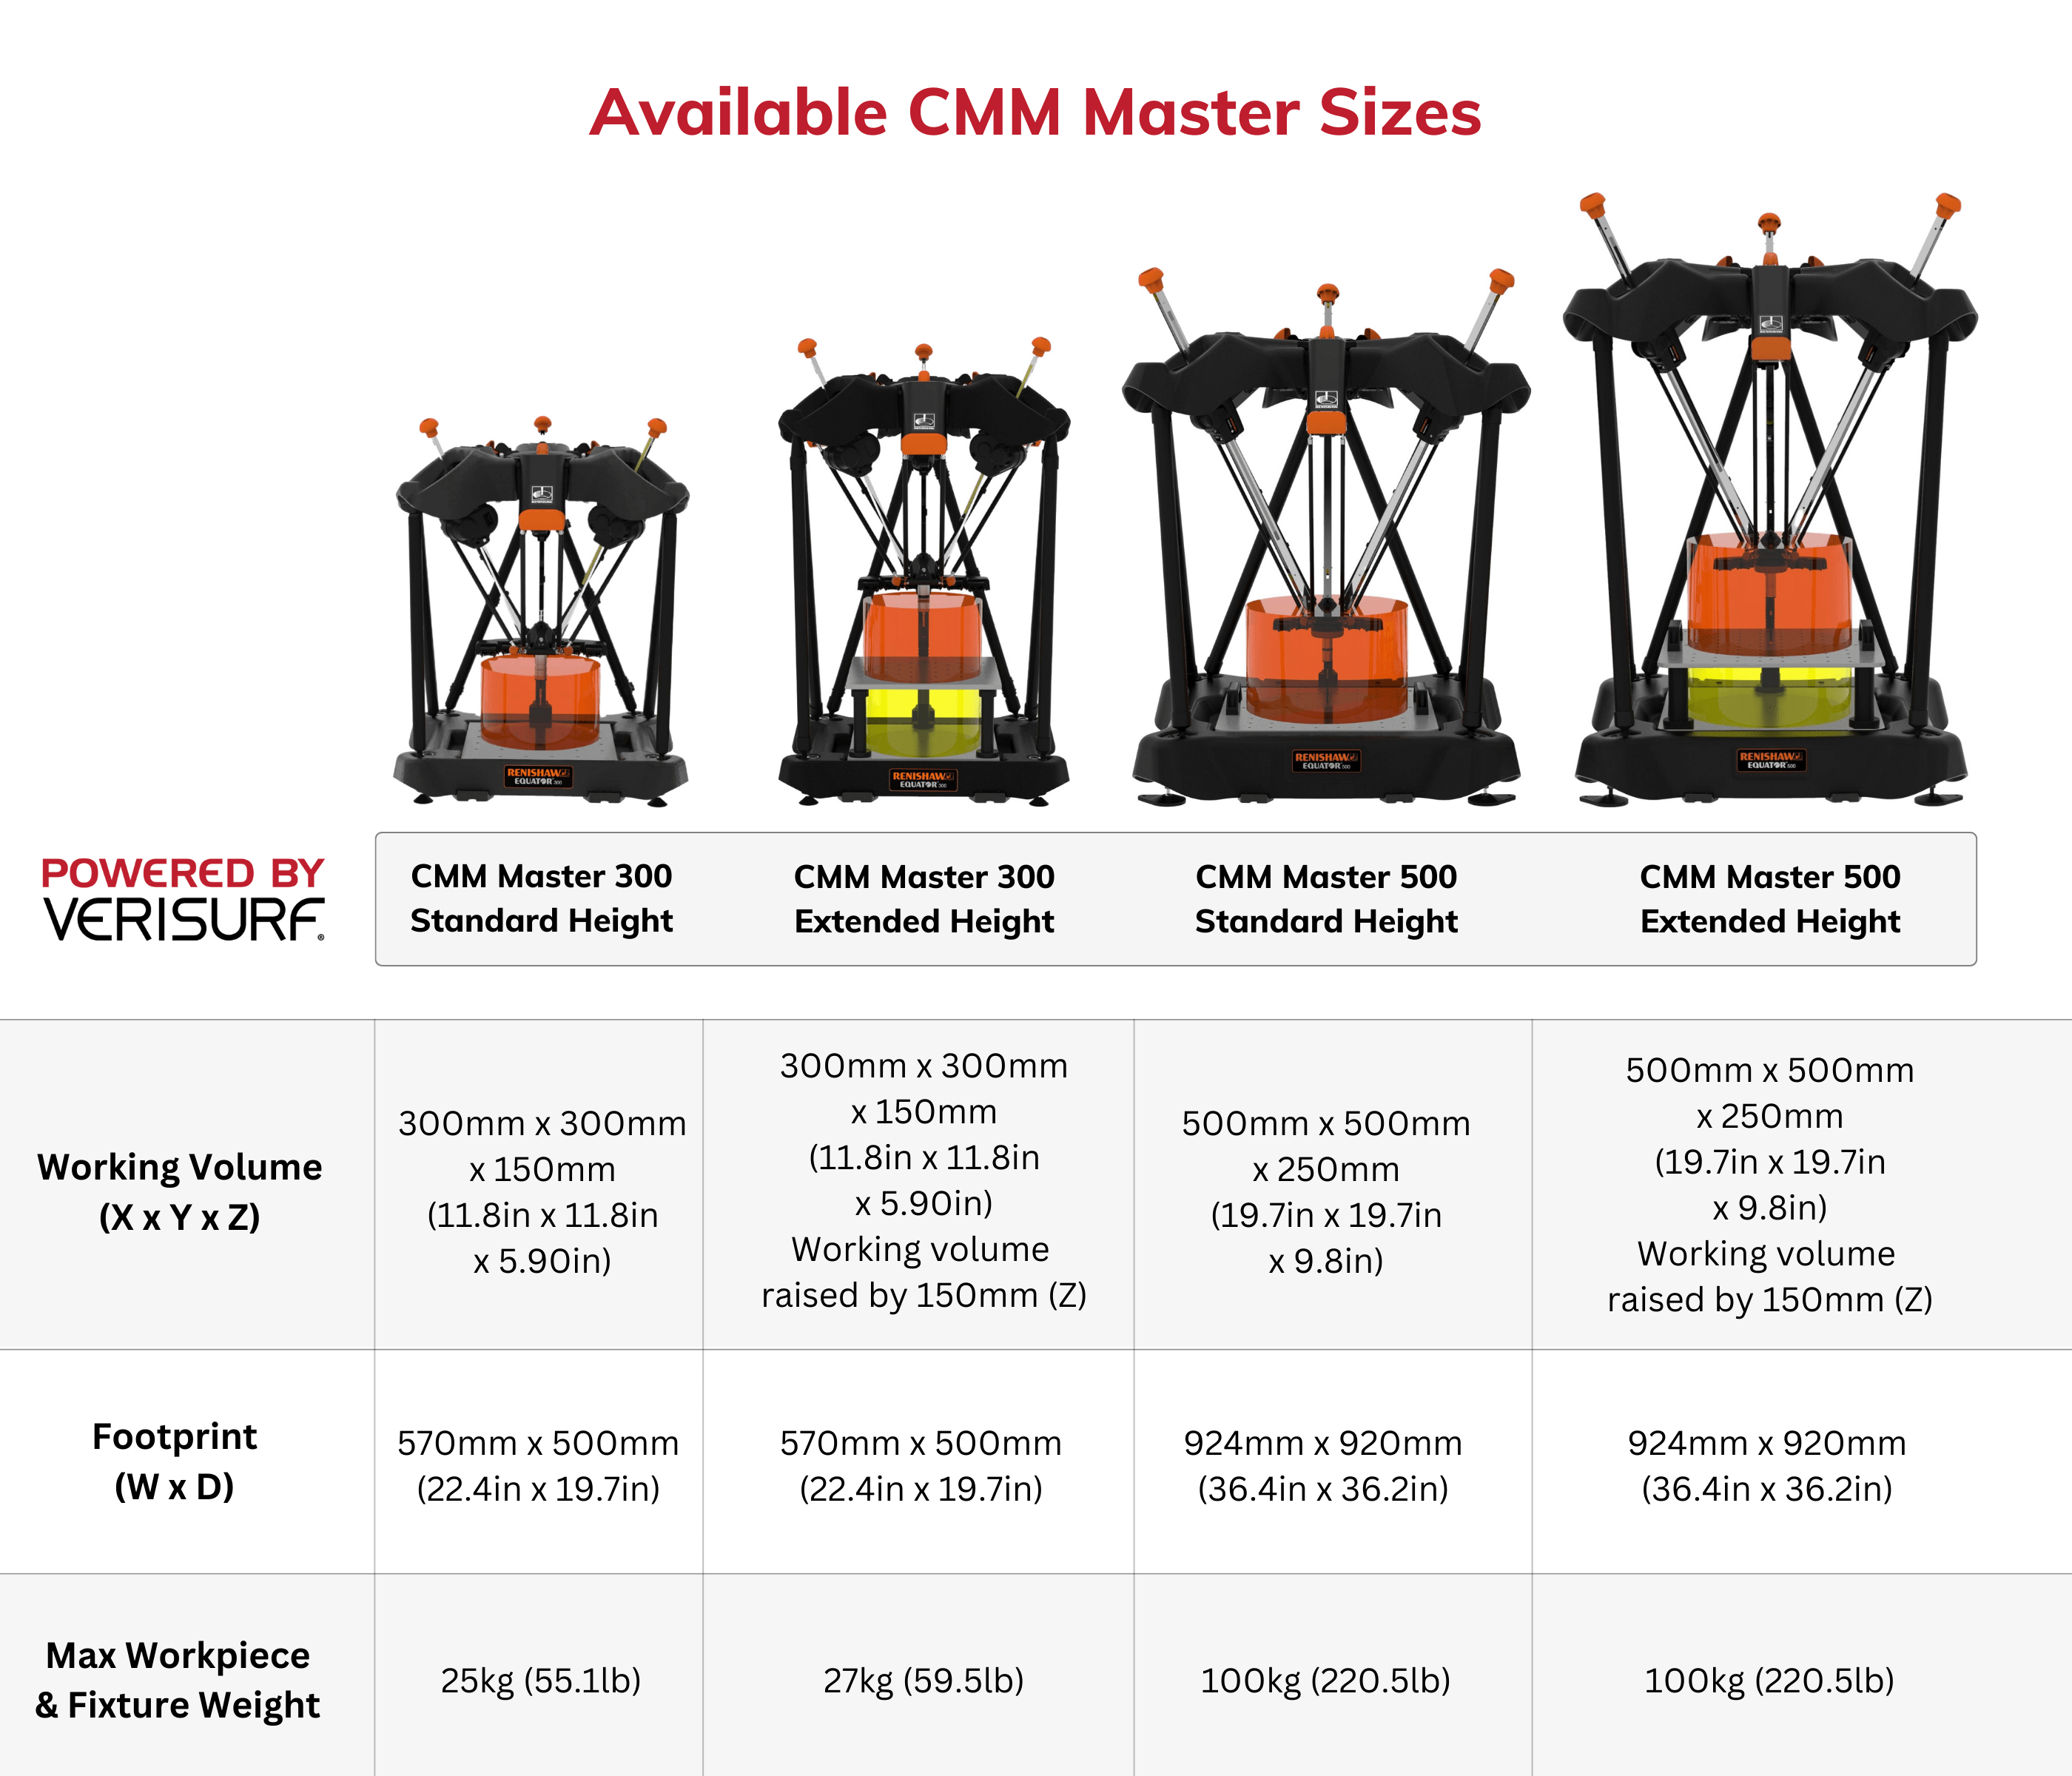
| CMM Master Specifications | 300 Series | 500 Series |
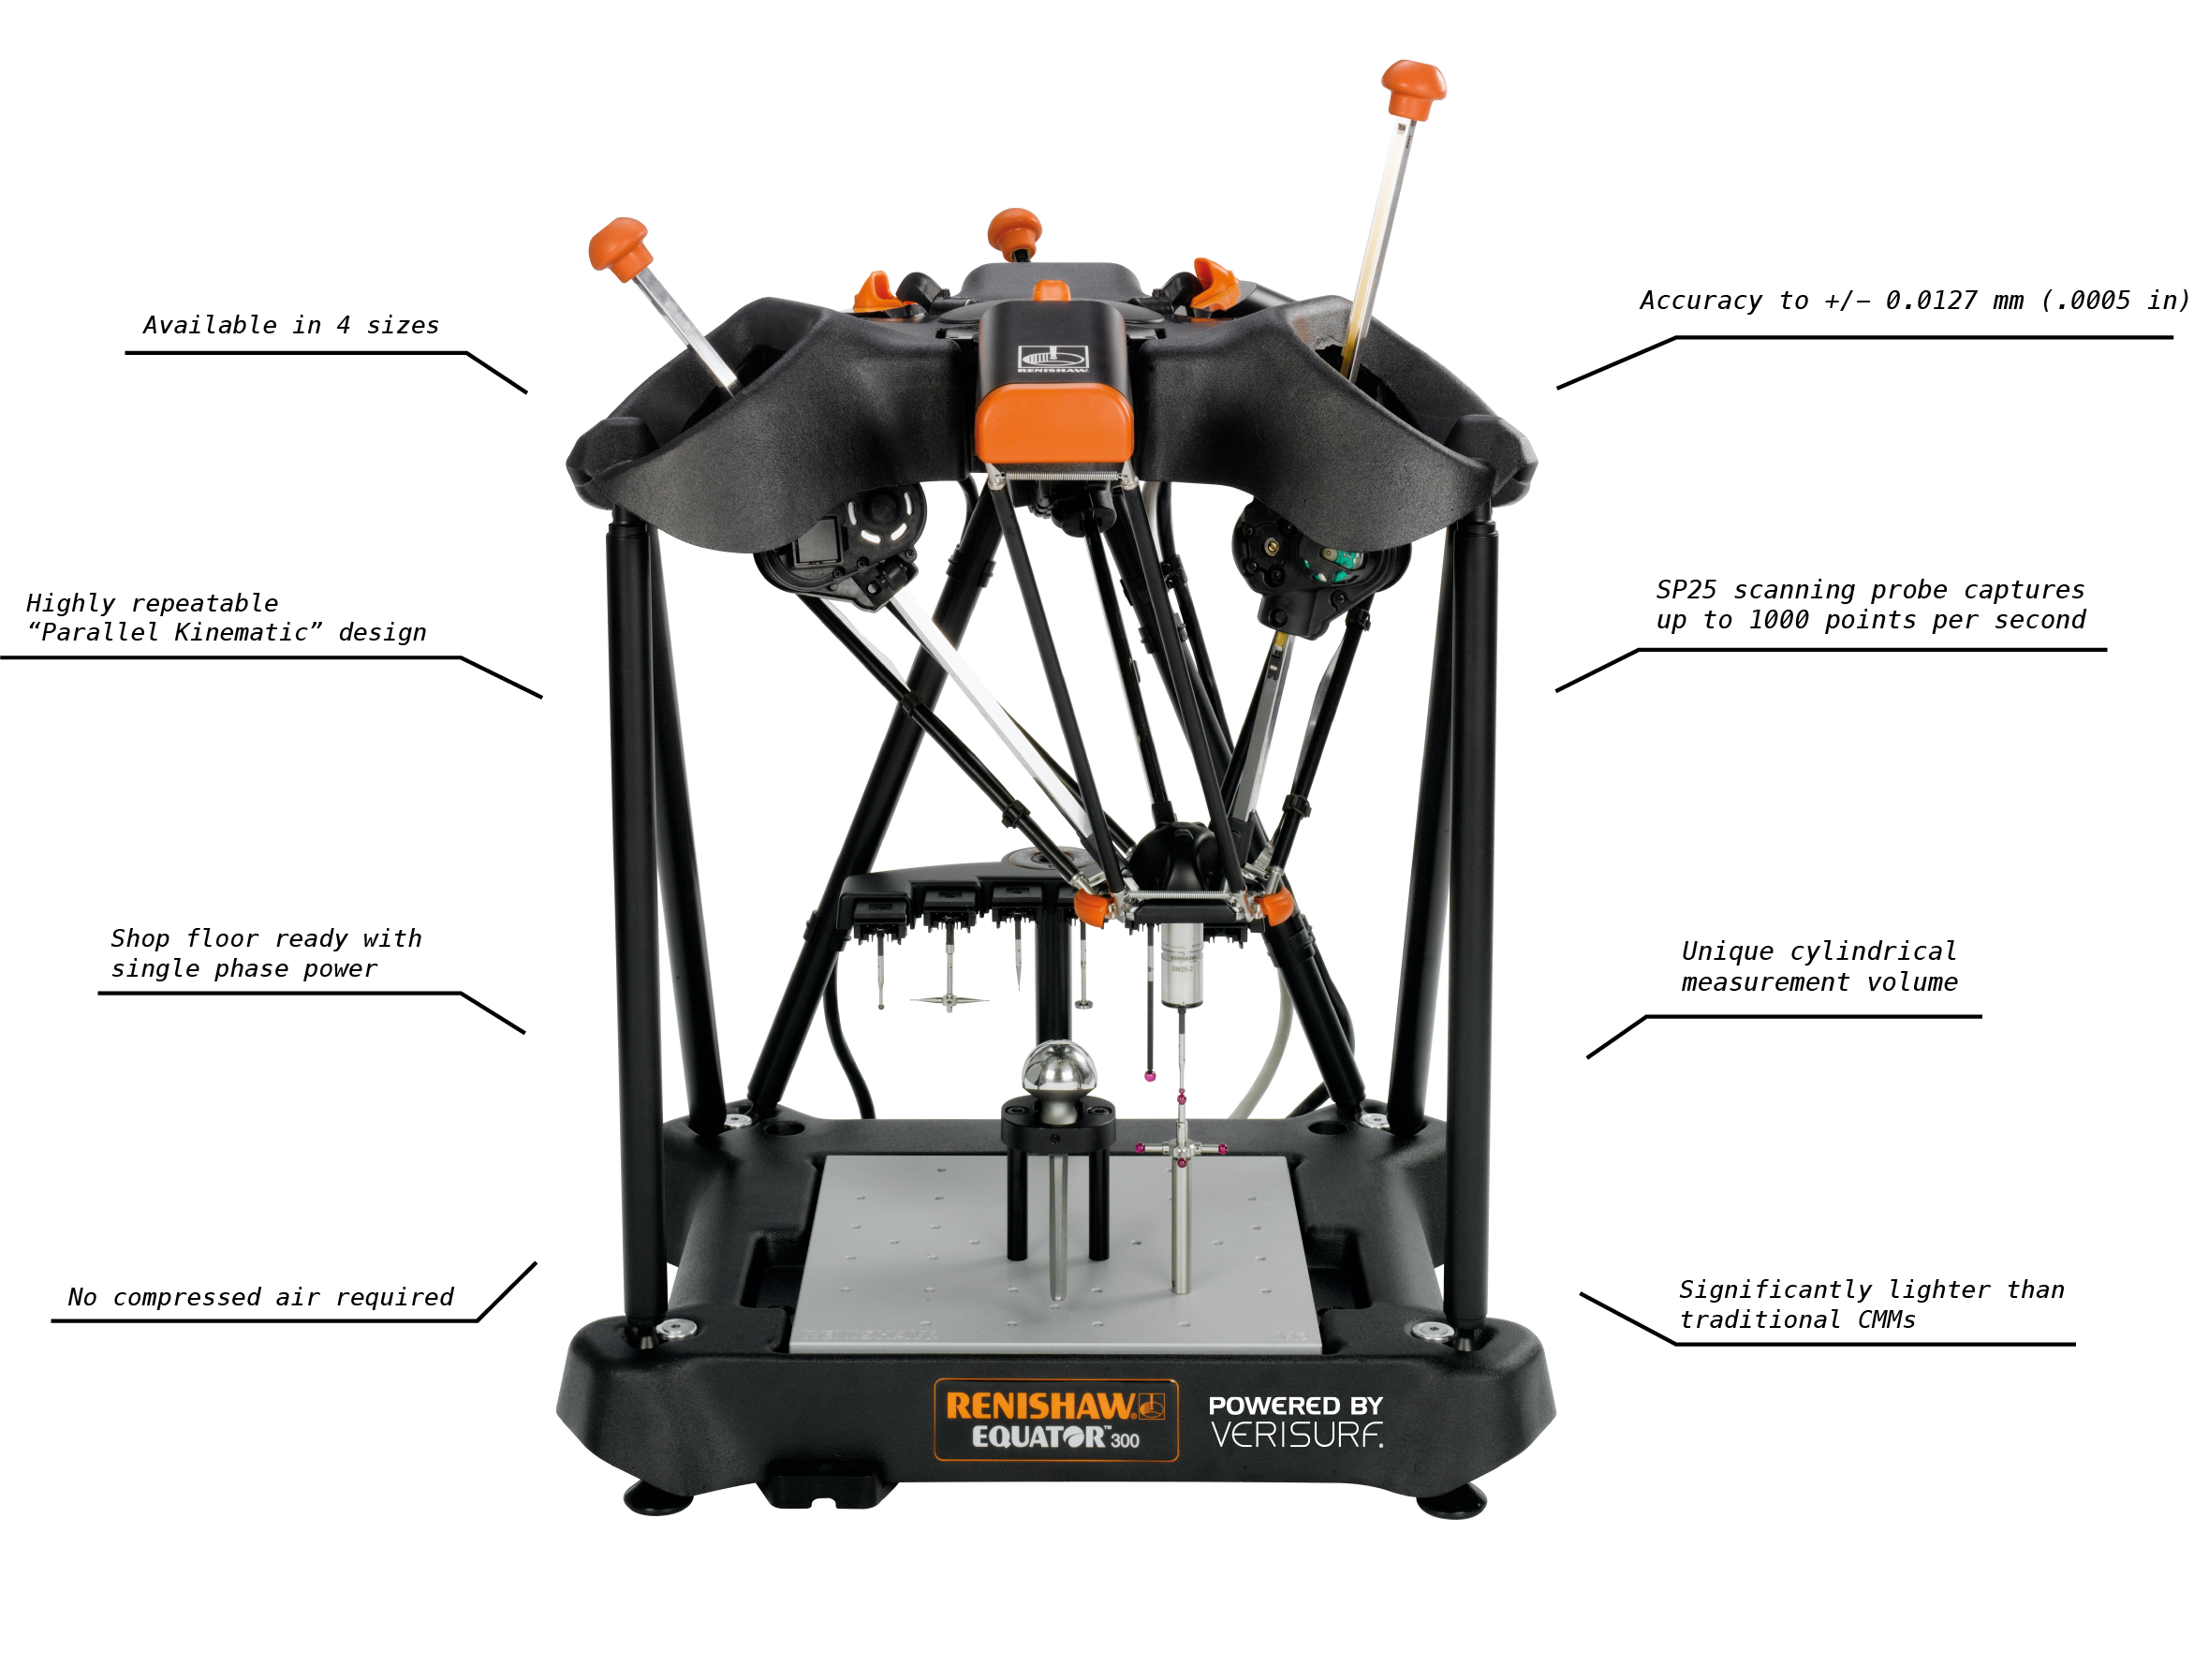
| Volume accuracy (with Verisurf CVM) | +/-0.0254 (.001 in) | +/-0.0254 (.001 in) |
| Comparison uncertainty | +/-0.002 mm (.000079 in) | +/-0.002 mm (.000079 in) |
| Maximum scanning velocity SP25 | 200 mm/s (7.874 in/s) | 250 mm/s (9.842 in/s) |
| Maximum movement velocity | 500 mm/s (19.685) | 750 mm/s (29.527) |
| Scanning rate SP25 | 1000 points/s | 1000 points/s |
| Scale resolution | +/-0.0002 mm (.0000079 in) | +/-0.0002 mm (.0000079 in) |
| Maximum workpeice weight (including fixturing) | 25 kg (55.1 lb) | 100 kg (229.5 lb) |
| Repeatability of piece part in fixture | 1 mm (.039 in) | 1 mm (.039 in) |
| Machine air supply | No air required | No air required |
| Operating temperature | +10 to +40 °C (+50 to +104 °F) | +10 to +40 °C (+50 to +104 °F) |
| Storage temperature | -25 to +70 °C (-13 to +158 °F) | -25 to +70 °C (-13 to +158 °F) |
| Operating humidity | Maximum 80% RH at 40 °C (104 °F), non-condensing | Maximum 80% RH at 40 °C (104 °F), non-condensing |
| Universal power supply | 100-240 VAC +/-10%, 50/60 Hz | 100-240 VAC +/-10%, 50/60 Hz |
| Maximum rated power consumption | 300 W | 300 W |
| Maximum power consumption (power-up) | 190 W | 190 W |
| Typical power consumption | 100 W | 100 W |
| Gross weight | 60 kg | 155 kg |
| Net weight (unpackaged) | 25 kg (55.1 lb) | 75 kg (165.4) |
Standard Accessories & Services
Controller
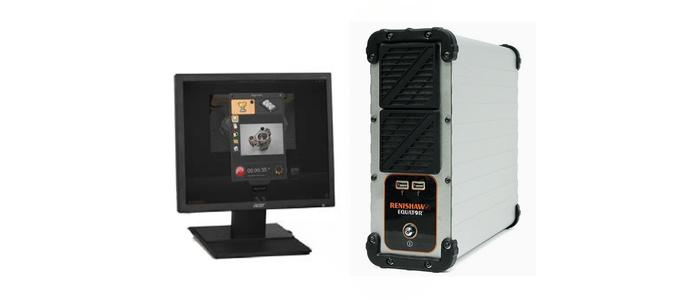
Controller components include enclosure, flat screen monitor, keyboard, mouse, cabling, UCC server software, setup and installation instructions.
SP25 Probe
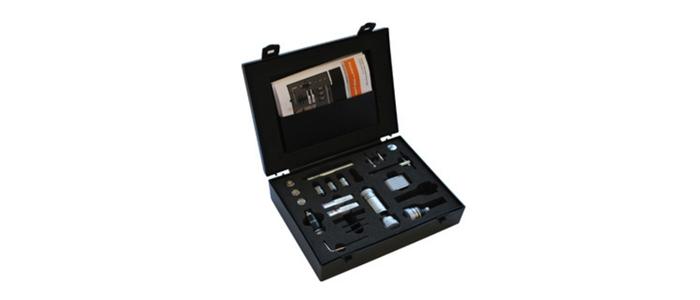
One SP25 probe module, one SM25-2 probe module, one M4 Ø6 mm ruby ball, stainless steel stem, L 17 mm, EWL 13.3 mm, one SH25-2 mount and stylus assembly.
Joystick
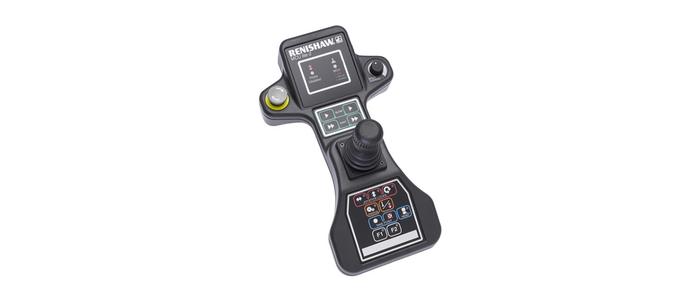
The joystick easily moves the probe within the working volume. Functionality includes speed override and the ability to lock movement in X, Y or Z directions.
Fixture Plate
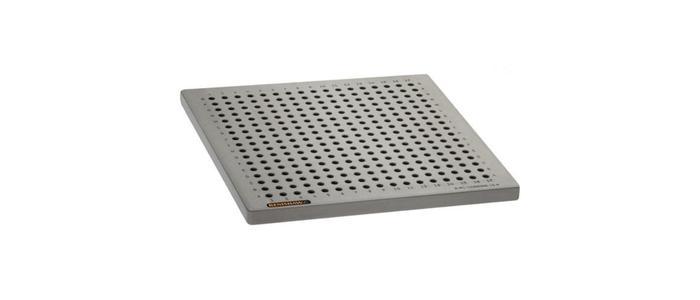
Choice of M6, or ¼”-20 aluminum fixture plates. Many customers have a unique fixture plate and clamping setup for repeatable and rapid part inspection.
Autochange Rack
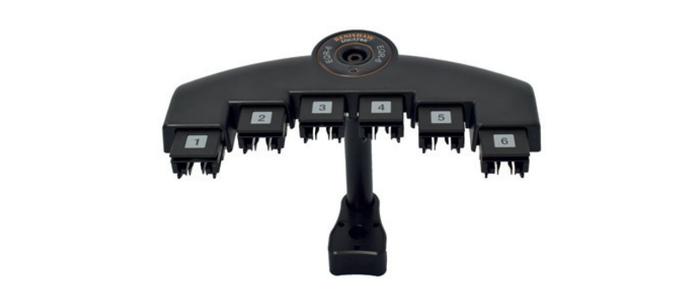
CMM Master includes a 6 stylus autochange rack facilitating the ability to automatically change up to 6 tools while retaining full calibration and repeatability.
Enhanced Accuracy
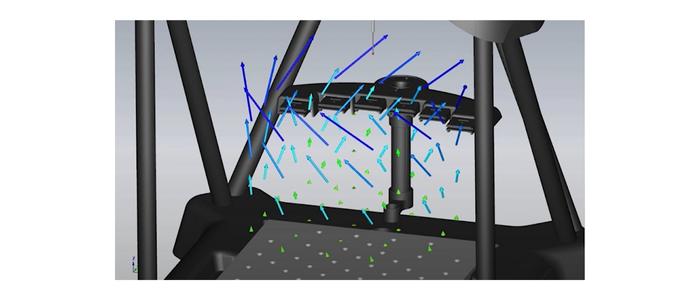
Verisurf’s unique Cubic Volumetric Mapping (CVM) process, utilizes 24 parameter calculation to error map and significantly improve accuracy of standard Equator.
Training Part
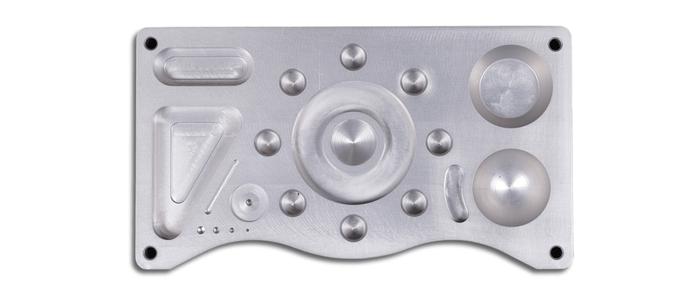
Anodized aluminum training part for Verisurf documentation and training courses. Side one has complex profile. Side two has geometric features and pattern.
Optional Accessories & Services
Styli Kits
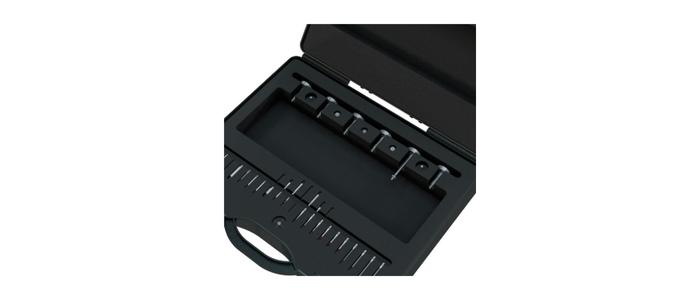
Basic, Intermediate and Advanced Kits. M3 styli for use in straight configurations, while lighter M2 styli and adaptors for cranked and star styli applications. See Details
Fixture Plate Spacers
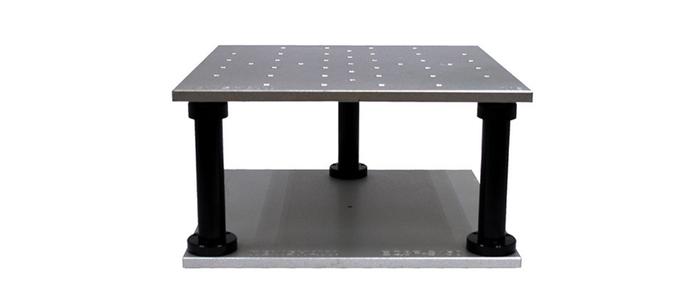
Order a fixture plate spacer to raise the kinematic location of the fixture plate by 55 or 150 mm which is ideal if measuring small parts or using a short probe.
Fixturing Kits
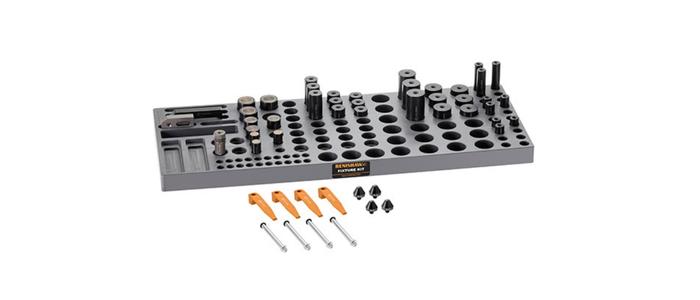
Proper fixturing can improve throughput, reproducibility and accuracy of your inspection process. Kit’s available in M6, and ¼-20 fastener configurations.
Enclosures
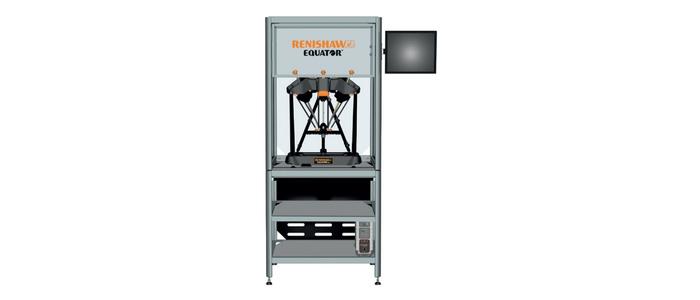
The enclosure provides a self-contained gaging station with dust protection and an optimized footprint, configurable to customer requirements.
Stop Button
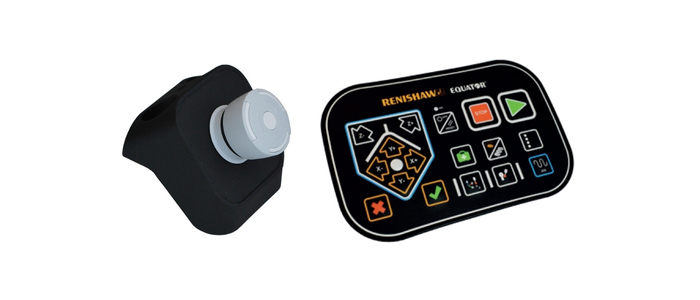
Useful for production setups without a joystick. The front mounted control panel and large stop button can be mounted to the front of the CMM Master.
Training Services
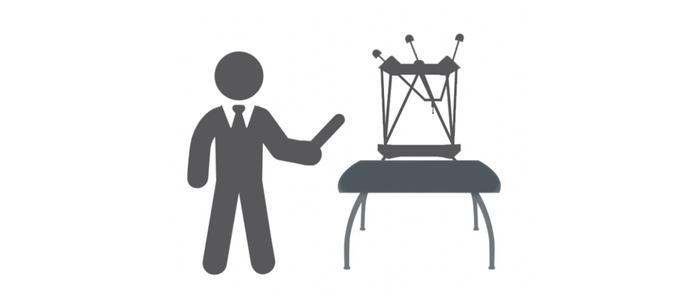
Verisurf live instructor training is available at Verisurf or customer facility and includes CMM programming, operation and quality reporting.
Checker Kit
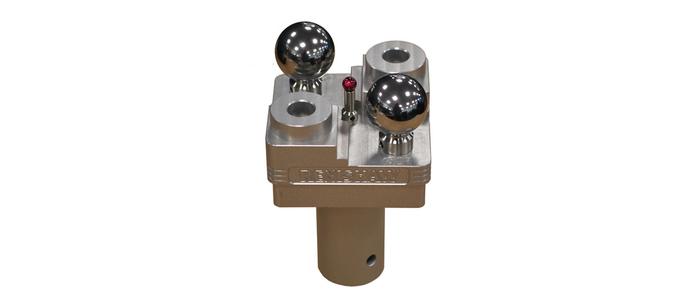
Use the Checker Kit to perform a quick health check to ensure that the CMM Master is working as well today as the day it was manufactured.
CMM Master™


