Keeping the F-18 Flying
Article written in collaboration with CNC-West Magazine.
Watch a video version of this story:
How NavAir Advanced Measurement System’s Reverse Engineering Lab Keeps F-18’s Flying
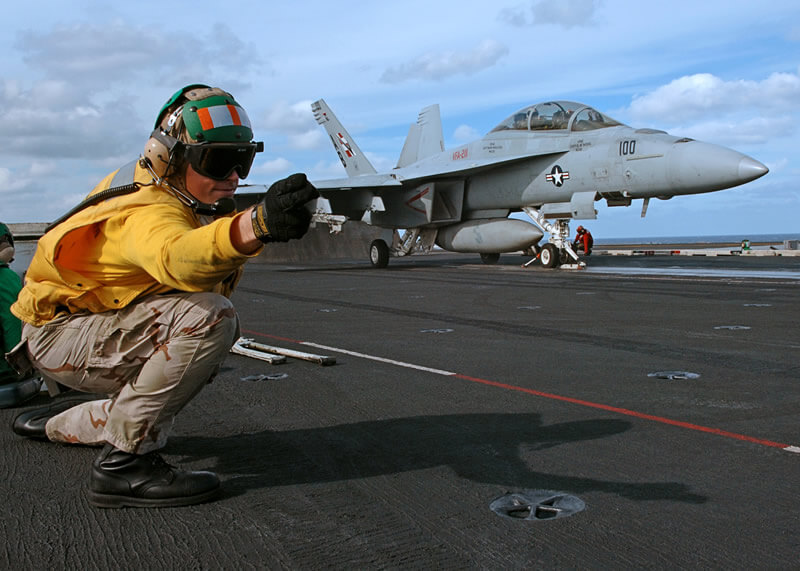
Called the birthplace of naval aviation, the United States Naval Base at Coronado Island, San Diego, CA (NBC) provides a shore-based platform for 16 helicopter squadrons, 2 fixed wing squadrons, two aircraft carriers, four SEAL (Sea, Air, Land) Teams, Navy Expeditionary Combat Command squadrons, and other air, surface and subsurface commands. The huge base is also home to the Fleet Readiness Center Southwest (FRCSW), which overhauls, repairs, and modifies Navy and Marine Corps front line tactical, logistical, and rotary-wing aircraft and their components.
FRCSW aircraft programs include repairing and returning to the Fleet F/A-18 Hornets, E-2 Hawkeye early warning aircraft, C-2A Greyhounds, SH-60 Seahawk multi-mission aircraft, Marine Corps AH-1 Cobra attack helicopters, UH-1 Huey general purpose helicopters, CH-53 Sea Stallion heavy lift helicopters, AV-8B Harrier VTOL aircraft, and the EA-6B Prowler electronic warfare aircraft. FRCSW is also the sole Navy repair site of the LM-2500 turbine engine, which is used to power the Spruance-, Aegis-, Ticonderoga-, and Perry-class surface ships. FRCSW’s Components program has the capability to repair more than 11,700 unique components used on Navy and Marine frontline tactical and support aircraft. But until recently the command had a problem with reverse engineering components for the aging F/A-18 Hornet, carrier-based fighter jets. “The problem was, and is, that the F-35 Joint Strike Fighter is slow coming on board,” says Gabe Draguicevich, engineering technologist at FRCSW’s NAVAIR Advanced Measurement Systems and Reverse Engineering Lab. “The F-35 is supposed to replace the F-18, but it’s behind schedule. The result is we’ve flown the F-18 longer in more combat missions than it was originally designed to do. Components wear out and have to be replaced, which is the problem we have to deal with here. Considering the huge price for a new F-18, the Navy elected to repair and rebuild whenever possible.”
Reverse Engineering Problem
Originally built by McDonnell Douglas, the aircraft was transferred to Boeing when that company bought Douglas. “The problem is that a lot of changes made on the floor at McDonnell never made it into the drawings,” Draguicevich says. “On top of that, the transition of the drawings to Boeing was unevenly done, so that left FRCSW, in many cases, to figure out how to build parts either with no drawings or less than-up-to-date ones. Another problem was that no one at the lab was really up on using the latest 3D modeling techniques, which added difficulty to the job of reproducing worn parts and components needed to keep the older aircraft flying.” The solution to the reverse engineering problem came when Draguicevich, himself, was recruited by FRCSW. “It was almost as if I had been in training for the job here at the lab,” he says. “Prior to joining the lab, my career had covered a lot of territory. I had worked as a machinist, as a programmer, in software development, 3D modeling, laser scanning, manufacturing engineering, quality control, reverse engineering, you name it. I was working for Ernie Husted at Verisurf when I was asked to come on board here.” How did he happen to be recruited? “I was a representative for Verisurf software at the time,” he says. “I was at a conference in Dallas talking about using 3-dimensional models and model-based definition in reverse engineering and manufacturing. After my presentation, I was approached by a gentleman by the name of Chris Root, who is the lead for a group here at North Island called the Advanced Aircraft Technology Team. He was excited about what I had said about using 3D models and Model Based Definition. He said, ‘Hey, I really need to talk to you. Do you ever get out to San Diego? If so, I’d like to show you what we do in support of Naval Aviation and learn more about your software’s capabilities and how it can help our efforts. Think you could do that?’ I said, ‘Sure. I have to be in California soon anyway, so I’d be happy to come to San Diego for a visit.’ That was two years ago, and I’m still here.”
Manufacturing Model Management System (3MS)
Once Draguicevich had been on the job for a while, he participated on a team that pushed to develop what the facility calls a 3MS system. “That’s a system to assure that a model of a part developed in engineering can be certified,” he explains. “3MS stands for Manufacturing Model Management System, which is a process we used to produce a 3D model that becomes certified for release to manufacturing.” Draguicevich explains that traditionally what happens is that a blueprint gets handed to a CAD or CAM person who creates a 3D model and uses that to produce the part.
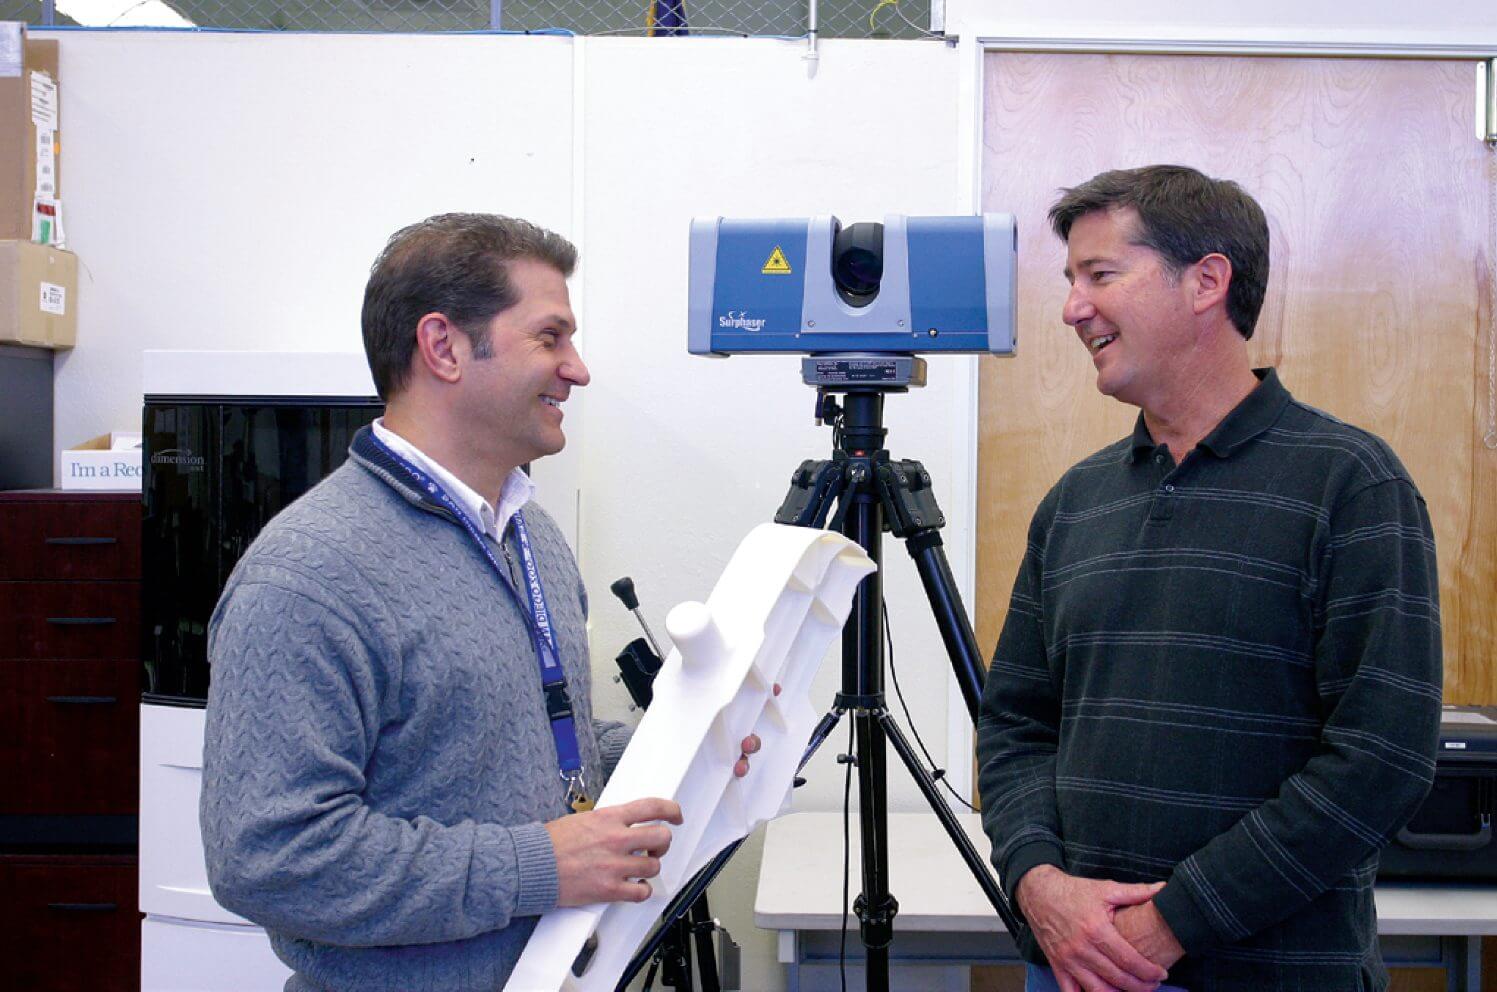
“The problem is,” he says, “that if the model is right, the part is right. If the model is wrong, the part is wrong. There are no checks and balances to prove the model is good ahead of time. With our warriors’ lives at stake, we can’t afford to take that kind of a chance. We have to know the model we’re working with is right.” Once the team knows they have the right drawing for the part to be reproduced, an aerospace or design-group engineer creates a 3D model. “Some of the drawings we work with are old and faded and hard to read,” Draguicevich says. “So, the engineer takes his best guess. When he’s done, the model comes to us, and they give us the original part, the donor part. That’s where my department takes over. I scan the part and compare the scan to the 3D model.”
Verisurf Plays A Major Role
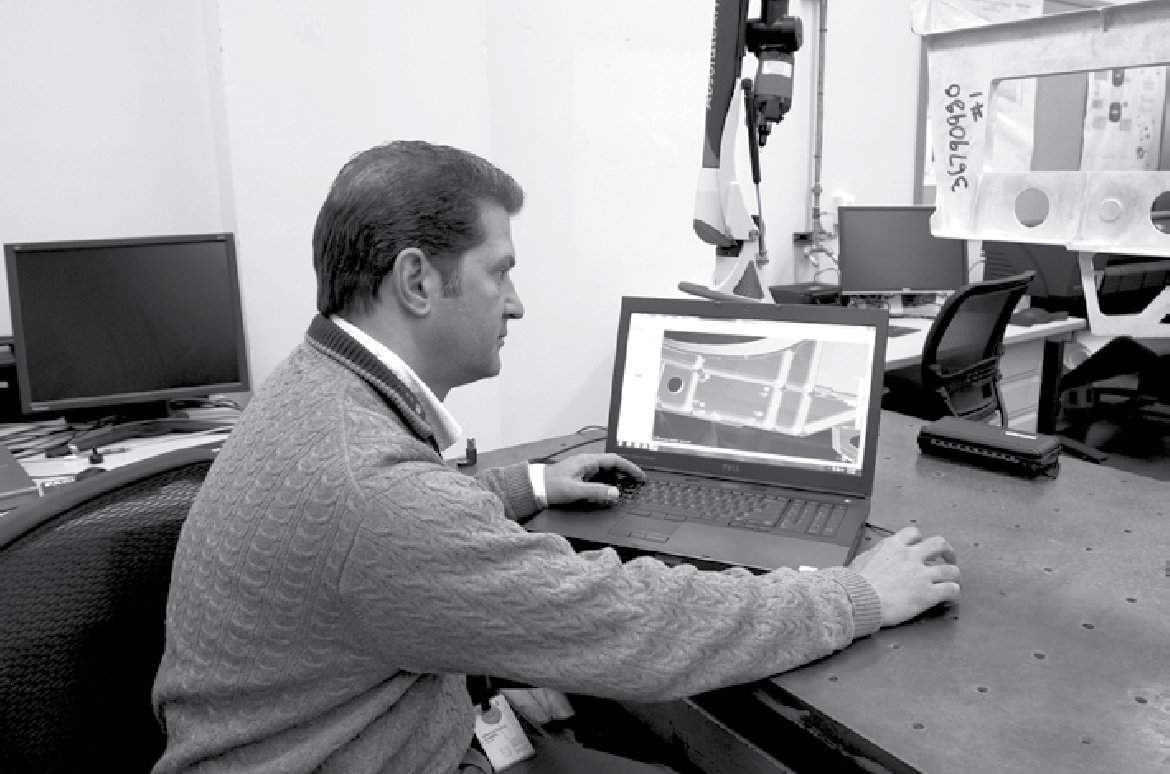
Draguicevich uses Verisurf software to make a comparison of the scan with the 3D model supplied by the engineers. “During my demonstration, some of the people here had seen how I used Verisurf,” he recalls. “They were very interested in the software’s capabilities, so we brought that in along with me. One of our main uses for the software is to compare the scans of the original parts to the 3D models created by the engineers. Traditionally, software like Verisurf is used to inspect the parts, but in this case, we use it to inspect the 3D models. What we get out of the comparison is a deviation chart, showing where the model is different from the physical part. If there’s something wrong, the 3D model goes back to the engineering group. There, they either fix the problem or they investigate further why there’s a deviation. Sometimes it turns out that the physical part when it was produced thirty years ago never matched the drawings. Once we have the model right and certified, it is sent to manufacturing for production. It’s also stored for future use if needed.”
Verisurf Runs a Variety of Systems
Draguicevich’s lab runs a variety of data collection systems, including Romer and FARO portable CMMs, Leica and API laser trackers, and a Brown and Sharpe CMM. “Data collection is very important,” he says, “but what you do with that data is really crucial. Having the ability to compare a data cloud to a 3D model is a powerful capability, and that’s where Verisurf really shines.” Draguicevich says his team likes the software for several reasons. “First, it’s really user-friendly,” he says. “Because of that, we use it to train our engineers and shop people.”
“The software is a great introduction to measurement. The software has a very intuitive interface, which was designed with the machinist in mind. A second reason we like it is that it talks pretty much to every kind of data collection device there is. It works with arms, with scanners, with camera systems. It even generates a DMIS program, if needed. Another great thing about it is that it allows us to do MBD (model based definition), which lets us predefine geometric tolerancing on a model before we inspect them.” Draguicevich says that part of the software’s power results from the fact that runs on top of the Mastercam design component. “It has all the power of the Mastercam design element,” he says, “but all the operator sees is the Verisurf interface.”
Good Tool for All Shops
Until 2009, when he joined the Advanced Measurement Systems and Reverse Engineering Lab, Draguicevich had worked all his life in machine shops and related businesses. “Verisurf and a portable arm, or Verisurf and its own new Master3DGage portable arm, provide a cost-effective inspection and reverse engineering tool,” he says. “I know because we use those combinations here with a great deal of success.” For Draguicevich, the bottom line at his lab is simple. “We’re trying to efficiently and effectively implement 3D into the Navy system,” he says. “Verisurf has been very helpful to us in that effort. Our goal is to keep those aircraft flying, and Verisurf is a big help.”
##
Verisurf Software, Inc.
Verisurf Software, Inc. is an advanced three-dimensional measurement solutions company committed to delivering advanced computer-aided inspection and reverse engineering solutions. Verisurf software helps manufacturers of all sizes and industries produce higher quality products in less time and at a lower cost with automated, Model-Based Inspection processes. For more information, visit the Verisurf website at https://verisurf.com.


