Connecting Metrology & Manufacturing for Global Success
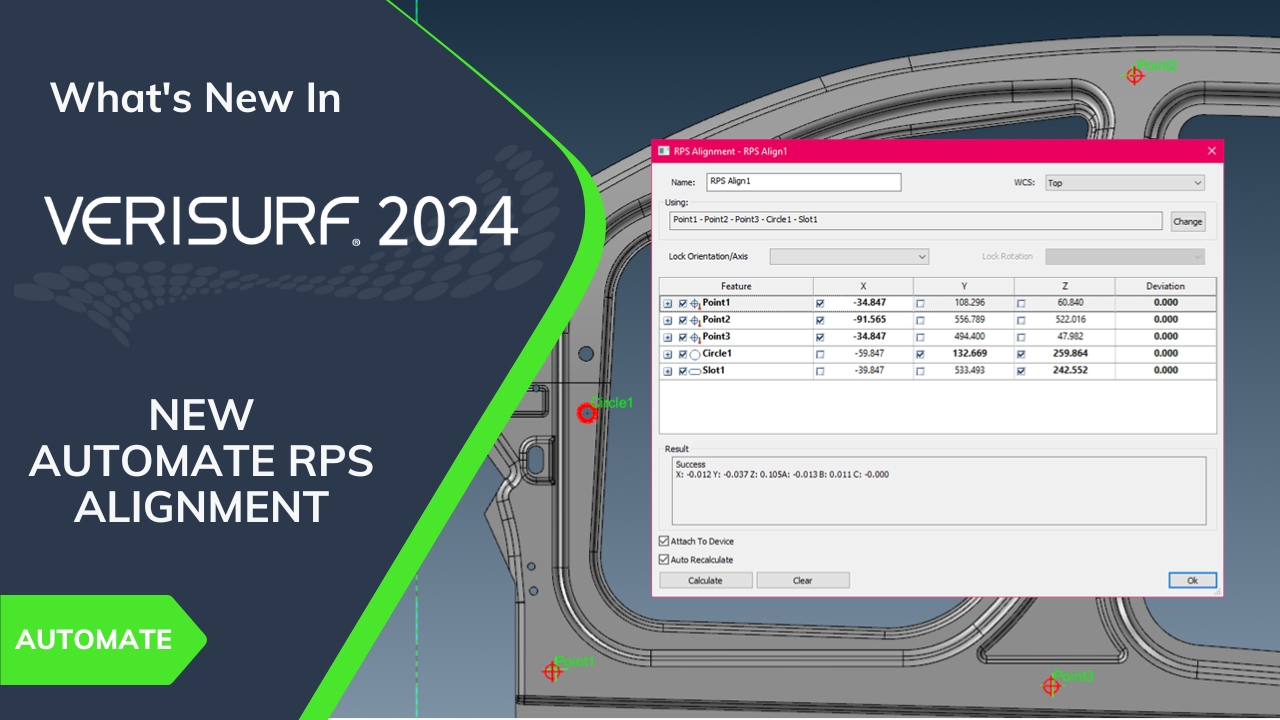
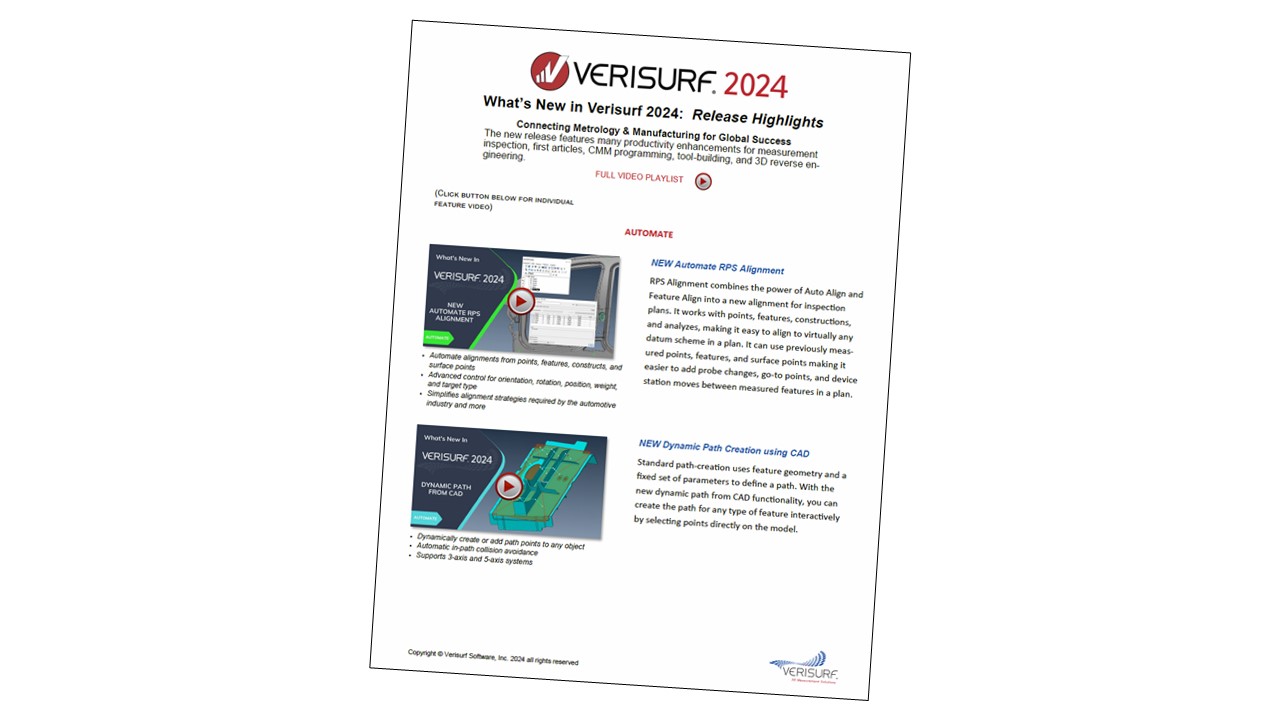
AUTOMATE RPS ALIGNMENT
- Automate alignments from points, features, constructs, and surface points
- Advanced control for orientation, rotation, position, weight, and target type
- Simplifies alignment strategies required by the automotive industry and more
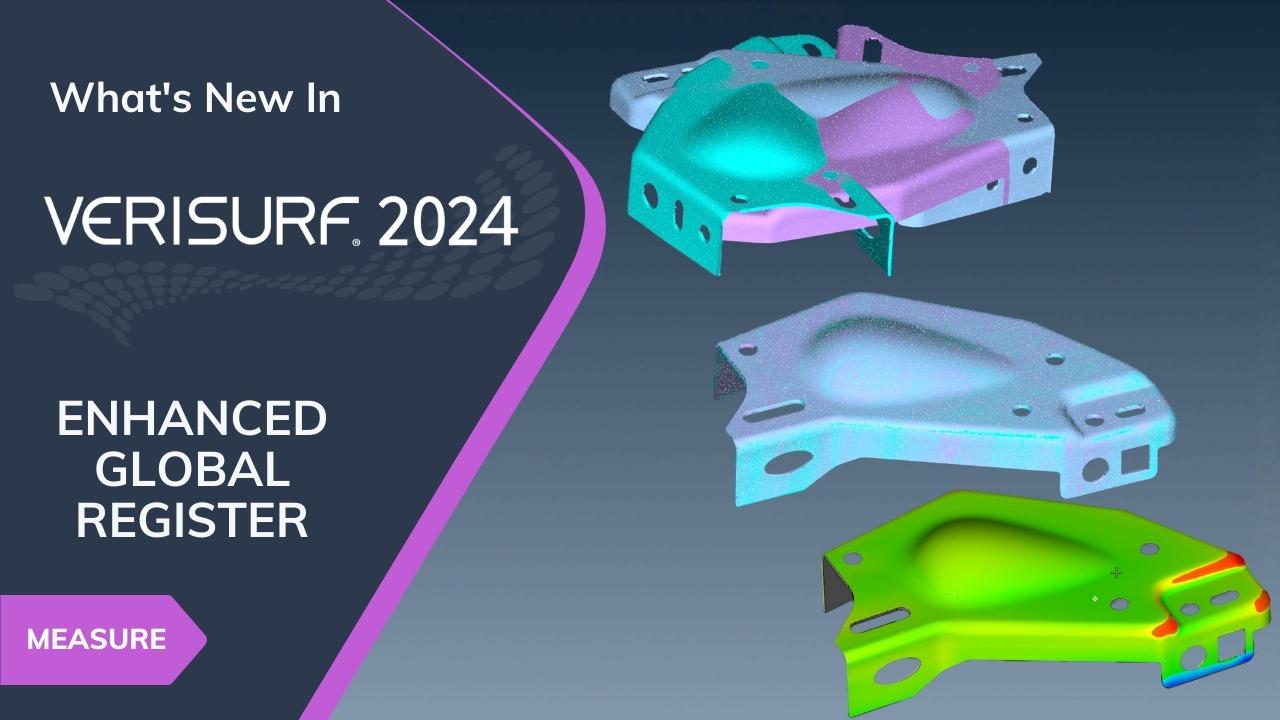
ENHANCED GLOBAL REGISTER
- Rapid sampling for fast registration of cloud to cloud, cloud to mesh, mesh to mesh, cloud and mesh to CAD
- Refine registration for improved alignment between datasets
- Supports manual inspections and automated inspection plans
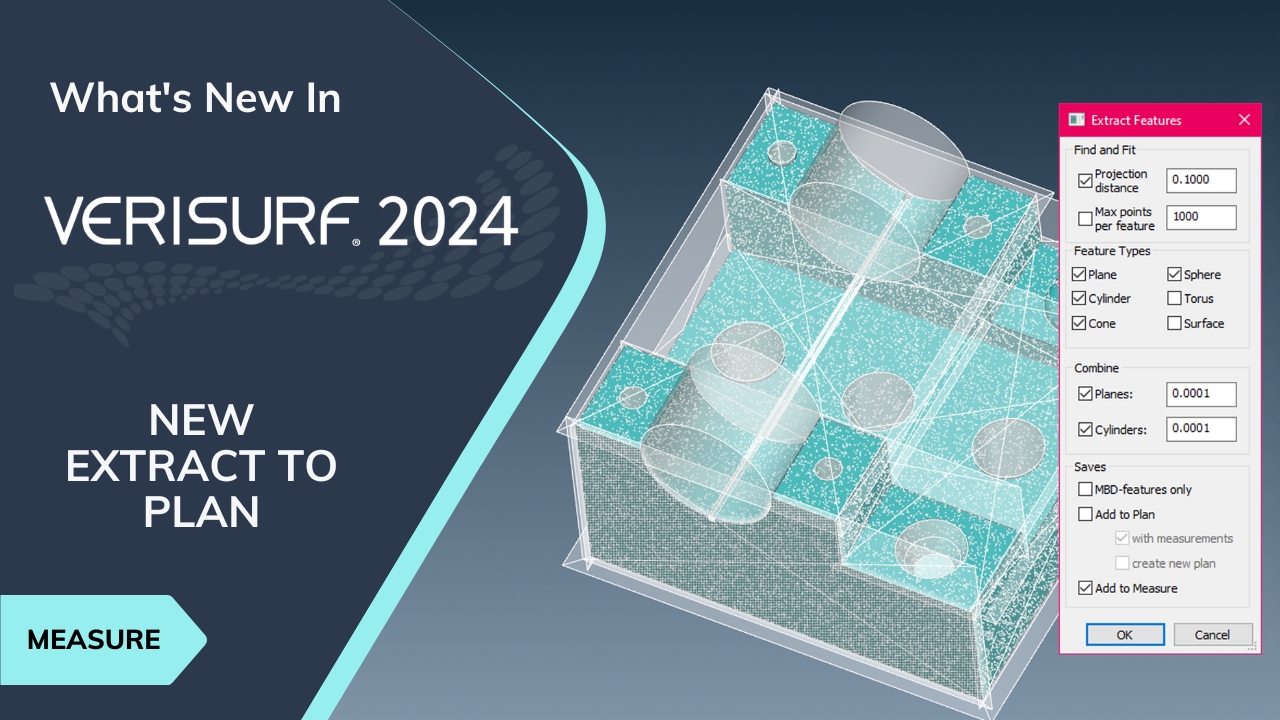
EXTRACT TO PLAN
- Easy, fast, and reliable feature extraction from clouds and meshes
- Auto feature and nominal recognition from CAD
- Extract all, selected, or features defined by MBD
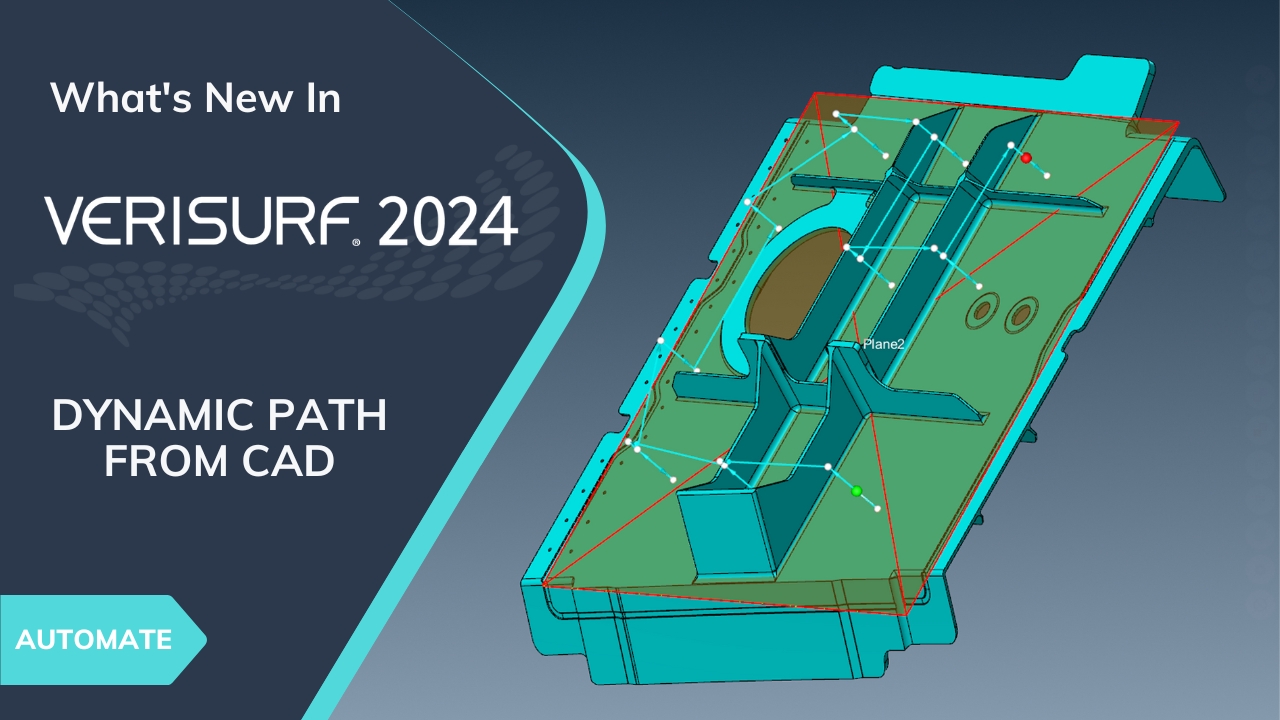
DYNAMIC PATH FROM CAD
- Dynamically create or add path points to any object
- Automatic in-path collision avoidance
- Supports 3-axis and 5-axis systems
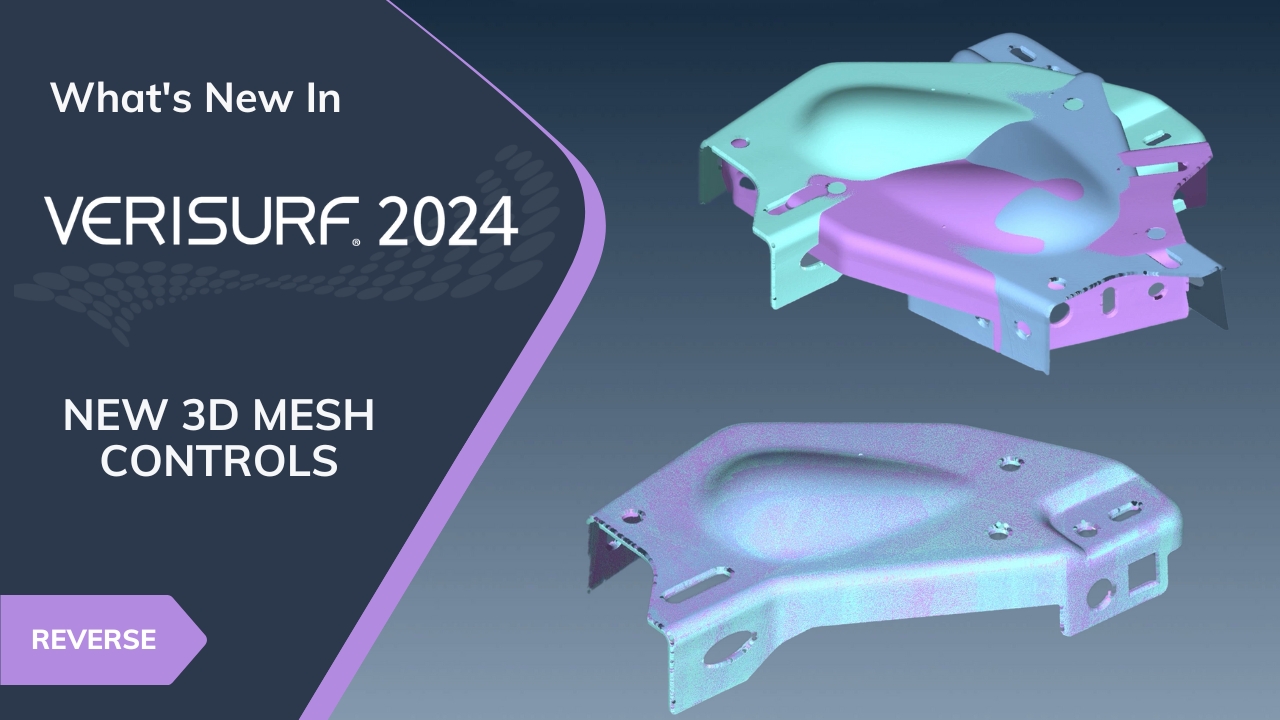
3D MESH CONTROLS
- Register selection to align multiple clouds for quality meshing
- Use cloud normals improves mesh speed and orientation
- Added Power Mesh to 3D Mesh Controls to improve the user experience
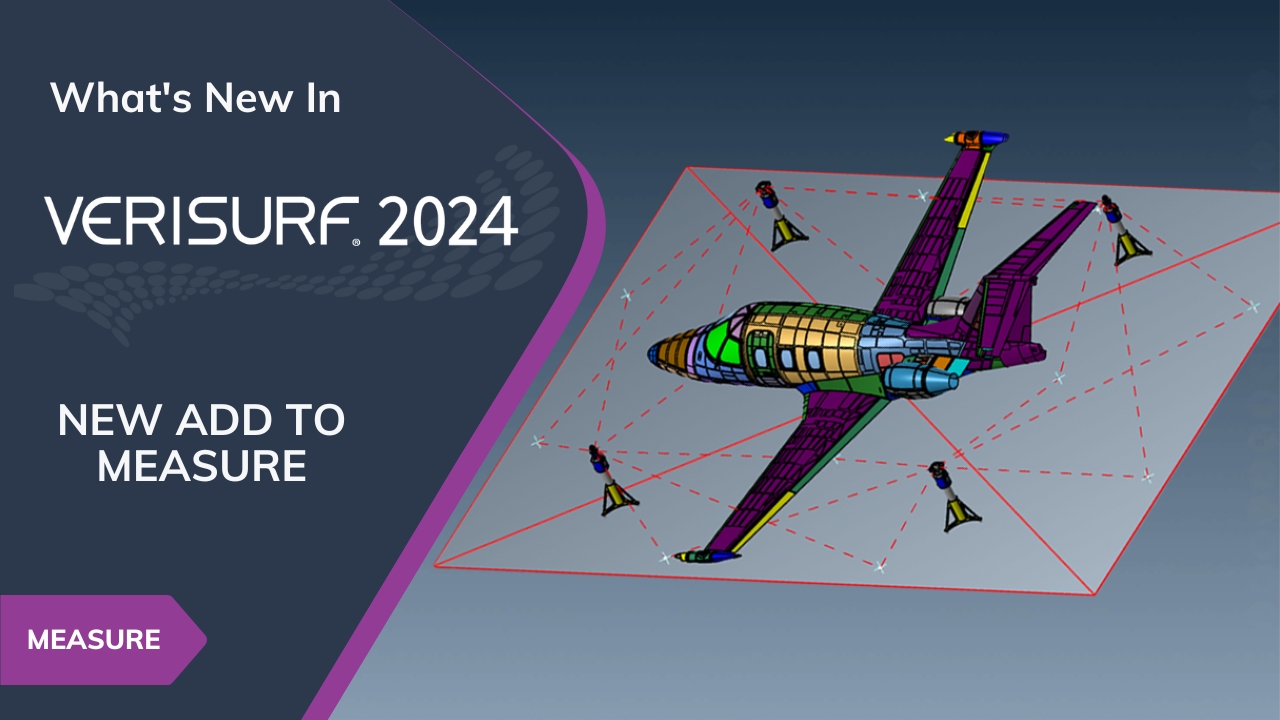
ADD TO MEASURE
- Add points to existing features
- Add points from multiple stations
- Supports all measurement devices
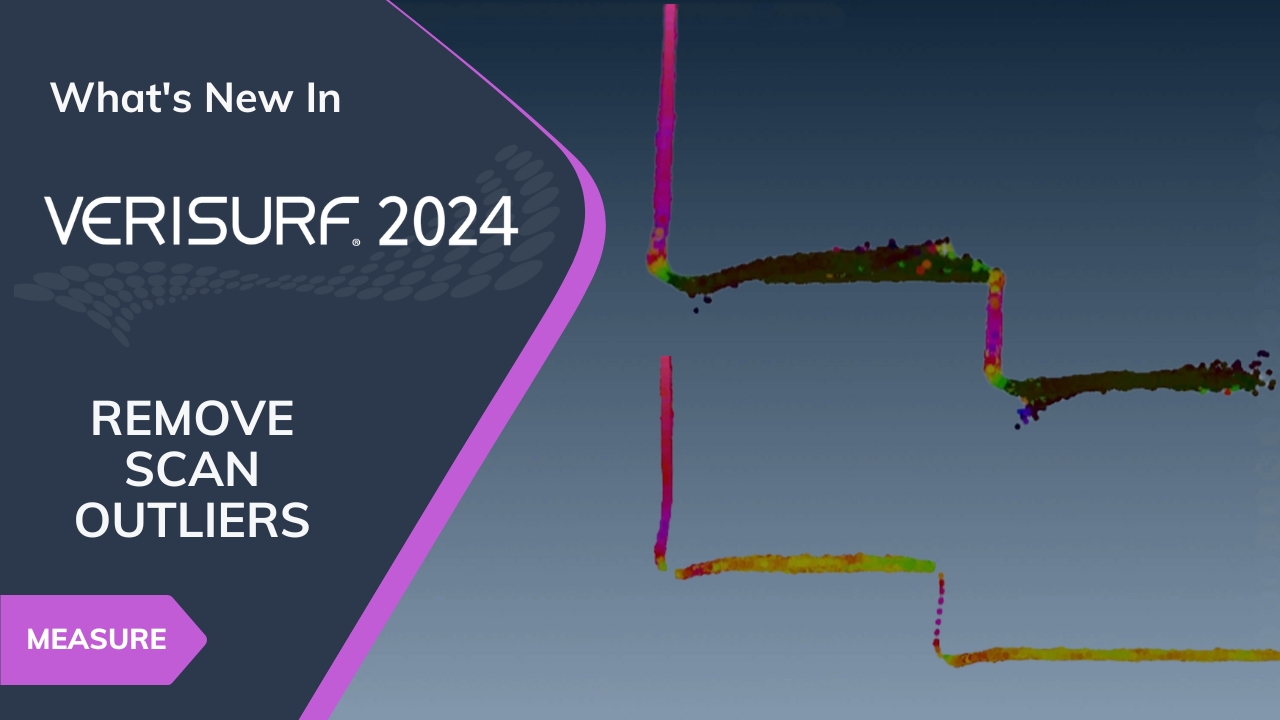
REMOVE SCAN OUTLIERS
- Real-time outlier removal from laser line scanners
- Supports more than 1.2 million points per second
- Improve scan quality for inspection and reverse engineering
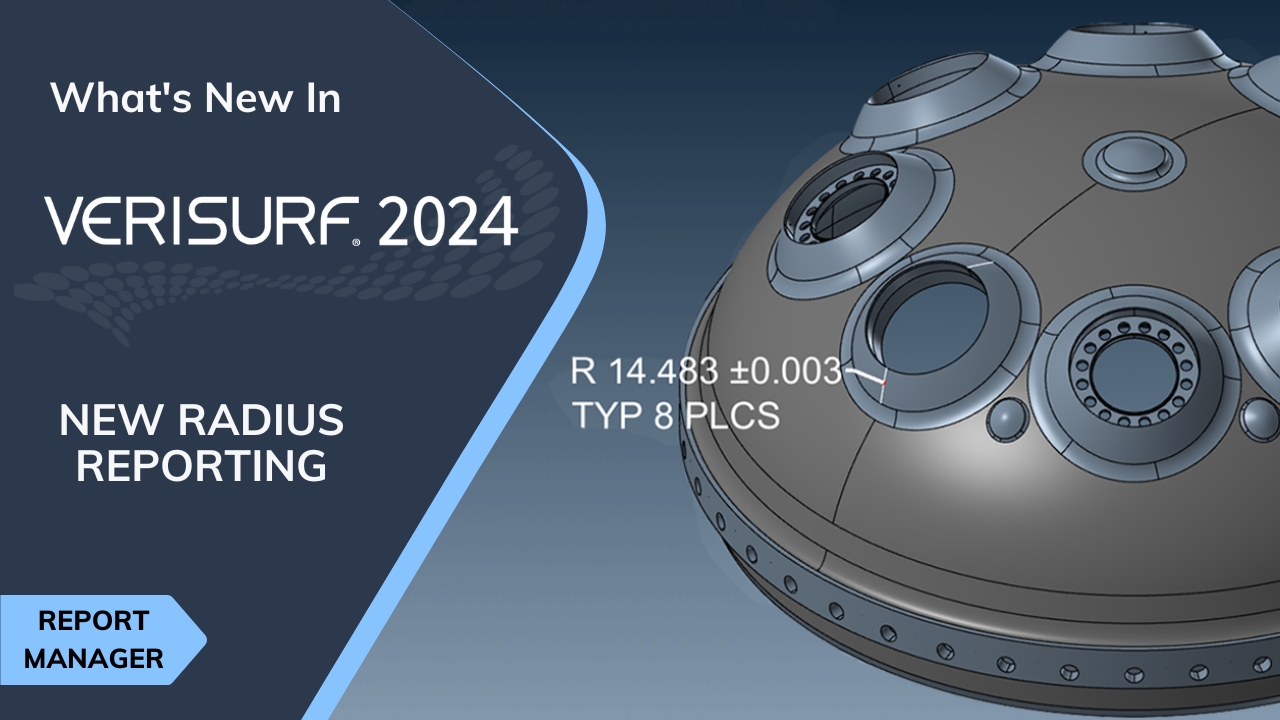
RADIUS REPORTING
- Simplified min/max reporting of small arc sections of radius dimensions
- Supports manual inspection and automated inspection plans
- Supports circles, cylinders, and spheres
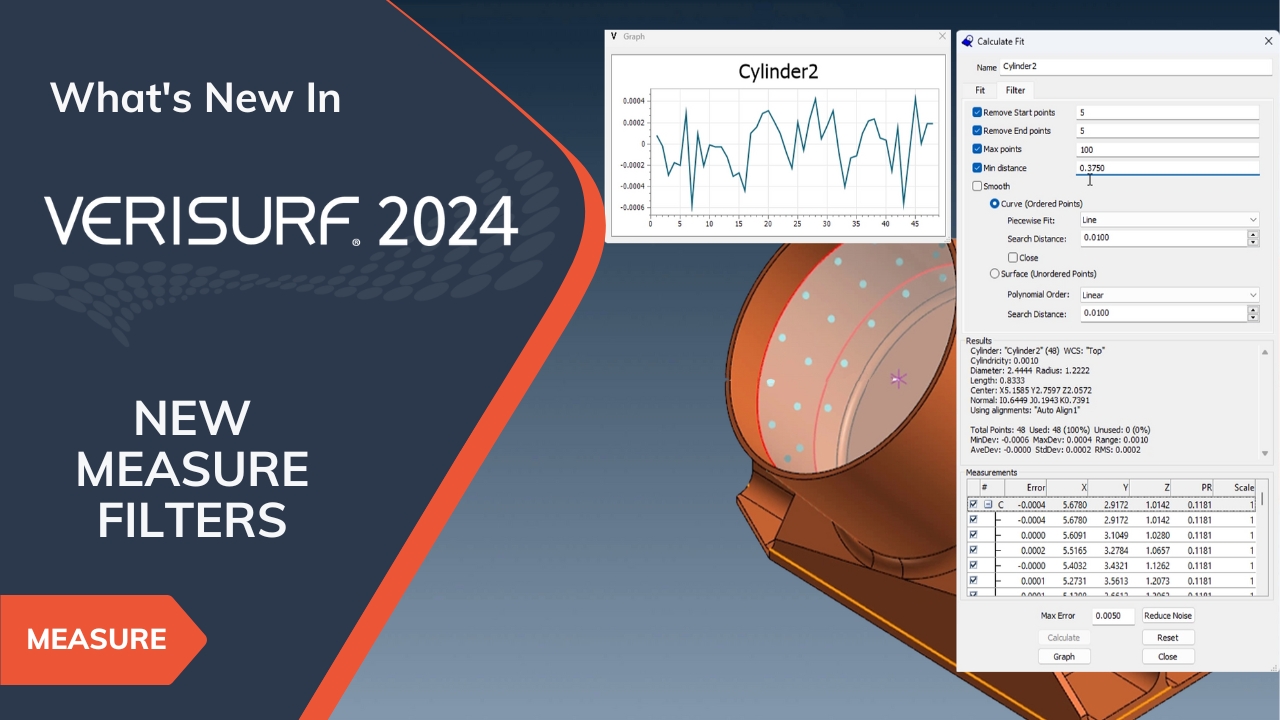
MEASURE FILTERS
- Interactive feature-fitting filters
- High-frequency noise removal from tactile scanning
- Remove the start and end data from tactile scanning to reduce errors from acceleration and deceleration
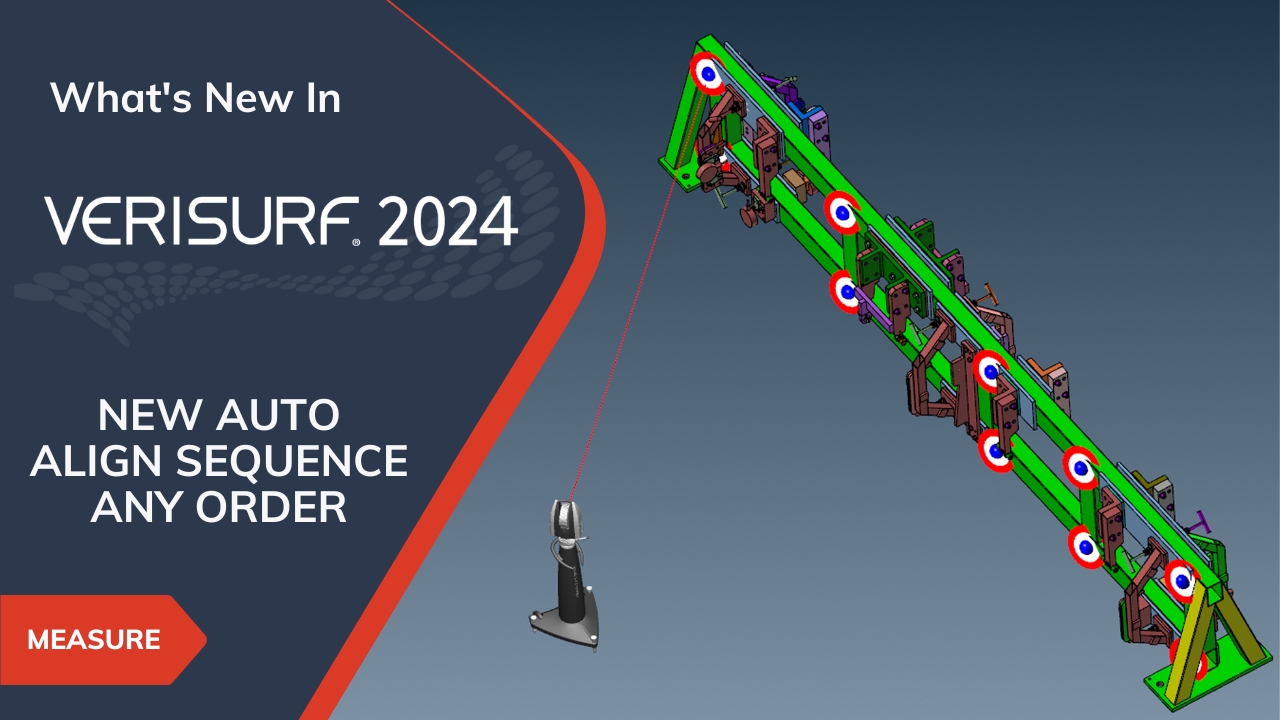
AUTO ALIGN SEQUENCE ANY ORDER
- Align to targets in any order
- Supports points, surfaces, and features
- Simplifies alignment of portable arms and laser trackers
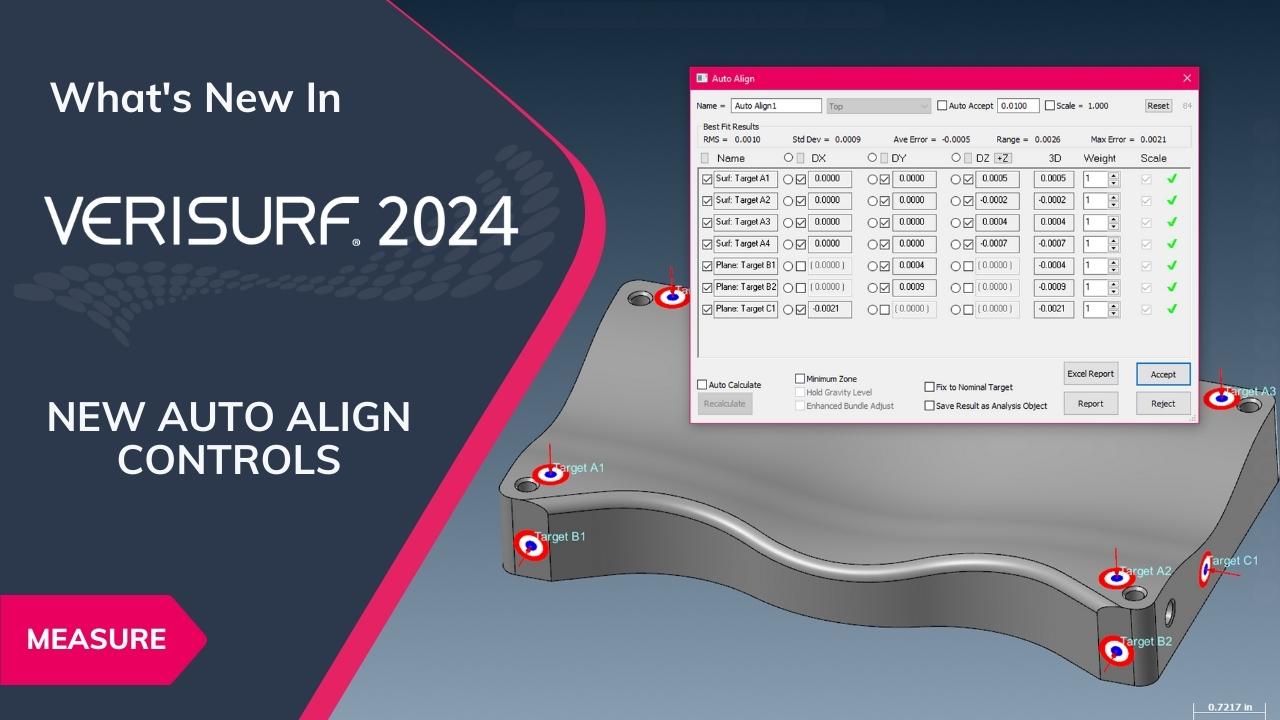
AUTO ALIGN CONTROLS
- Hold Gravity Level for laser tracker applications
- Intelligent axis component controls to achieve desired alignment strategy
- Set highest point, to constrain the alignment to the highest Z measurement when aligning to a freeform surface as a primary datum
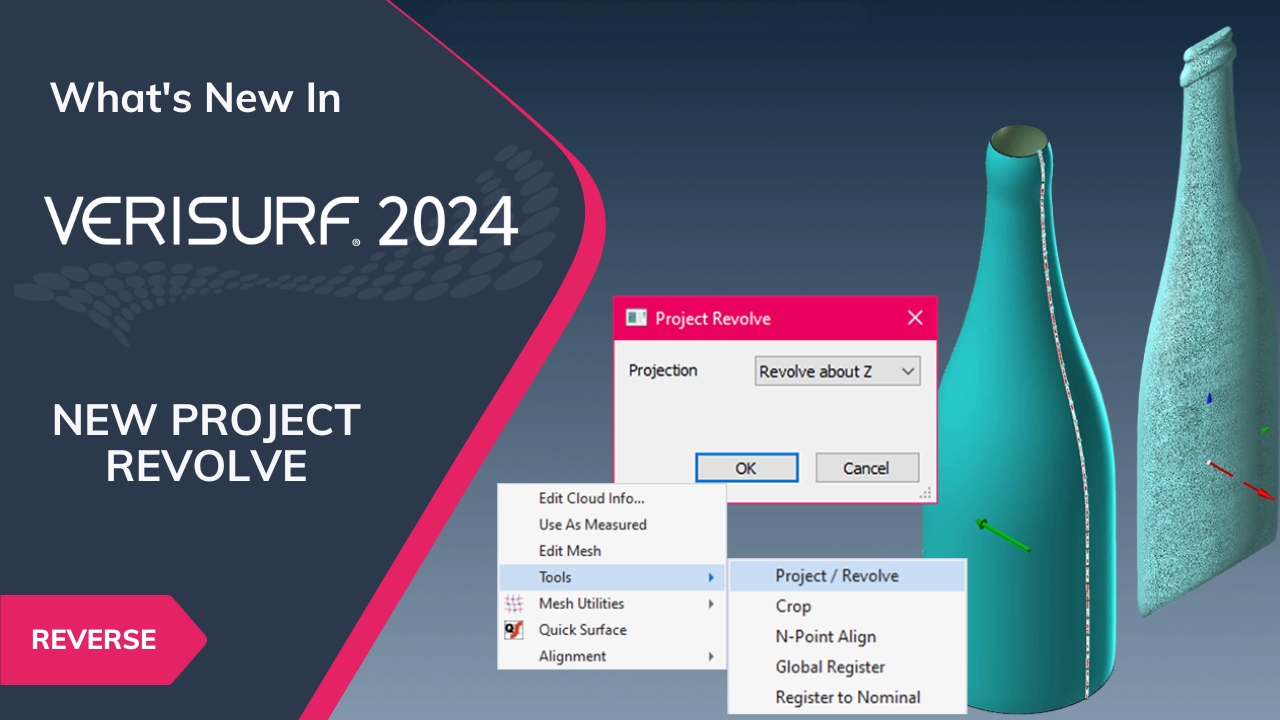
PROJECT RESOLVE
- Simplifies surface of revolution reverse engineering
- Create 2D cloud from a 3D cloud (silhouette)
- Supports using an axis of revolution or plane of projection
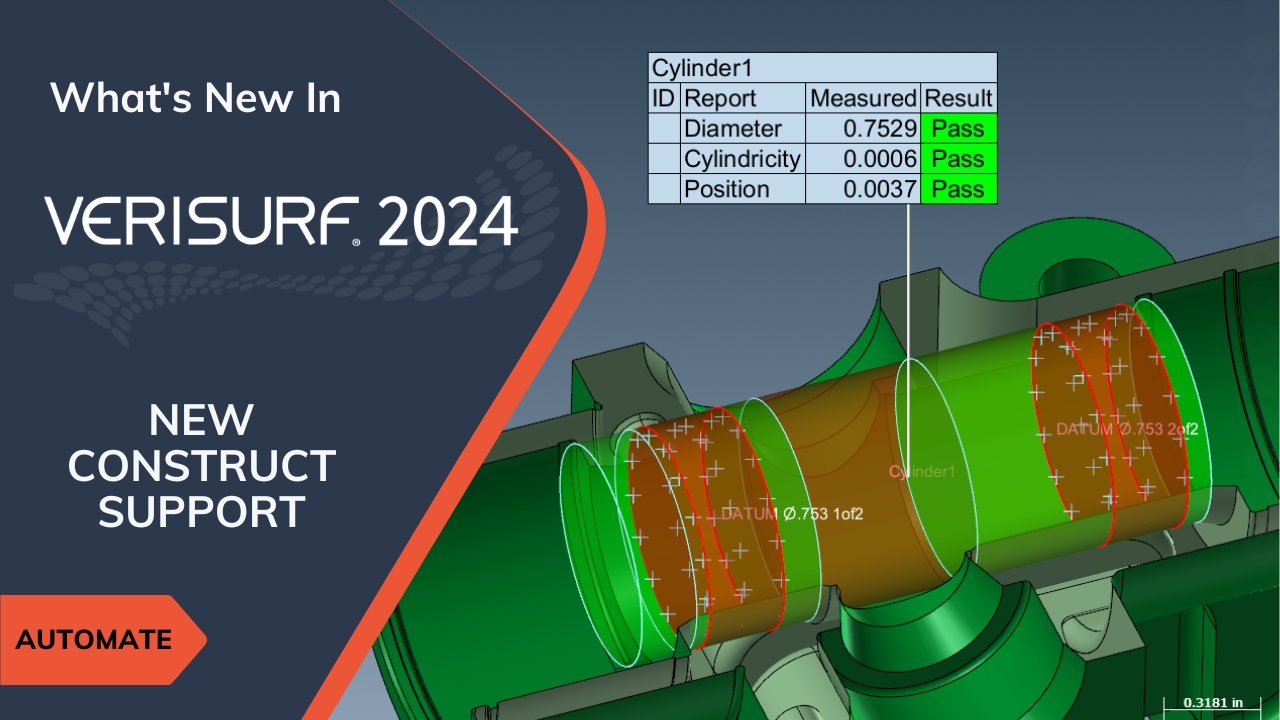
CONSTRUCT SUPPORT
- Control feature constructs using center points or measured points
- Flexibility to use points from one or more measured features to construct a new feature
- Evaluate features using alternate fit methods without remeasuring
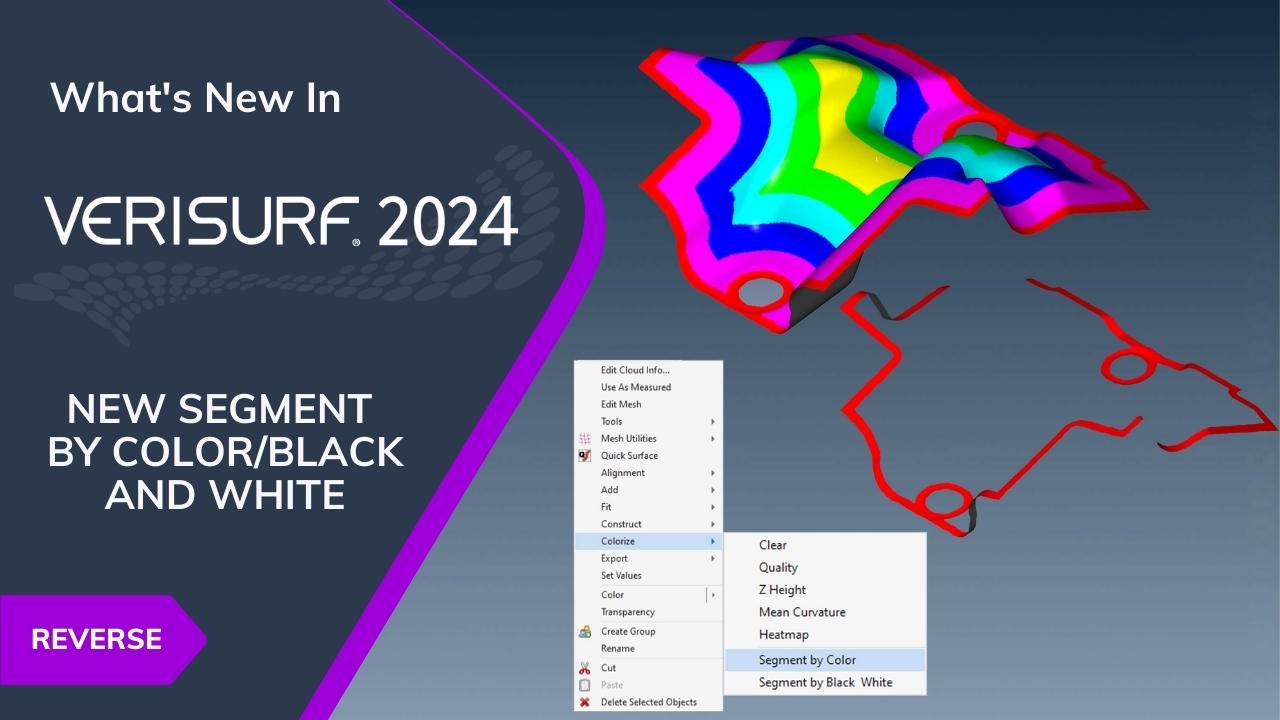
SEGMENT BY COLOR BLACK/WHITE
- Segment colored regions into independent datasets
- Simplifies data management
- Supports Clouds and Meshes
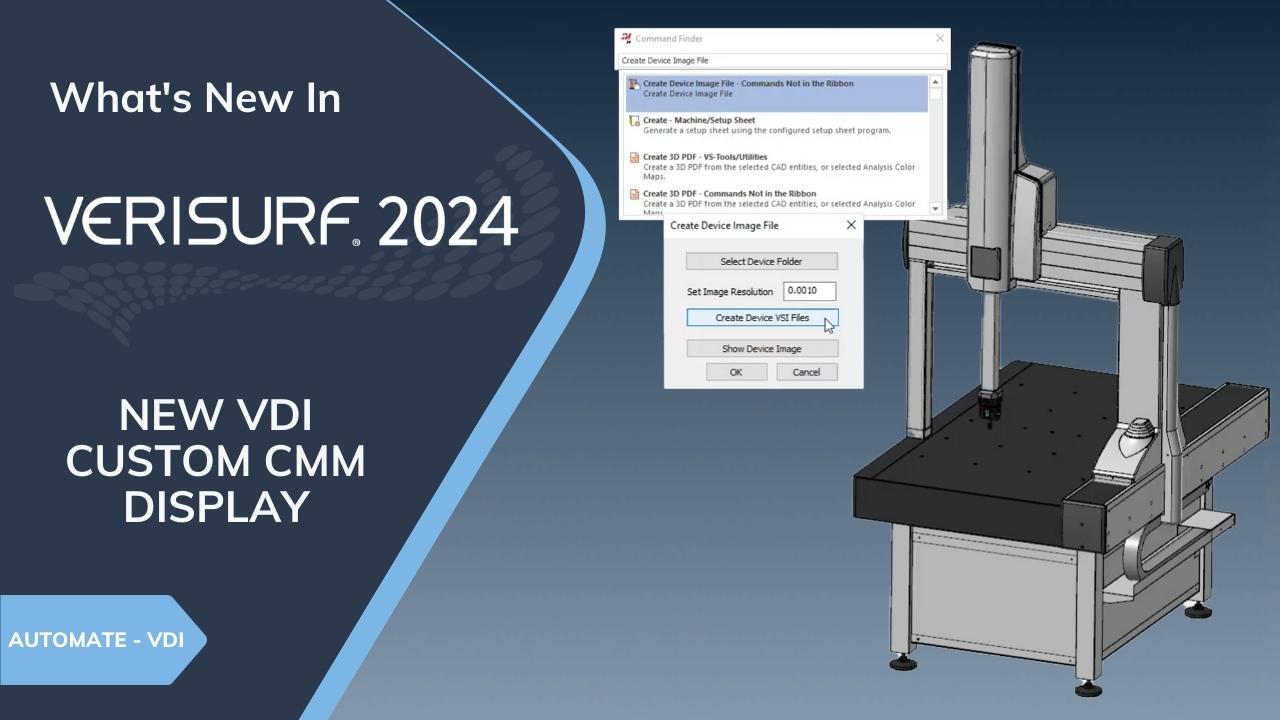
VDI CUSTOM CMM DISPLAY
- Create and display your own 3D CMM model
- Supports 3-axis and 5-axis systems
- Use OEM models or create your own using Verisurf CAD
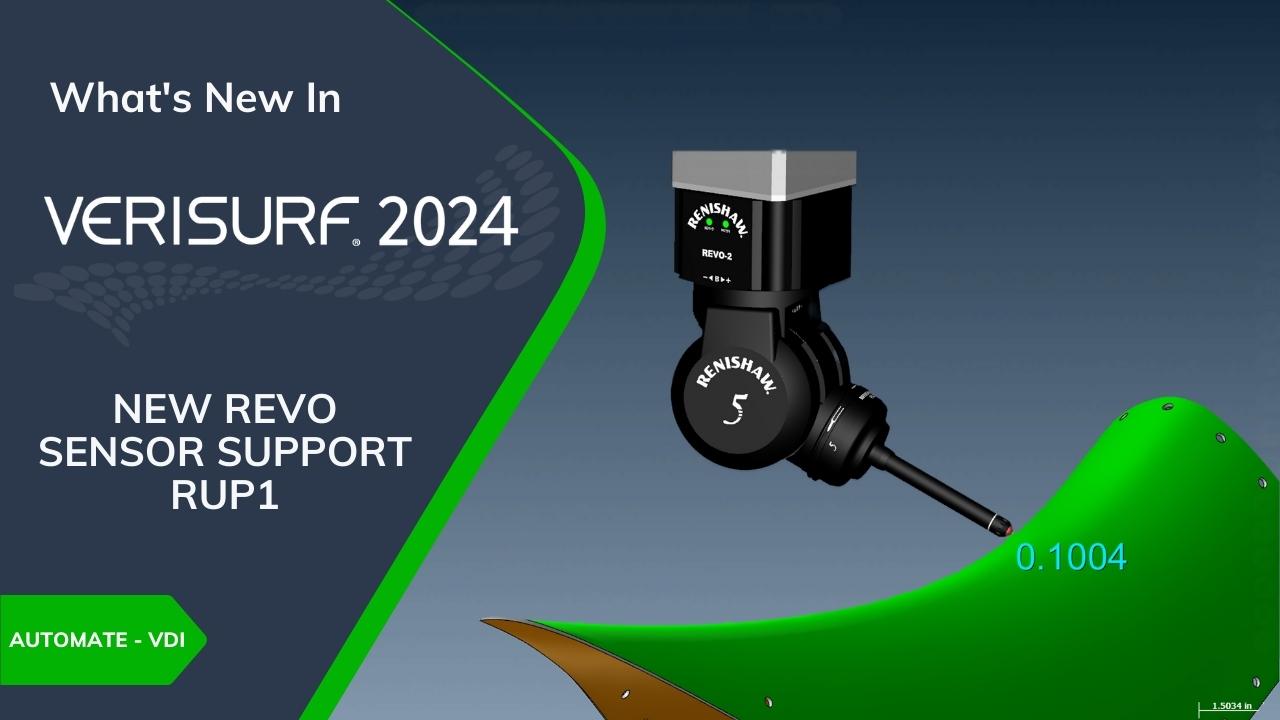
REVO SENSOR SUPPORT RUP1
- Ultrasonic thickness evaluation
- Metal parts ranging from 1 mm to 20 mm
- Accuracy better than .010 mm
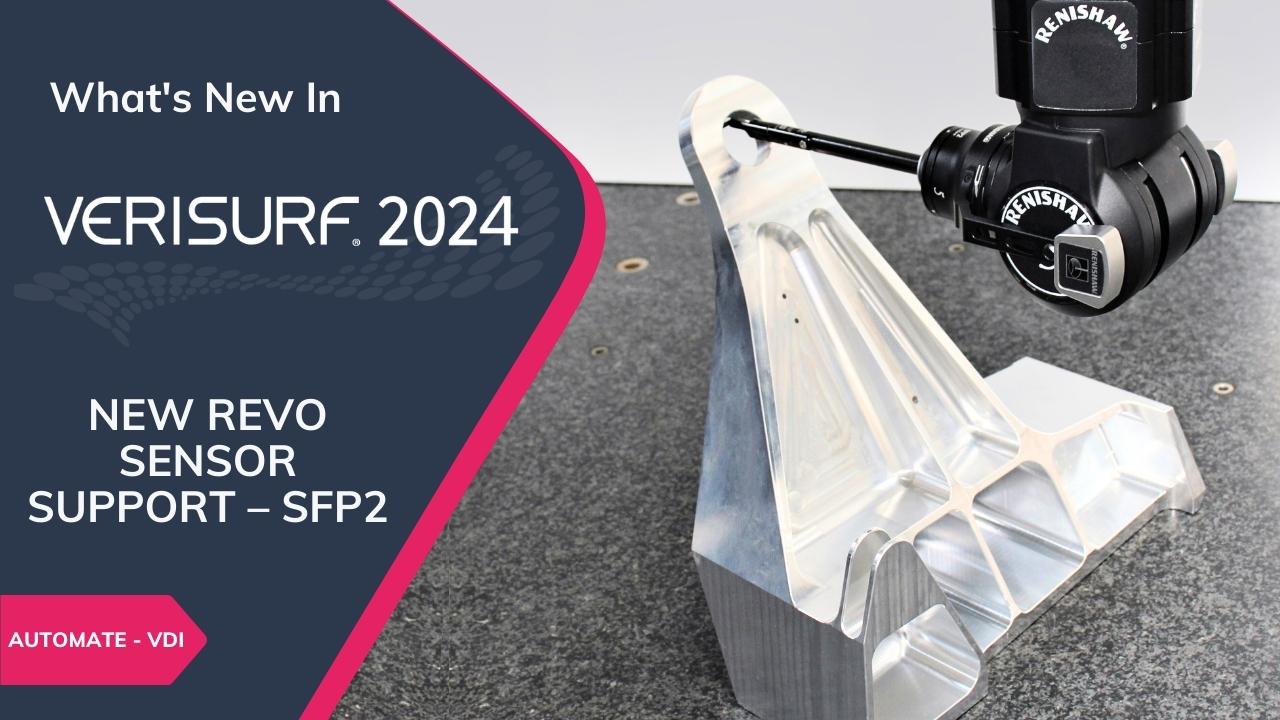
REVO SENSOR SUPPORT SFP2
- Surface finish/roughness evaluation
- Variety of surfaces, including bores as small as 5 mm in diameter
- Output Ra, RMS, and raw data
INTRODUCING VERISURF 2024
In addition to the capabilities illustrated above, Verisurf 2024 includes more new functions and refinements to existing features. Contact us for a live or online demonstration or with your questions. Verisurf 2024 is another new release driven by our customers, partners, and professionals facing new measurement challenges in the real world.


