Hyatt Die Cast and Engineering
Reduces Costs While Increasing
Efficiency and Quality
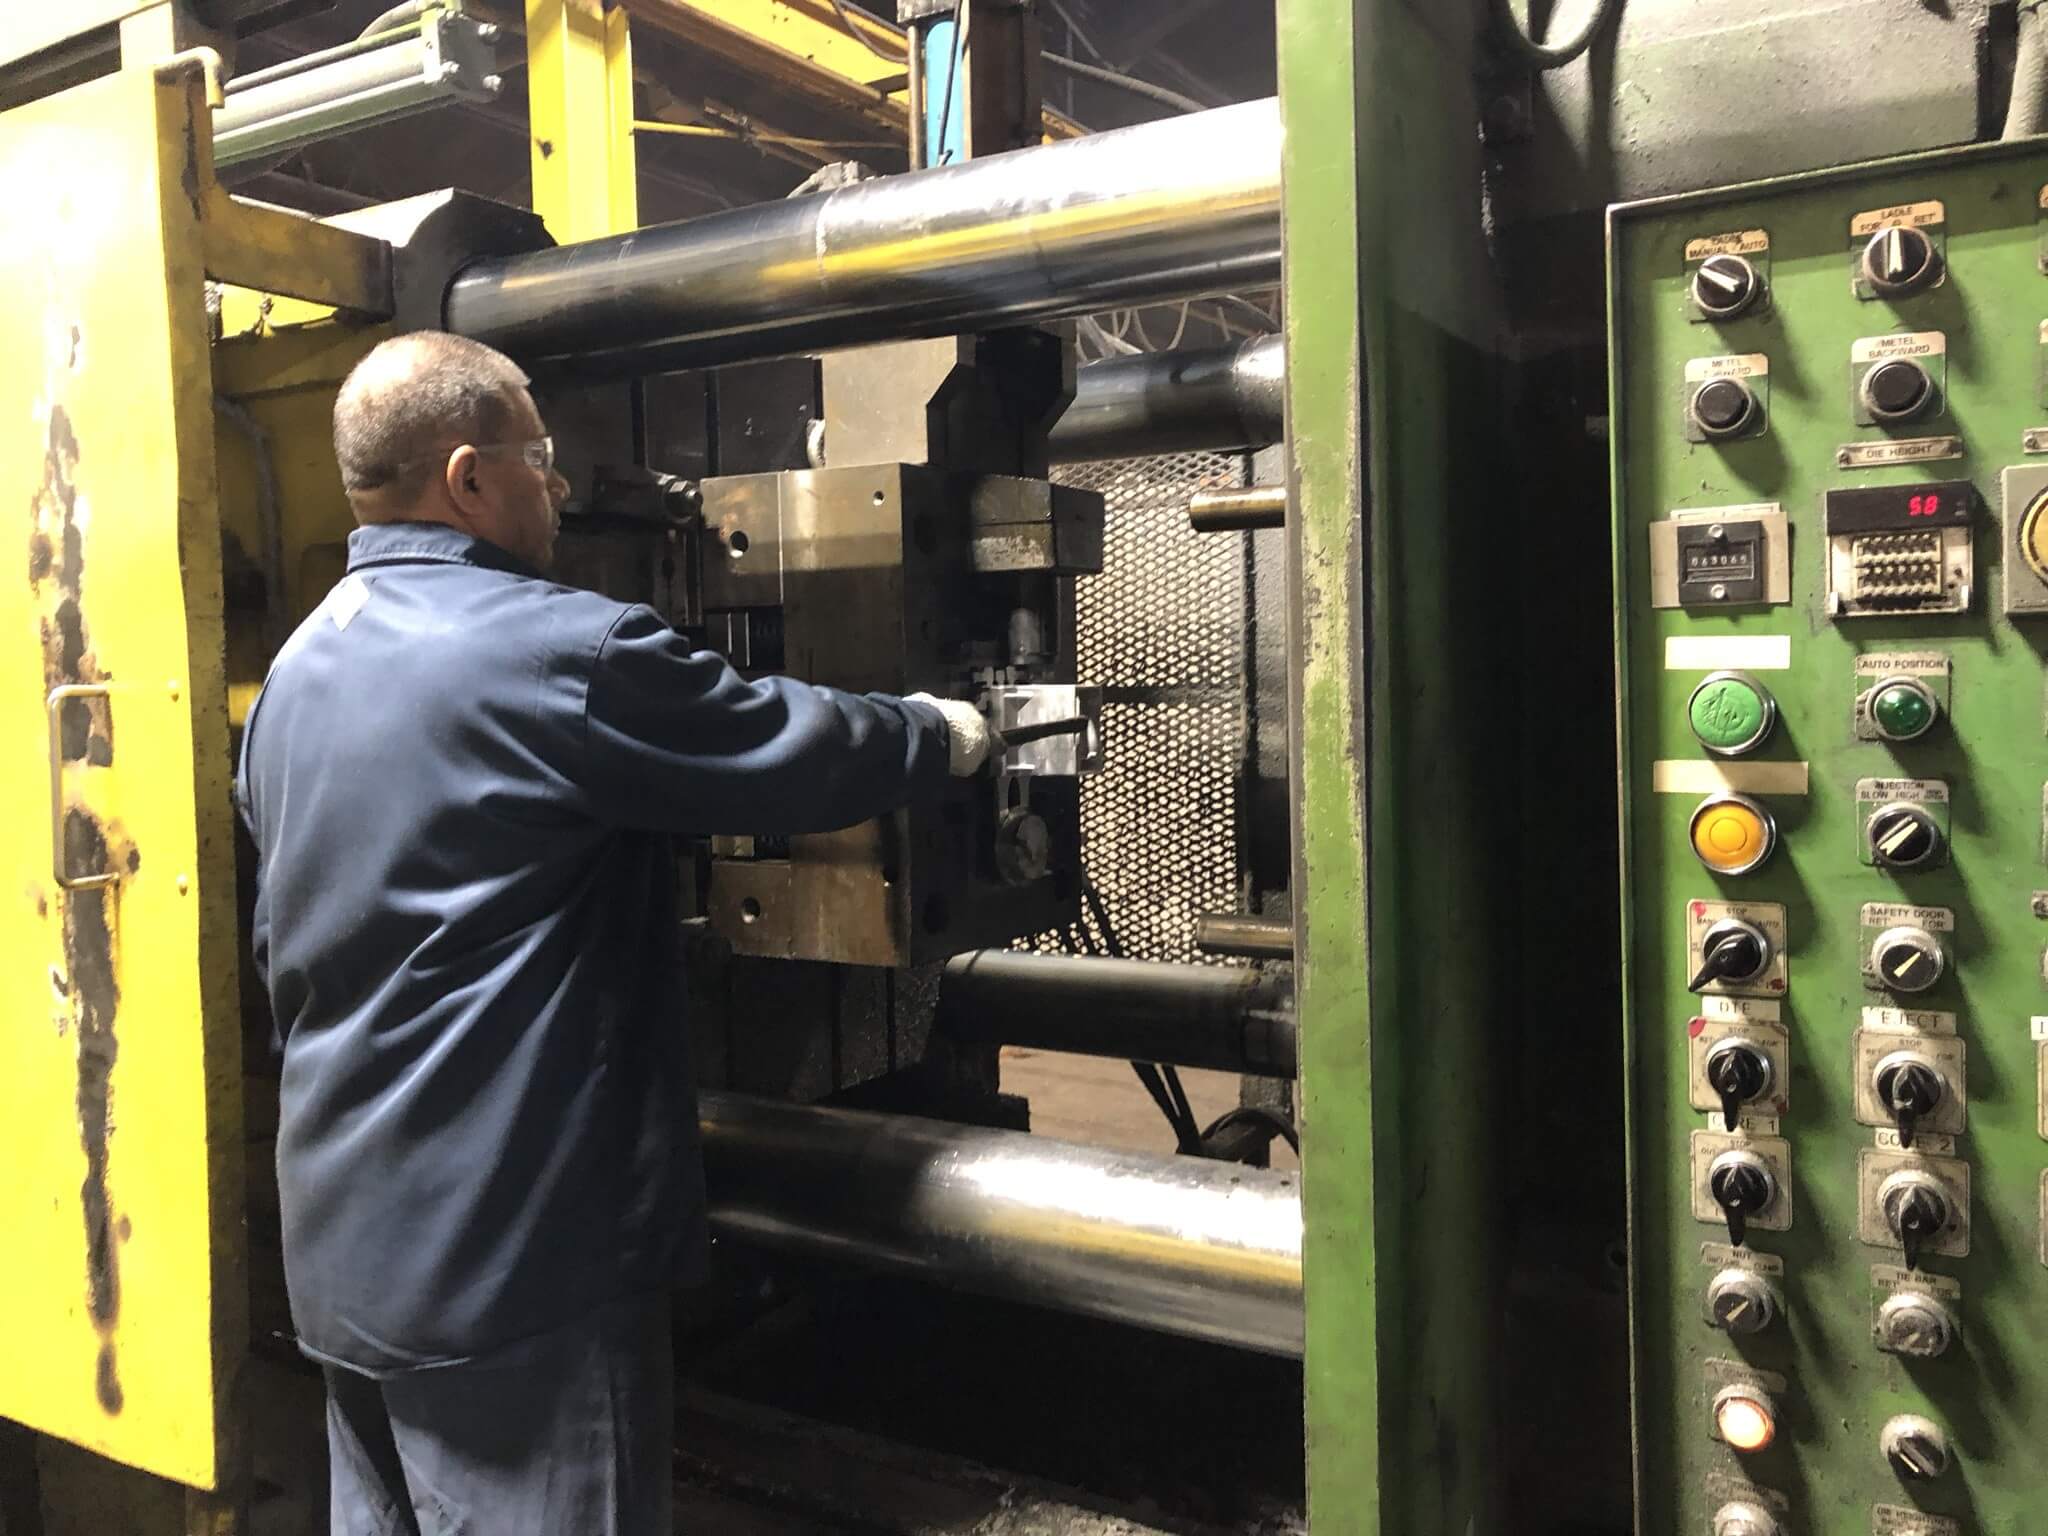
Die-cast machine operator prepares for an initial test shot of a new die-cast mold.
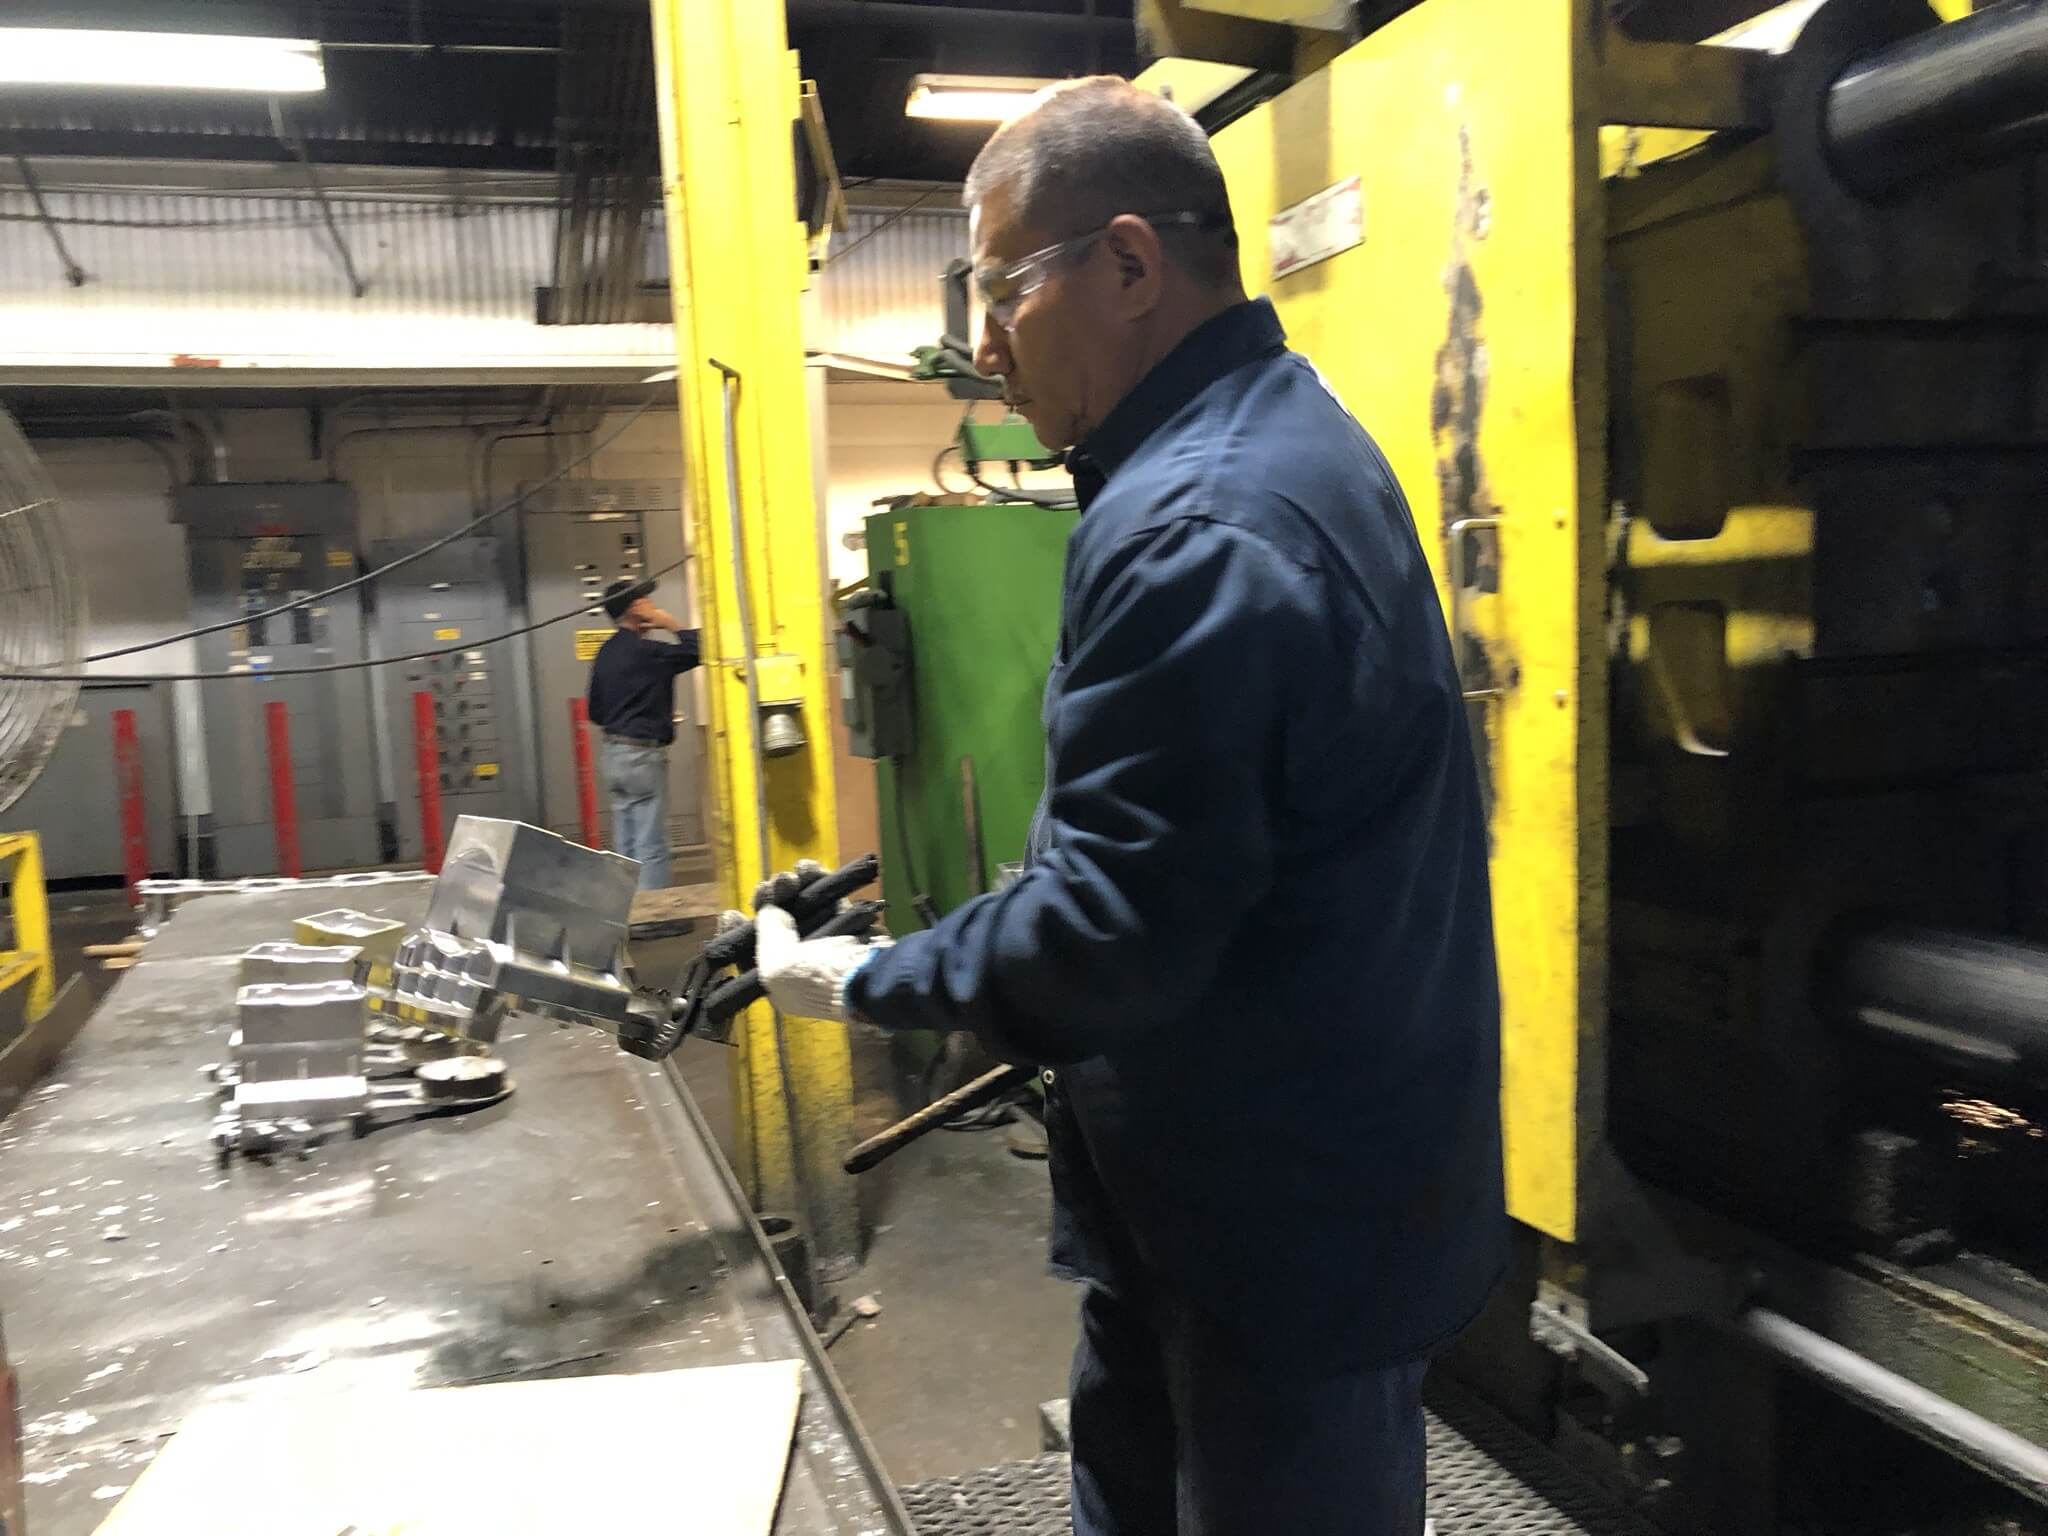
Releasing the part from the die-cast mold.
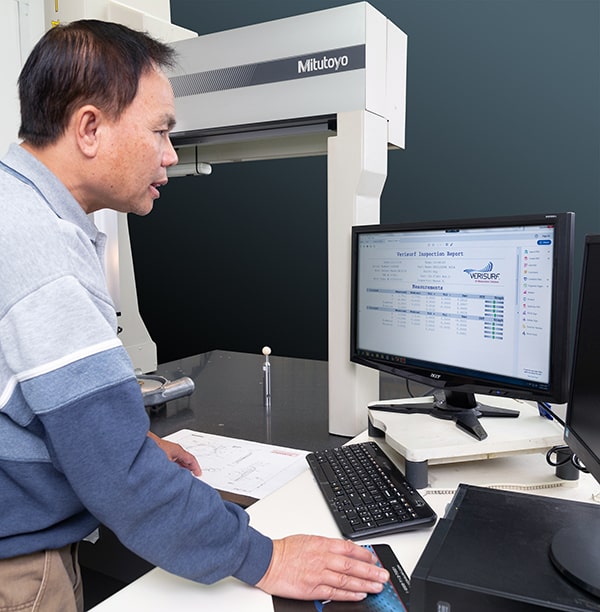
Following visual inspection of the first shot, the part is allowed to cool and stabilize before being dimensionally verified using Verisurf Software
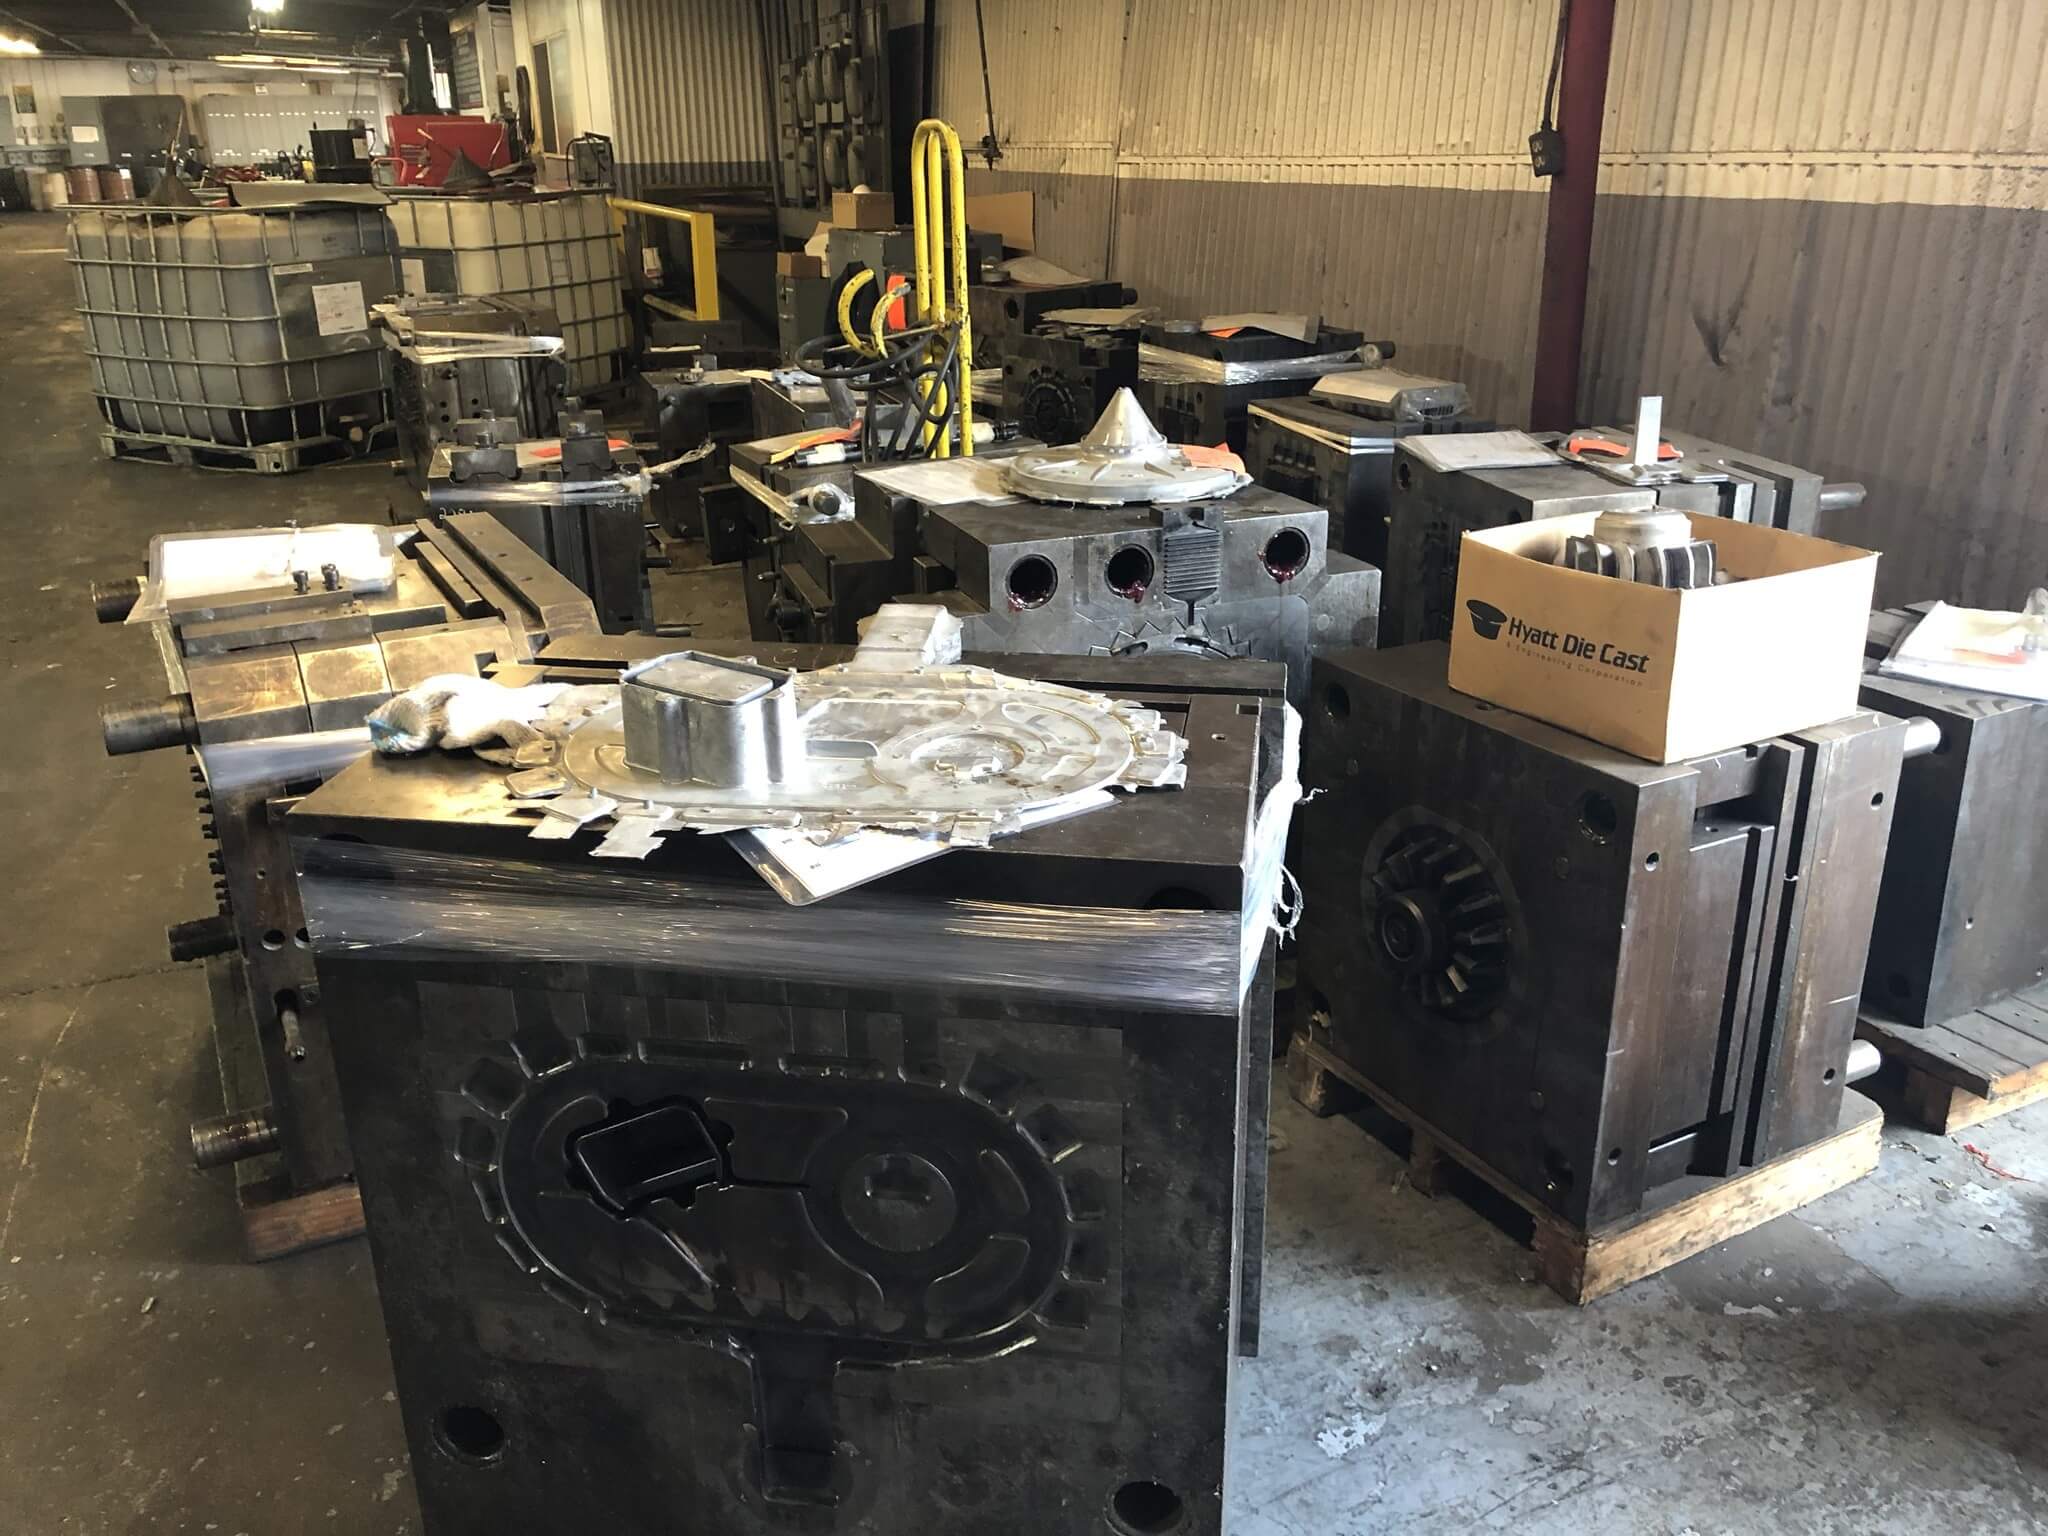
The proof is in the part; molds are designed with thermal allowances mold quality is determined by part quality. Molds are stored with a sample of the most recent part shot.
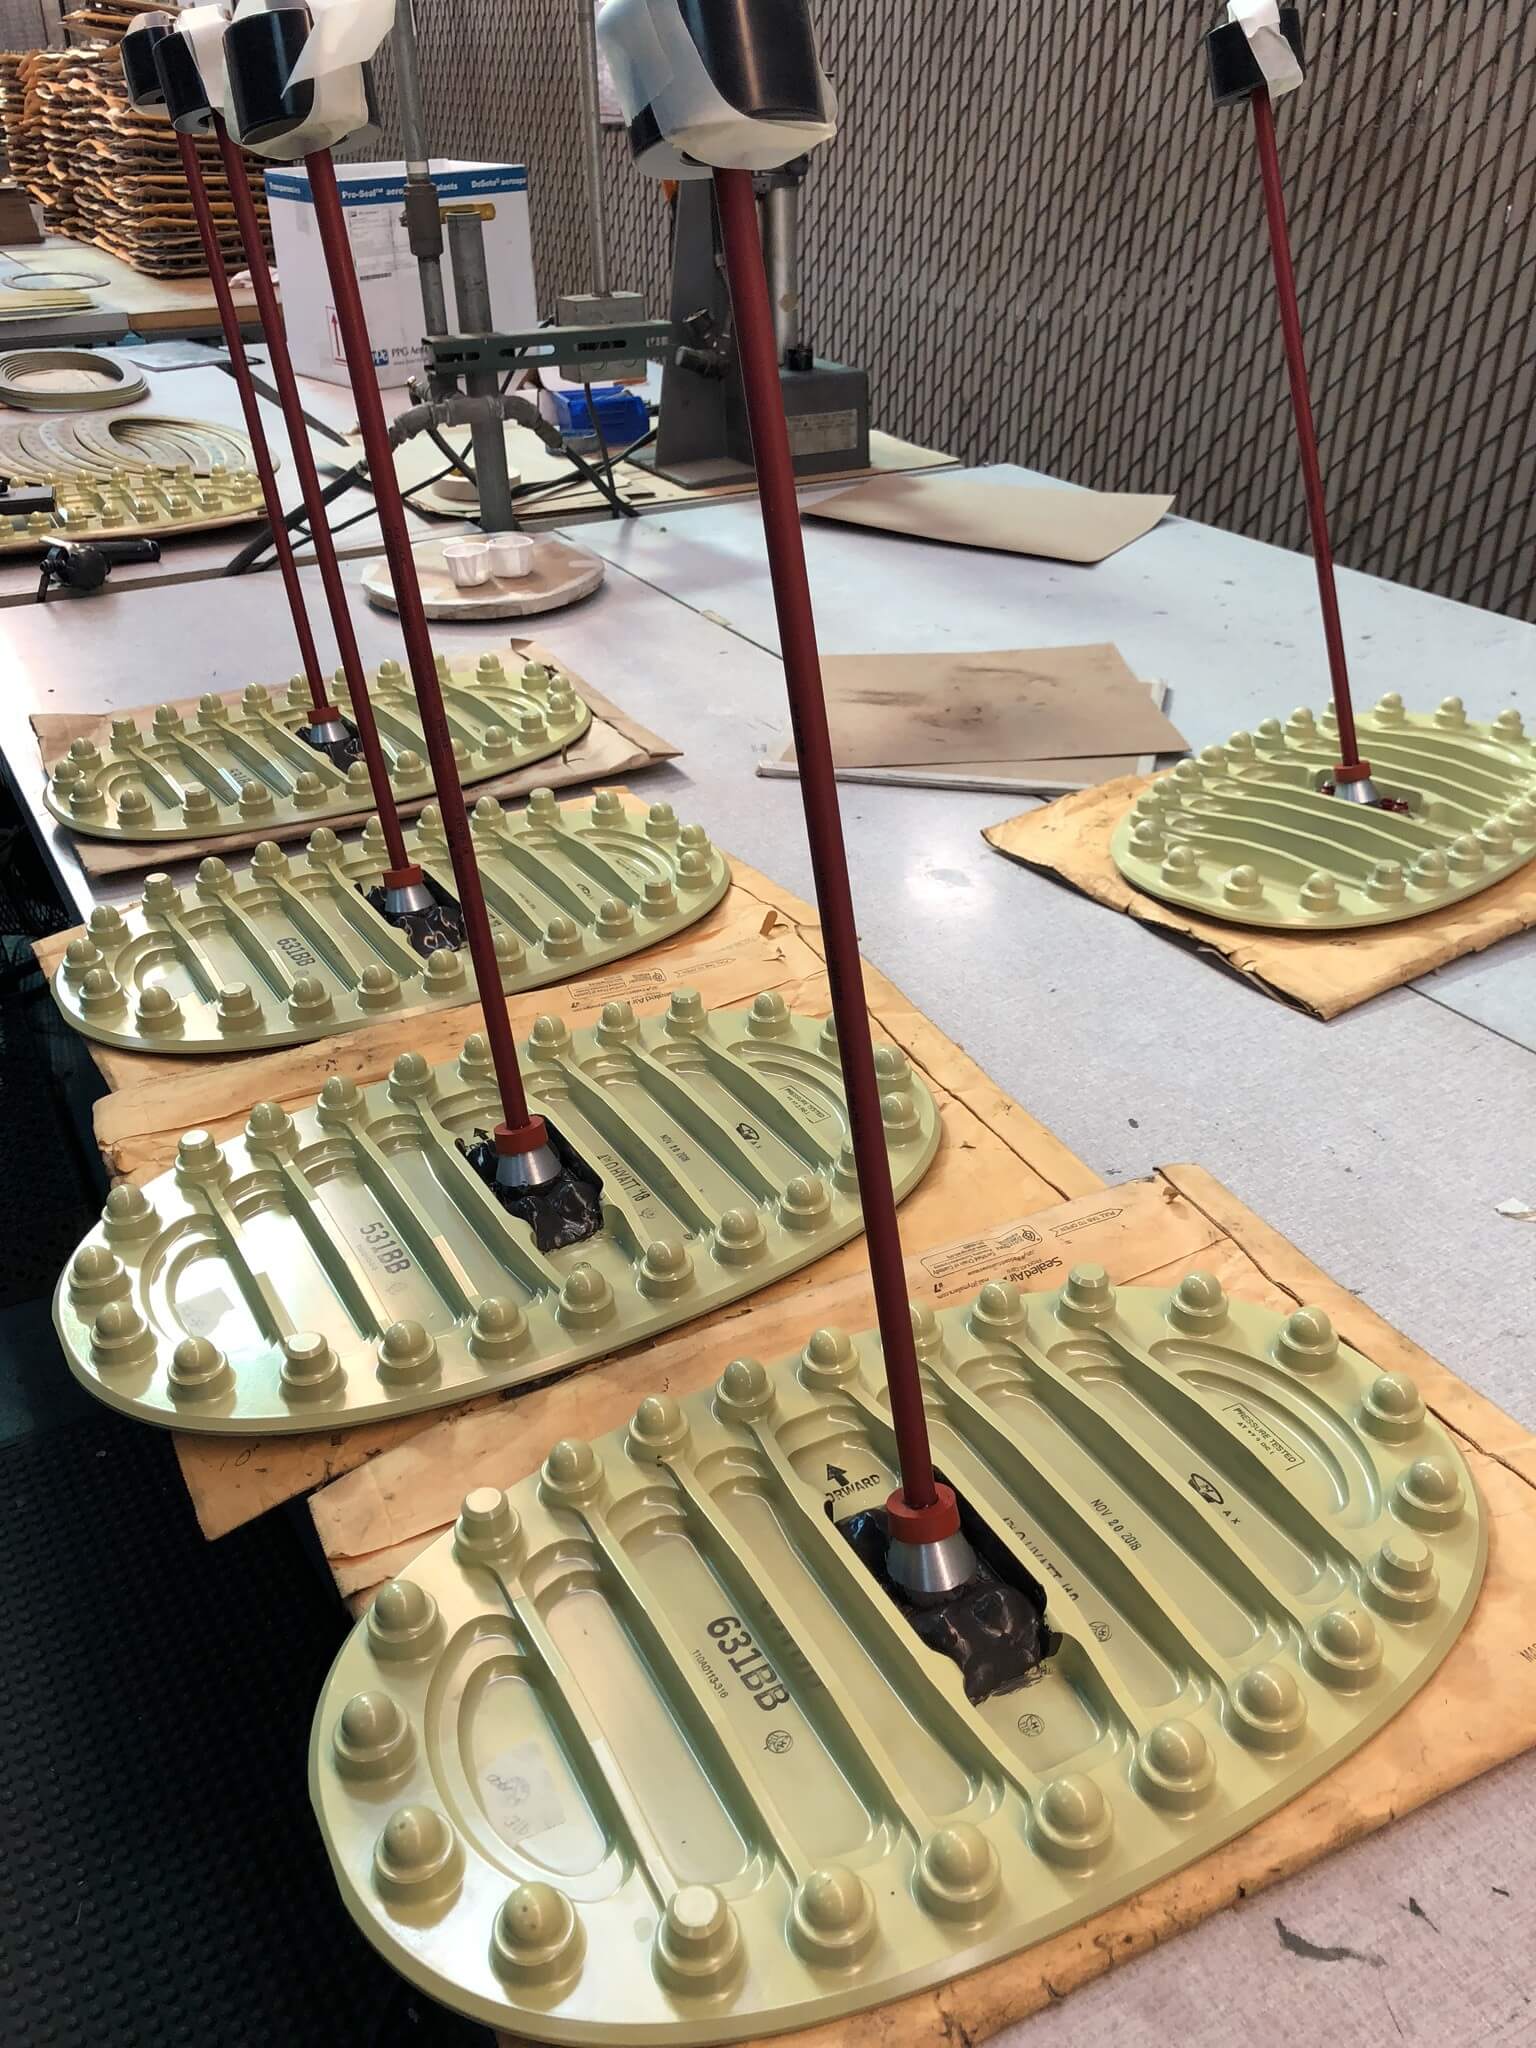
Die-cast aerospace fuel cell inspection ports, assembled with float gauge component.
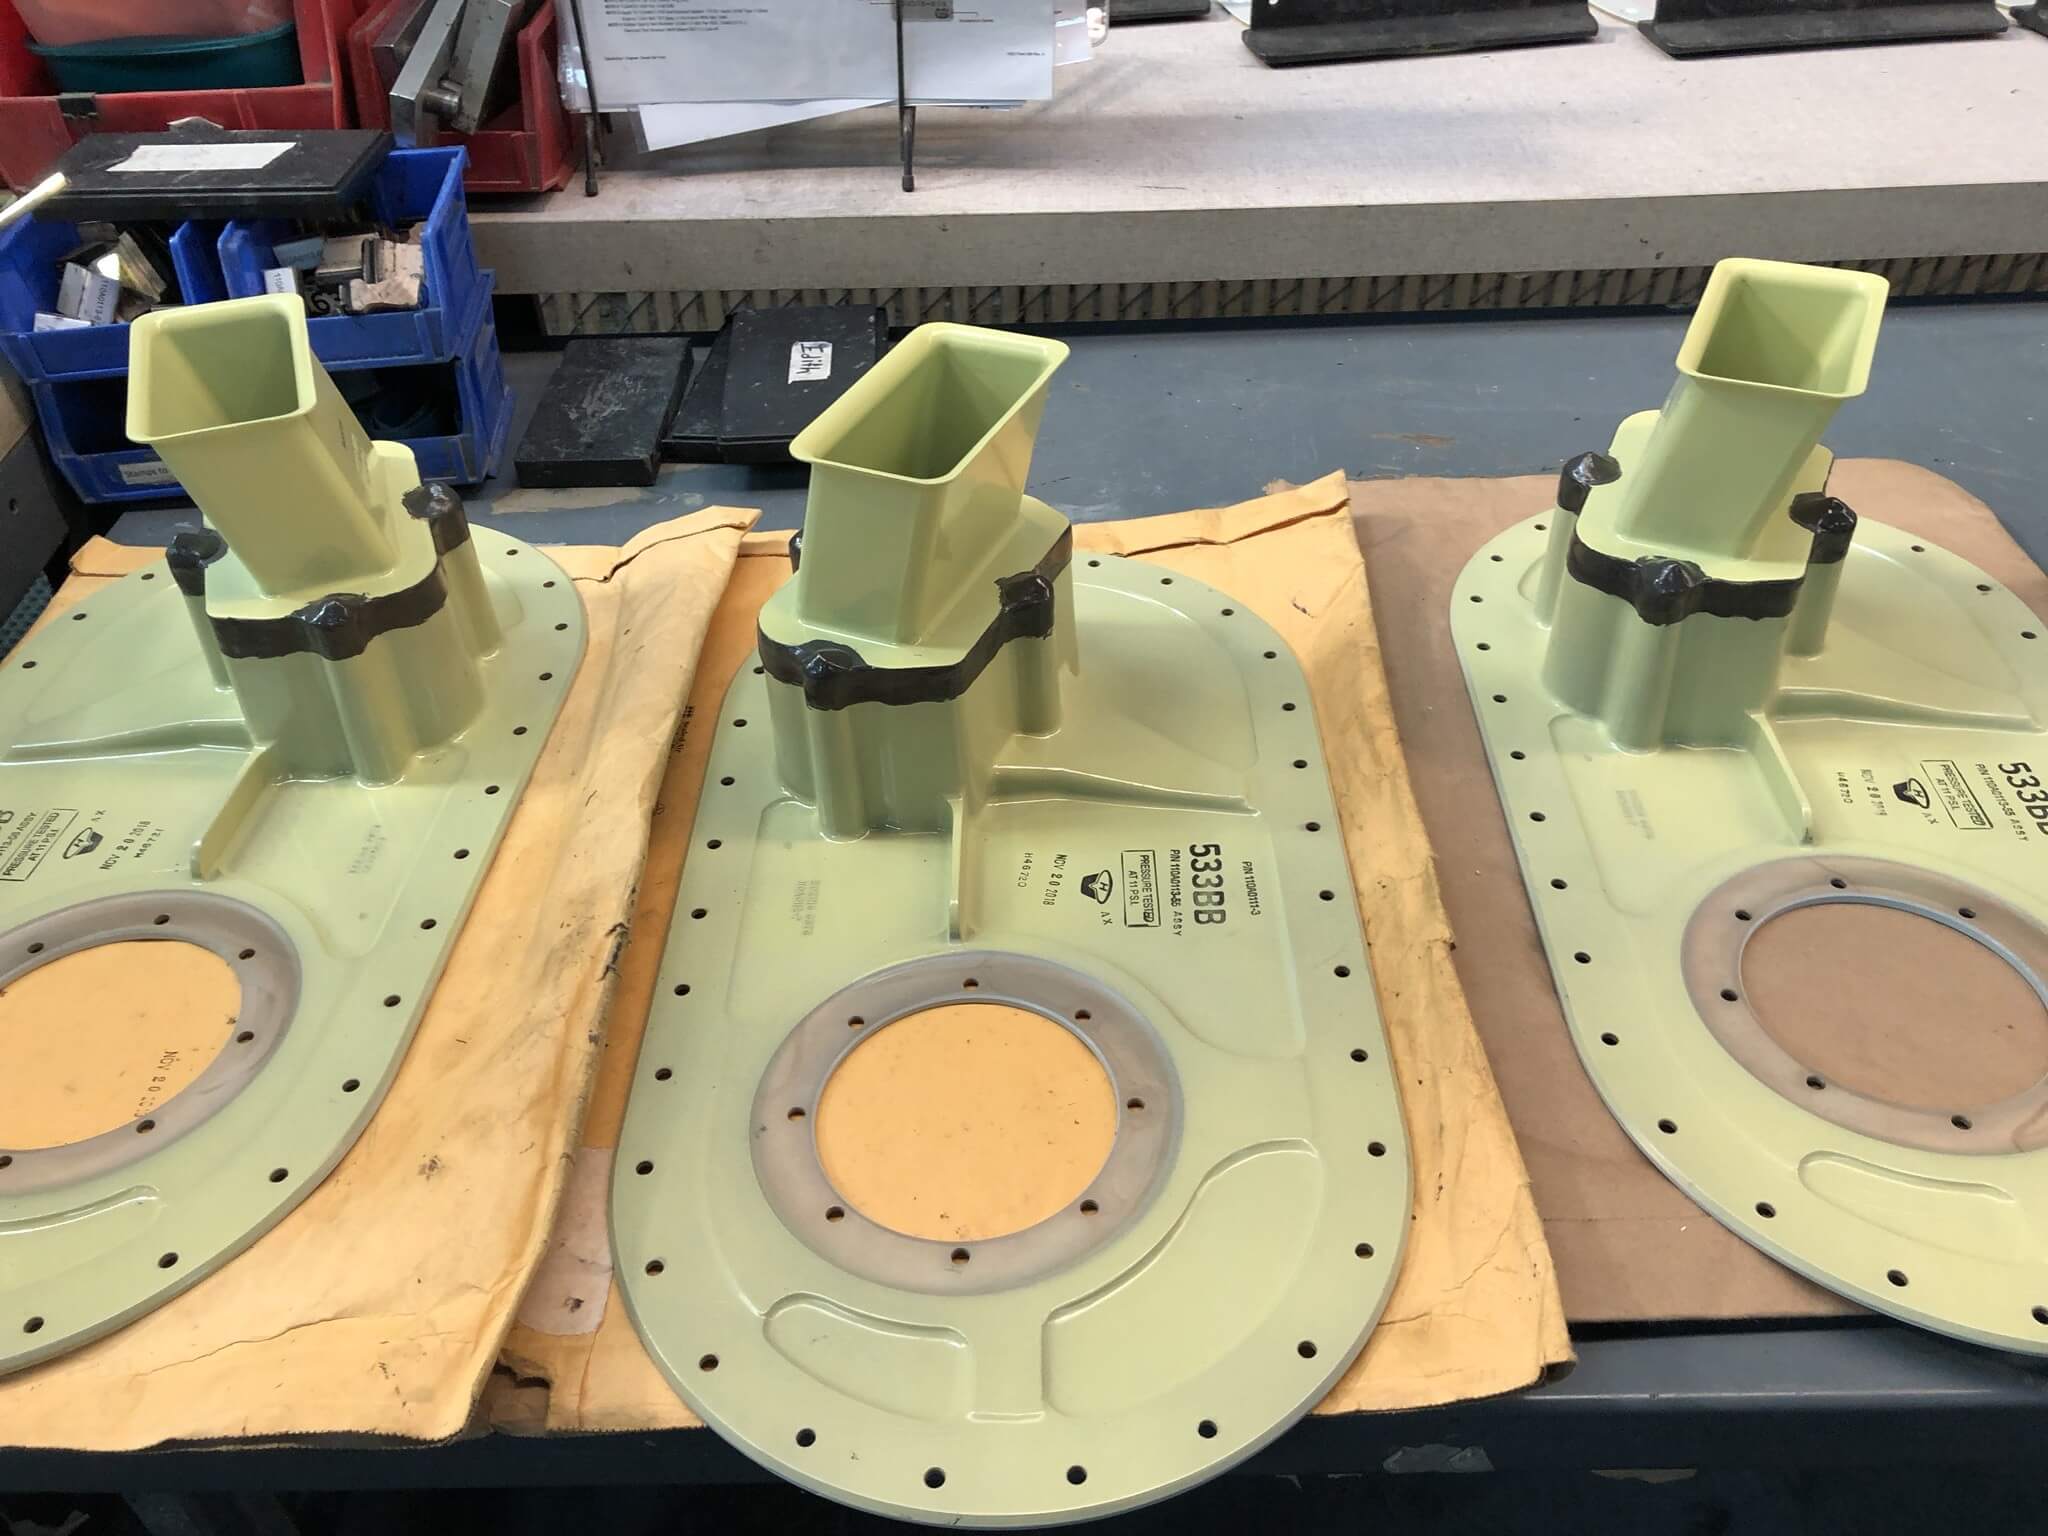
Die-cast aerospace inspection ports, assembled with die-cast flame arrestor component.
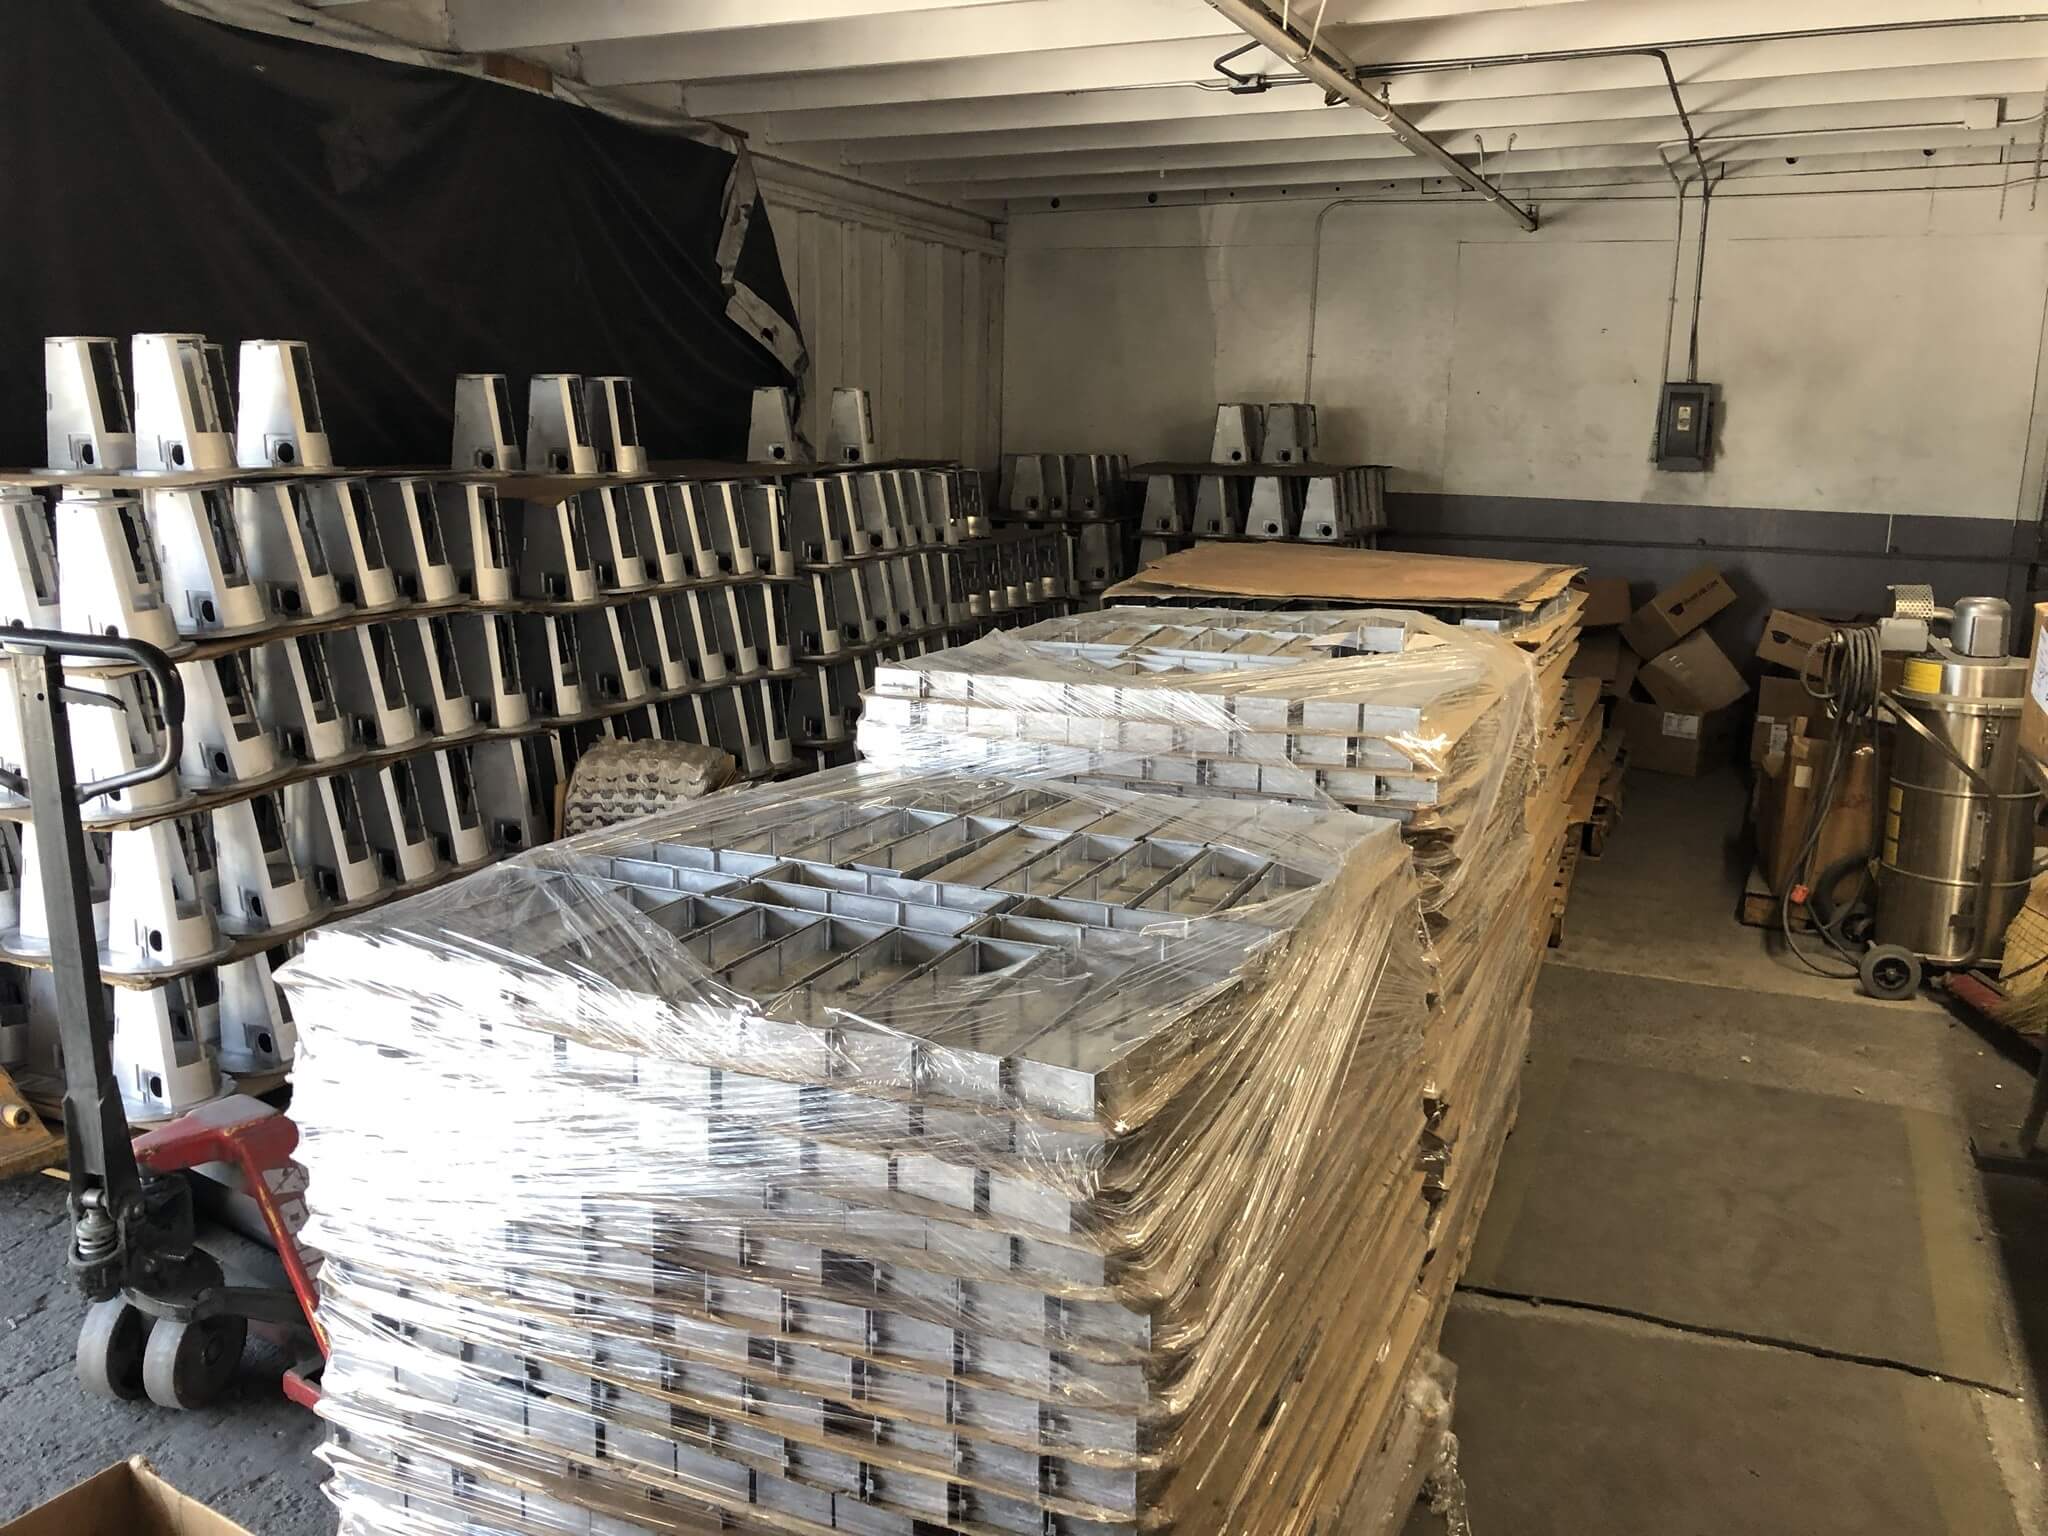
Finished die cast parts have been molded, stabilized, trimmed, deburred, finish machined and inspected, await shipment to the customer
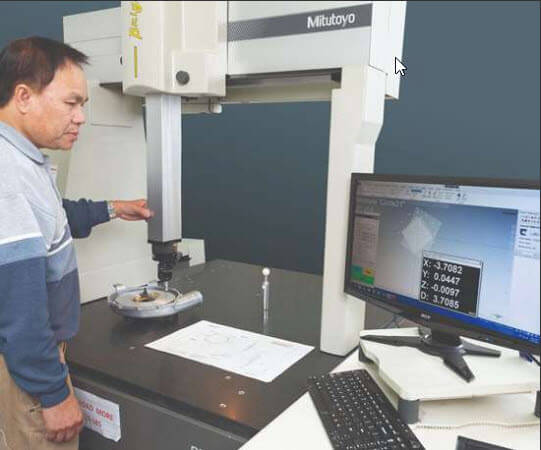
Verisurf Software is used to verify first article (first shot) against the nominal 3D CAD model.
Verisurf Software works with all CAD files, including 2D CAD, 3D CAD models, and paper drawings. Shown, Verisurf Software is used to verify a finished part against a paper drawing.
Operator completing first article inspection report using Verisurf Software.
Case in Point
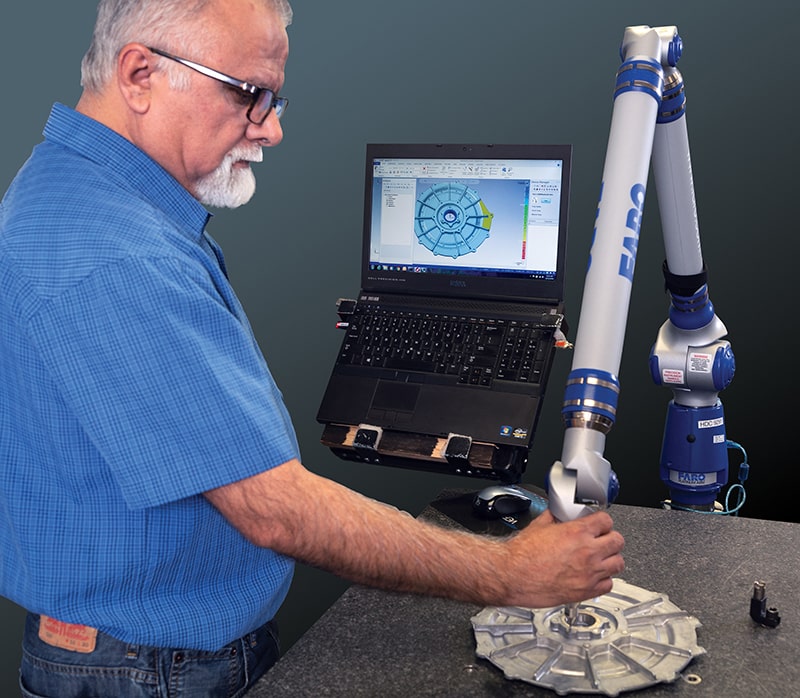
“Before installing Verisurf Software we had one of our aerospace customers come onsite as part of a qualification process for a government contract. We worked from 7:00 AM until 12:00 pm (midnight) inspecting and verifying a complex high precision mold tool using our Faro portable CMM and CAM2 software.
Two years later the same customer returned to qualify a second mold for the same part, but this time we would be using Verisurf Model-Based Inspection Software and the same Faro portable CMM. The customer joked about how they dreaded repeating the same process as before. I told them not to worry, we will be finished before lunch – they laughed.
The second mold verification process took just 30-minutes, from beginning to end. The customer was able to select features to be verified and see any deviation from nominal, in real-time, using Verisurf deviation color mapping.”
– Alfredo Gomez
Quality Systems Manager,
Hyatt Die Cast and Engineering
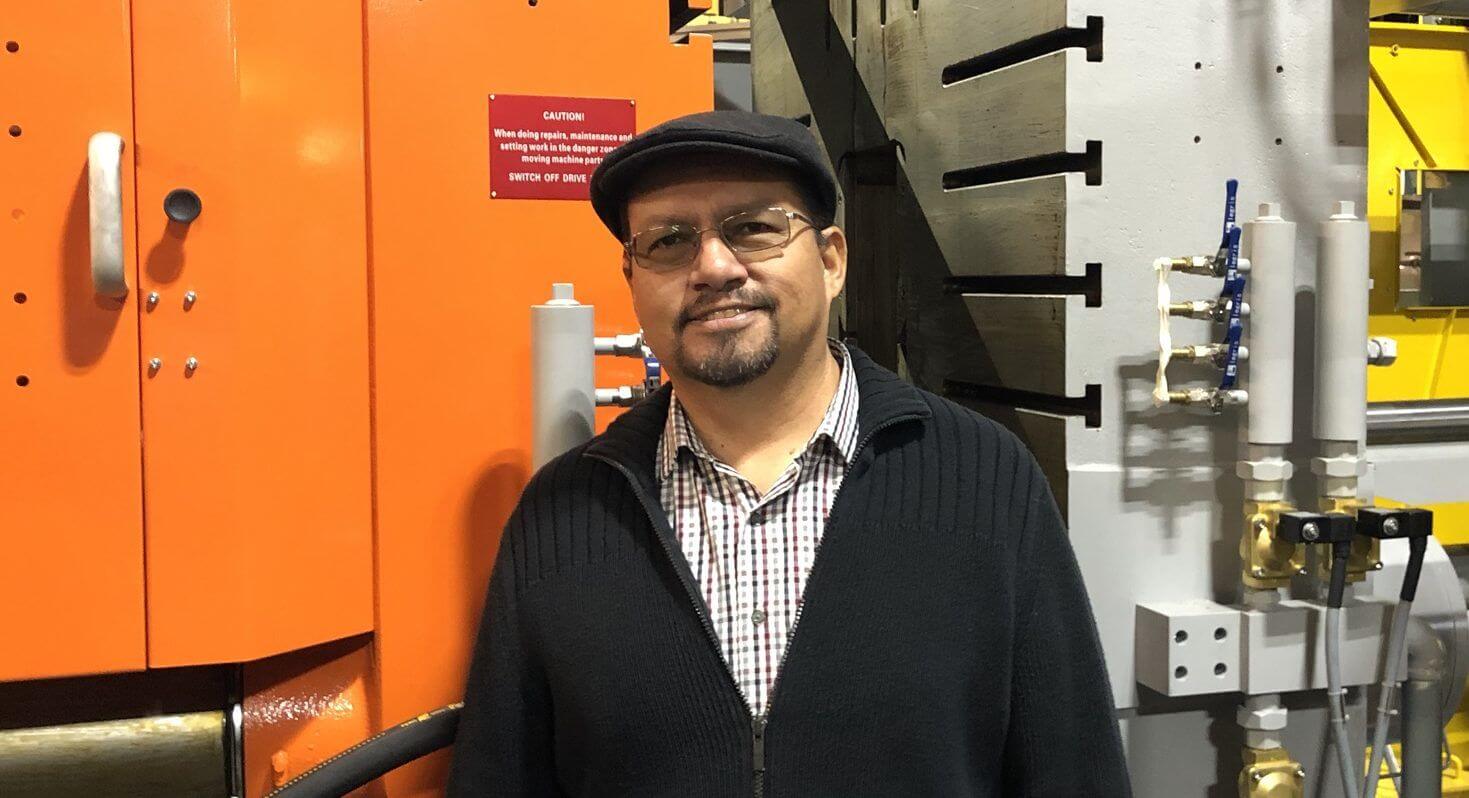
Alfredo Gomez, Quality Systems Manager, Hyatt Die-Cast and Engineering.
MEASUREMENT AND MONITORING EFFICIENCY
KEEPS PART COSTS LOW
In high-pressure die casting, there are no shortcuts to quality and ultimately, success is based on how the job is engineered and setup from the get-go. Any mistakes up front, designing or manufacturing the mold tool, will have a negative effect on the entire production run. For Hyatt Die Cast the way to save time was to be more efficient, not only on the front end in engineering but with quality verification steps throughout the entire setup and production process.
For quality monitoring, during the casting process, a combination of inspected certified material, spectrometer monitoring for chemical analysis, and real-time x-ray of parts to check material density maintains and confirms consistency. These are important verification steps to delivering a solid part, but the area where Hyatt Die Cast has realized the greatest improvement in quality efficiency is dimensional verification across the manufacturing process.
HYATT DIE CAST IMPROVES INSPECTION AND
MEASUREMENT EFFICIENCY 5X
Precision high-pressure die casting is a refined manufacturing process; once the job has entered the line a shot is a shot is a shot. Rough parts come off the line for post-processing, and the overwhelming efficiency promise of the die-cast process has been realized. But there was a lot of work to get to this point and still a lot to do before the final part is ready for shipment to the customer.
Verisurf inspection and measurement software were added to serve as a common platform, interfacing with all CMMs and portable CMMs in the Company’s quality lab. “Verisurf Software was selected because of its ability to work with all CAD files, including 2D CAD, 3D CAD models, and paper drawings,” said Alfredo Gomez, Quality Systems Manager at Hyatt Die Cast and Engineering. “The Verisurf Software reads in intelligent CAD files, including nominal GD&T datums that we can edit or add additional annotations when developing mold tooling or creating inspection routines,” add Mr. Gomez.
Verisurf Software is used to provide first article inspection and reporting, automated inspection, and reverse engineering for both pre and post casting processes. The software quickly and easily creates automatic and manual inspection routines and serves as a common software platform, capable of sharing inspection plans across CMM devices, including the Company’s Faro portable CMM, two Mitutoyo CNC CMMs and one Zeiss CNC CMM. “We have saved a lot of time and seen improved workflow efficiency since switching to Verisurf Software. The software’s model-based approach to inspection and measurement and its common platform capability has allowed us to use Verisurf across our entire team. This has saved us time and money on training, data management, and software maintenance,” said Mr. Gomez.
Since implementing Verisurf Software, Hyatt Die Cast has realized a net gain in efficiency (time savings) of 5X for first article inspections, production inspection, and reverse engineering. All existing measurement hardware remained in place and in-use, and is now driven by Verisurf, without requiring additional hardware, firmware or other software.
PROCESS INTEGRATION OF VERISURF SOFTWARE
Verisurf software was integrated within the bookends of the manufacturing process – pre-casting setup and verification, and post-casting cleanup, finishing and secondary operations.
- Reverse Engineering – Customer part information usually arrives via an intelligent 3D CAD model or drawings, but occasionally only a legacy part or prototype is provided. In this case, Verisurf Software is used to reverse engineer the part to an intelligent 3D CAD model. The model is then used as the virtual part for all mold tooling design, inspection and reporting throughout the entire manufacturing process. Depending on the part size and geometry, the Faro portable CMM or Mitutoyo CNC CMM will be used with a contact probe or non-contact scan head to capture point cloud data.
- First Article Inspection – The mold tool is designed and manufactured with required shrinkage calculated and added in. If engineered and designed correctly the finished mold tool is assumed to be correct. After visual inspection, the mold takes its place on the injection line and is set up for a test shot. After the test part has rested and stabilized it is returned to the quality lab for first article inspection and reporting. The quality lab and CNC shop are kept at a constant temperature and humidity level (ANSI 2540.3, control of measurement and test equipment) for consistency of part expansion/contraction during finish machining and inspection.
Precision high-pressure die casts can be shot to a production tolerance of +/- .002” – +/- .005”. If tighter tolerances are necessary, the mold can be made oversize and finish machining can deliver part +/- .00002. - Post Production Inspection – After casting, production parts are allowed to rest and stabilize; they are then trimmed to remove flash and deburred before the final machining process to add any additional features and remove access material to specification. The parts are then moved to the matching climate-controlled quality lab for final inspection using Verisurf Software. Based on the number of parts requiring inspection, either a CNC CMM running an automated inspection routine or manual portable CMM will be used. Regardless of which device is used, they will share the same Verisurf inspection program.
- Secondary Operations Inspection – Hyatt Die Cast operates their own powder coating line in-house, but anytime parts leave the facility for other outsourced operations, such as chem film or anodizing, they are inspected before they leave and when they return.
Conforming to Workflow
Open CAD-based software solutions such as Verisurf Software, provide the flexibility necessary to support mold-based workflows of all types. It is important that your measurement software be adaptable to your processes, not the other way around. Closed proprietary systems that fail to support unique workflows or other applications have no place in today’s rapidly evolving manufacturing environment.
Verisurf Software, Inc.
Verisurf Software, Inc. is an advanced three-dimensional measurement solutions company committed to delivering advanced computer-aided inspection and reverse engineering solutions. Verisurf software helps manufacturers of all sizes and industries produce higher quality products in less time and at a lower cost with automated, Model-Based Inspection processes. For more information, visit the Verisurf website at https://verisurf.com.
##

